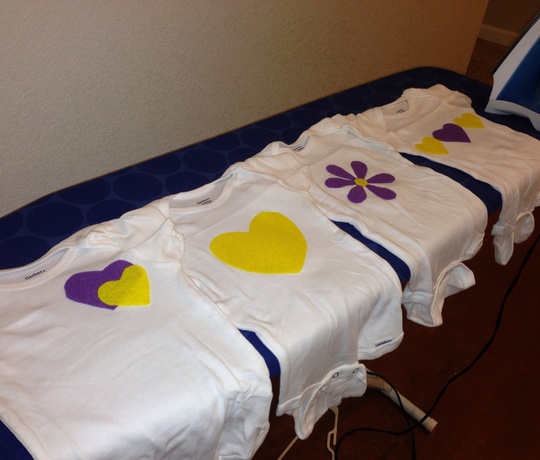
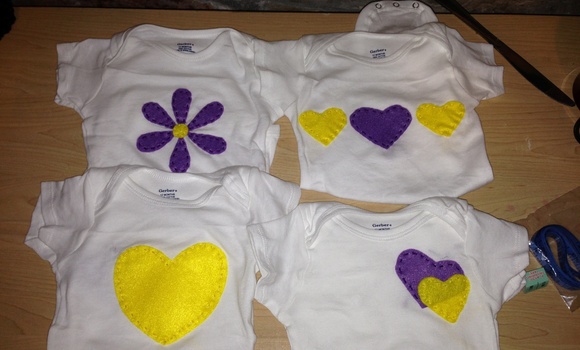
One of my close friends from Americorps recently had her second baby, a beautiful little girl, and I ‘felt’ [punny, right…] it was time to try my hand at appliques.
Supplies
Heat N Bond Fusible Webbing
Embroidery Floss
Craft Felt
Blank Onesies
Step 1: Cut out the designs you wish to applique. I didn’t use a stencil but I probably could have if I wanted to everything to appear uniform.
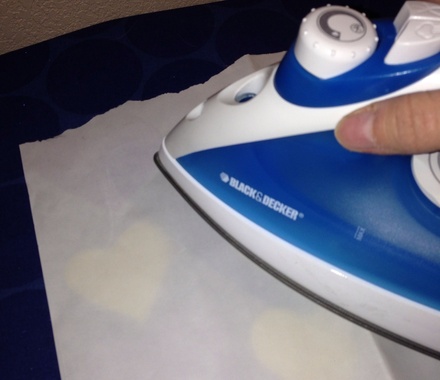
Step 2: Use a paper towel to keep your ironing board clean, otherwise you’ll end up with stick applique good everywhere. Place your felt design face down on the board and lay the applique fusing paper side up against it. This means you are ironing against the paper. I had to re-read the directions several times to process what I was supposed to do.
Step 3: Set your iron on medium and press against the paper for 7-10 seconds.
Step 4: Peel the paper off. You will have a thin sticky applique leftover that sticks off the edge of your felt. Feel free to pull that off. You could probably cut it off but I forgot to bring my scissors into the laundry room and peeling worked just fine.
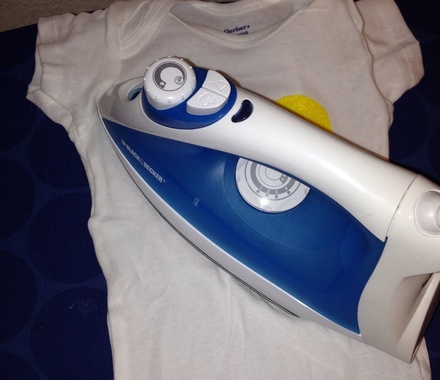
Step 5: Place the felt fusing side down on the onesie or clothing you wish to applique.

Step 6: Press your iron against the felt for 10-30 seconds. You want to make sure that the edges are not sticking up and everything is fused nicely.
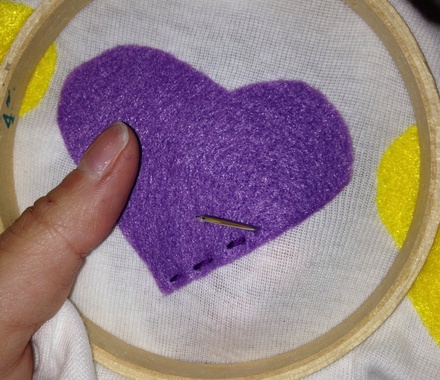
Step 7: Grab an embroidery hoop if you have one, or just thread a needle with the appropriate color floss and stitch around the outside of the felt. I did this by hand but you could use a sewing machine for a more uniform look.
Step 8: Wrap and present to doting parents. 🙂

No Comments