Transplanting iris is an easy project that can help your garden grow twice as fast as if you bought bulbs in the fall and waited for them to mature throughout the winter. A few weeks ago a came across an offer on Next Door for some free iris bulbs from one of my neighbors. If you haven’t heard of Next Door, definitely give it a try, it’s pretty much Facebook for your neighborhood (or Facebook before they spiraled out of control).
Our little yard looks pretty sad so after a rainstorm I trekked the half mile over to remove bulbs from a strangers yard. Once I got over the fact that it looked like I had literally walked up with a shovel and started digging in someones yard (the owner wasn’t there) the removal process was pretty simple.
Iris are spring blooming bulbs so after they’ve bloomed you need to leave the stalks on so they can soak up nutrition for the following year. After about 40 minutes of working the bulbs out of the yard I was rewarded with a large bucket full of iris and daylilies.
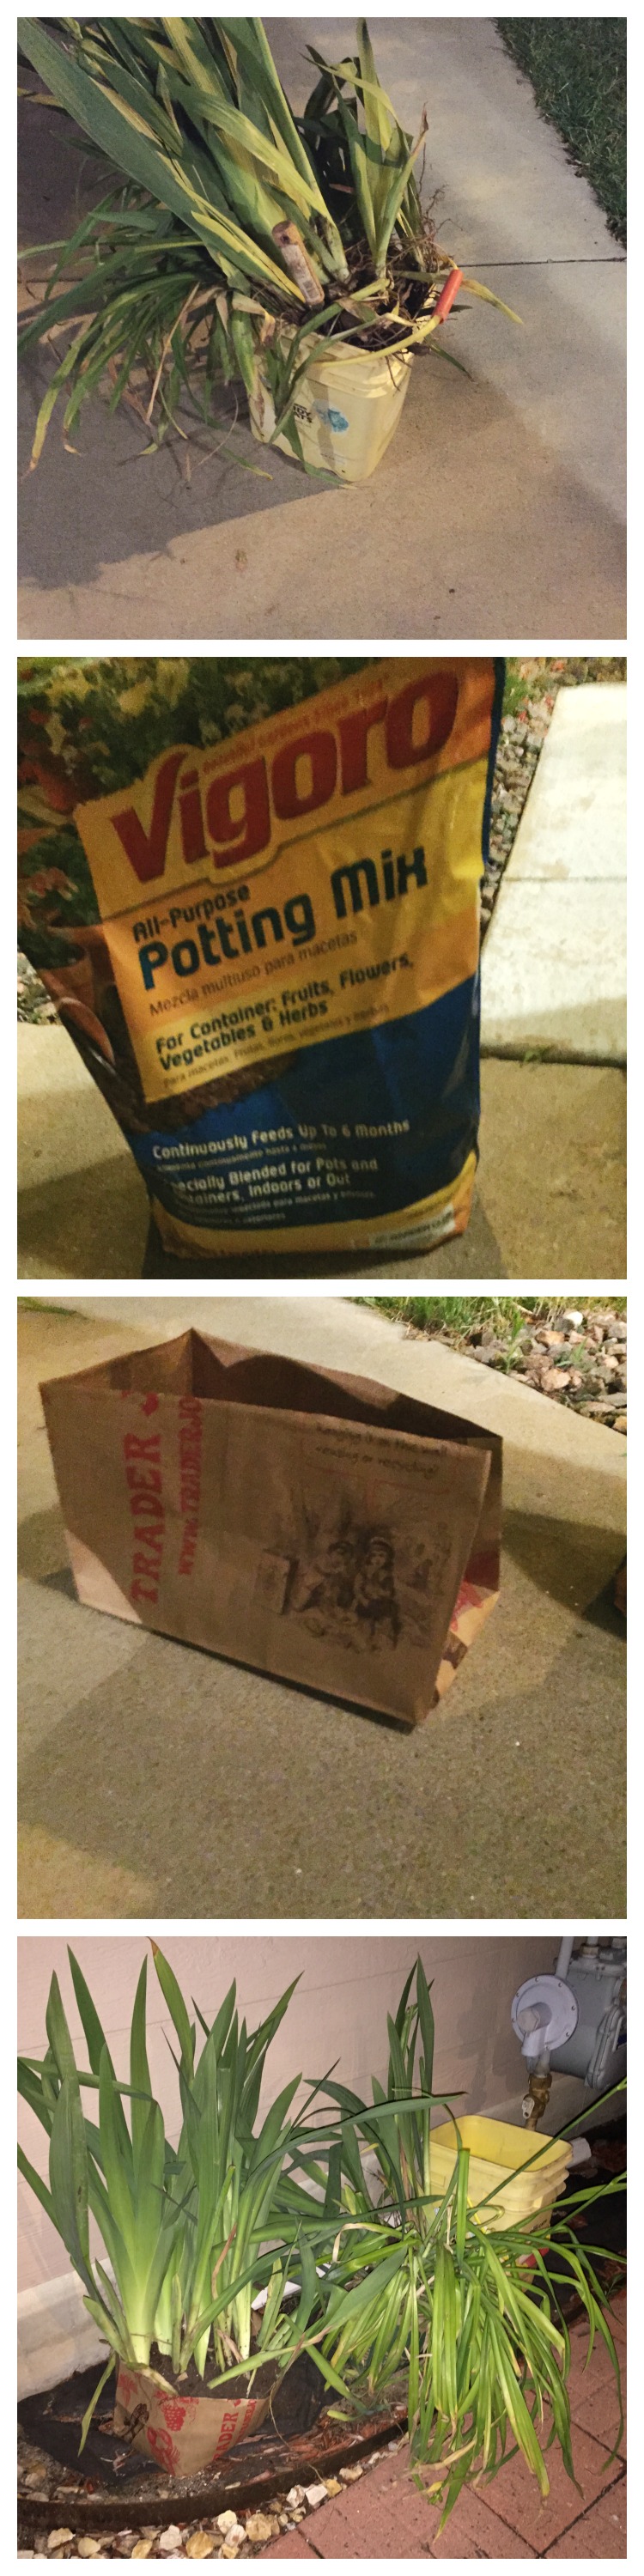
I was already covered from head to toe in mud and it as dark, so I wasn’t prepared to actually plant them that evening. So they would keep for a few days I cut down a brown bag and filled it with potting soil and moved the transplants from the bucket, into the soil, and place them out of the sun.
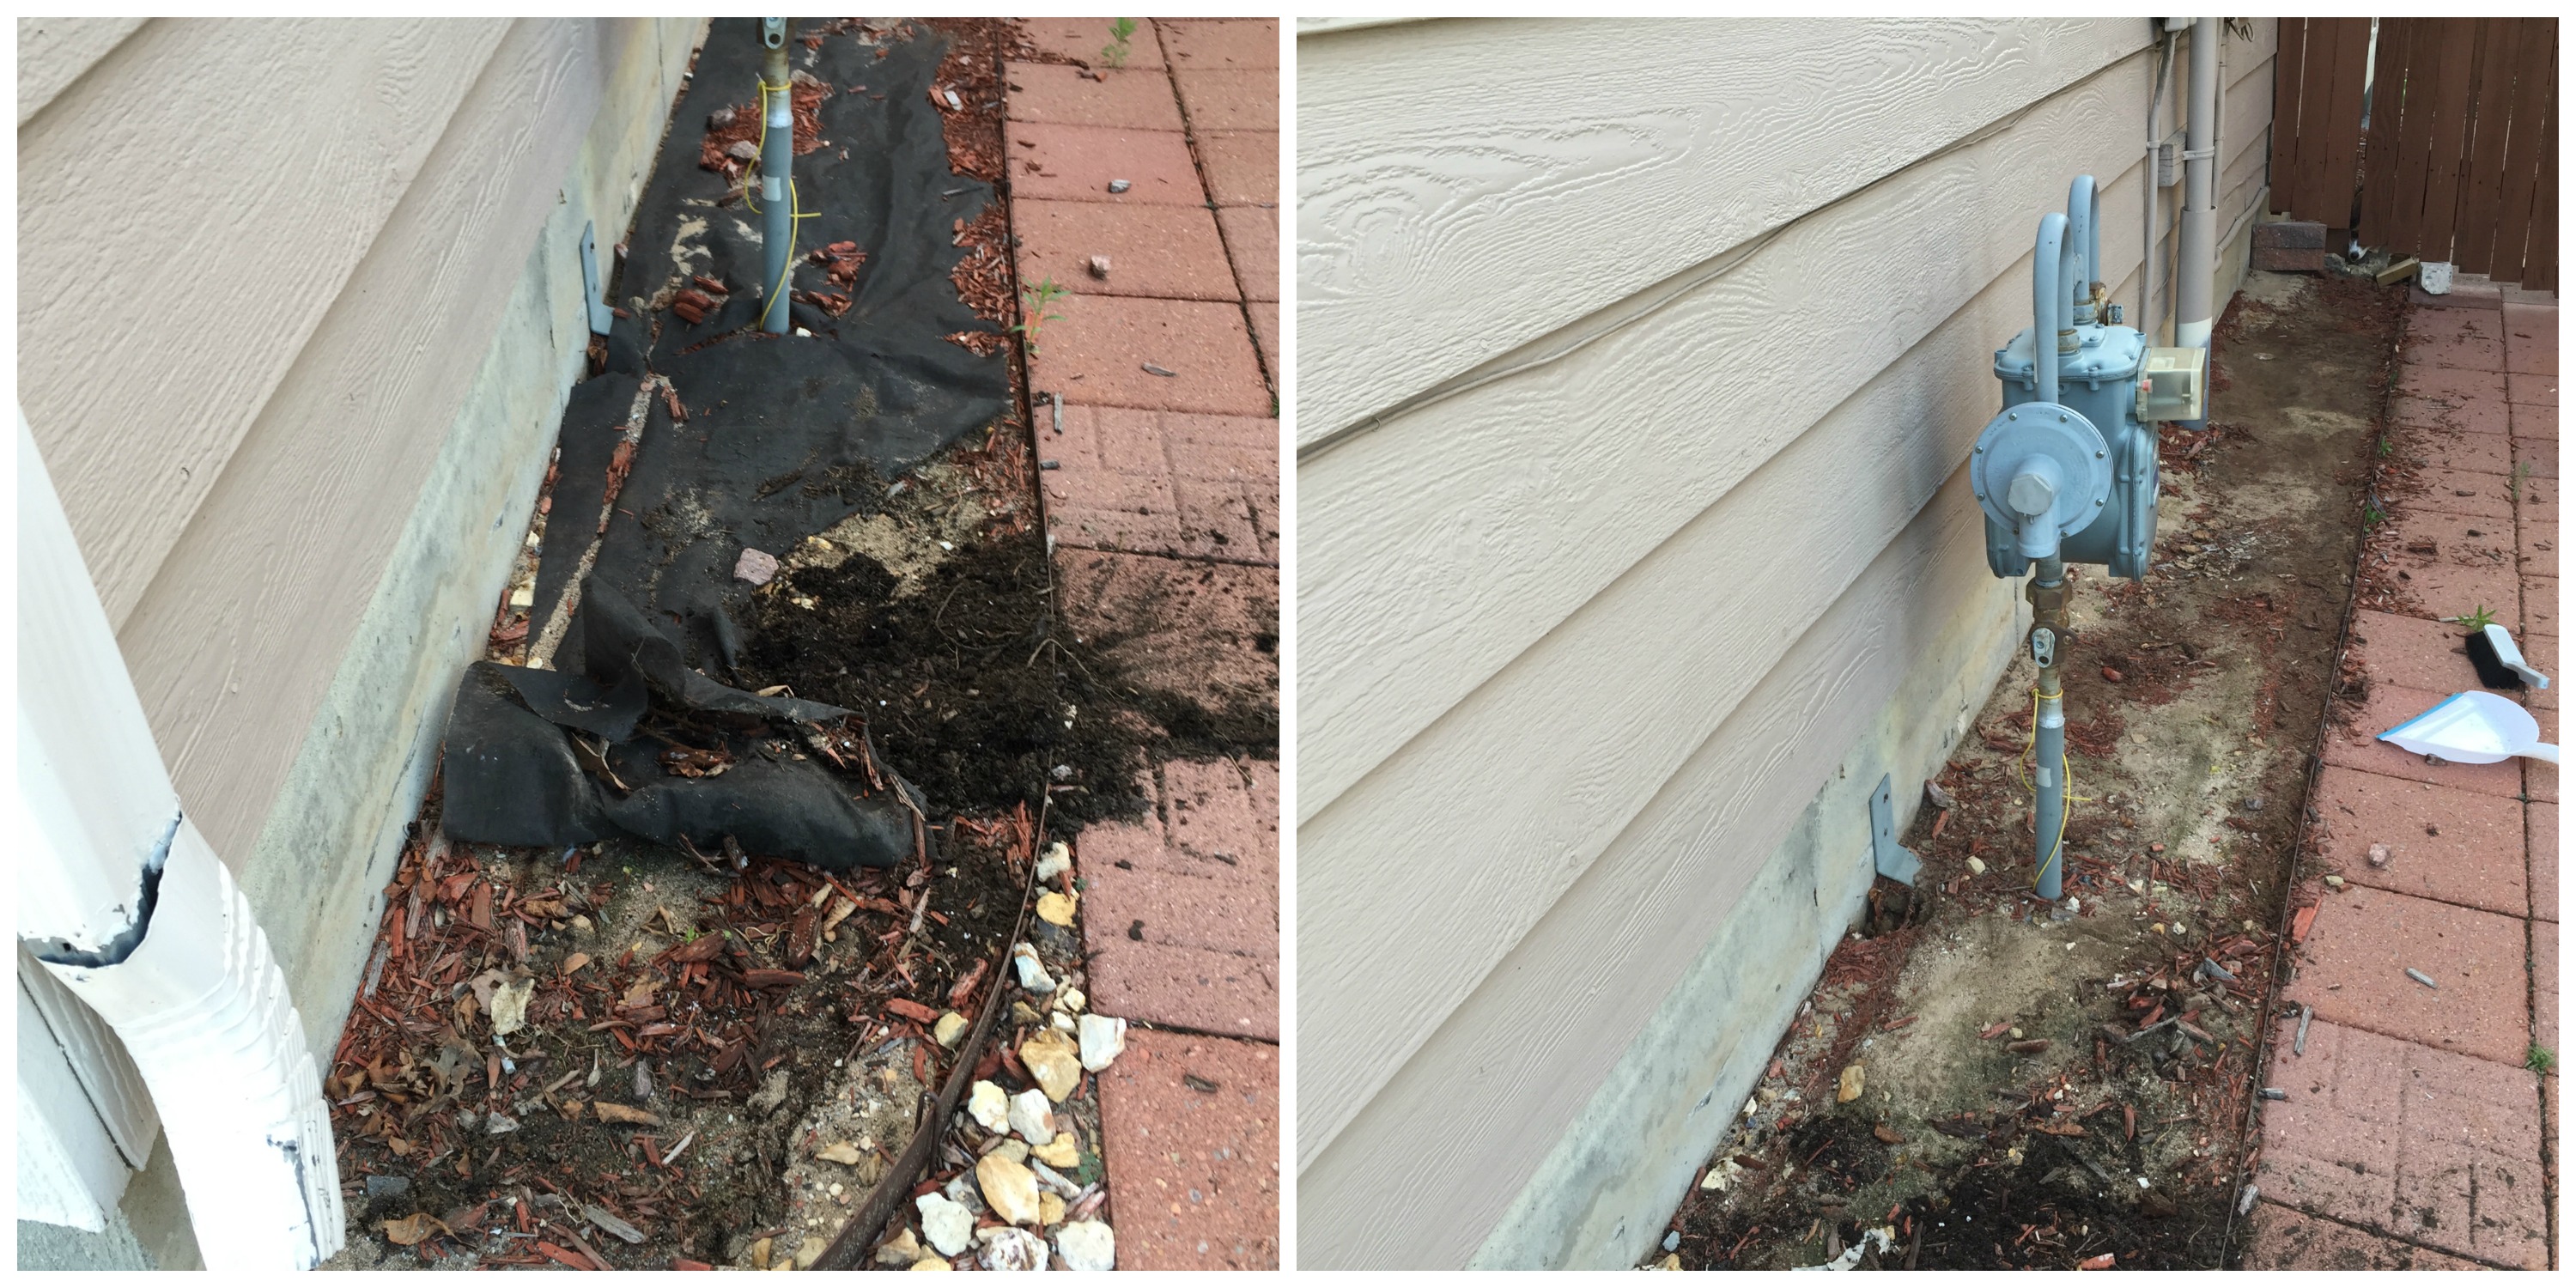
The following weekend I started prepping to plant by clearing out the flower bed. As you can see, the previous owners left us with a mess of half done weed barrier / mulch.
Before planting, I needed to separate out the bulbs. Bulb plants multiply at the root and have to be separated every few years so they don’t become overcrowded. Transplanting iris is a great way to spread out these plants and keep your garden healthy.
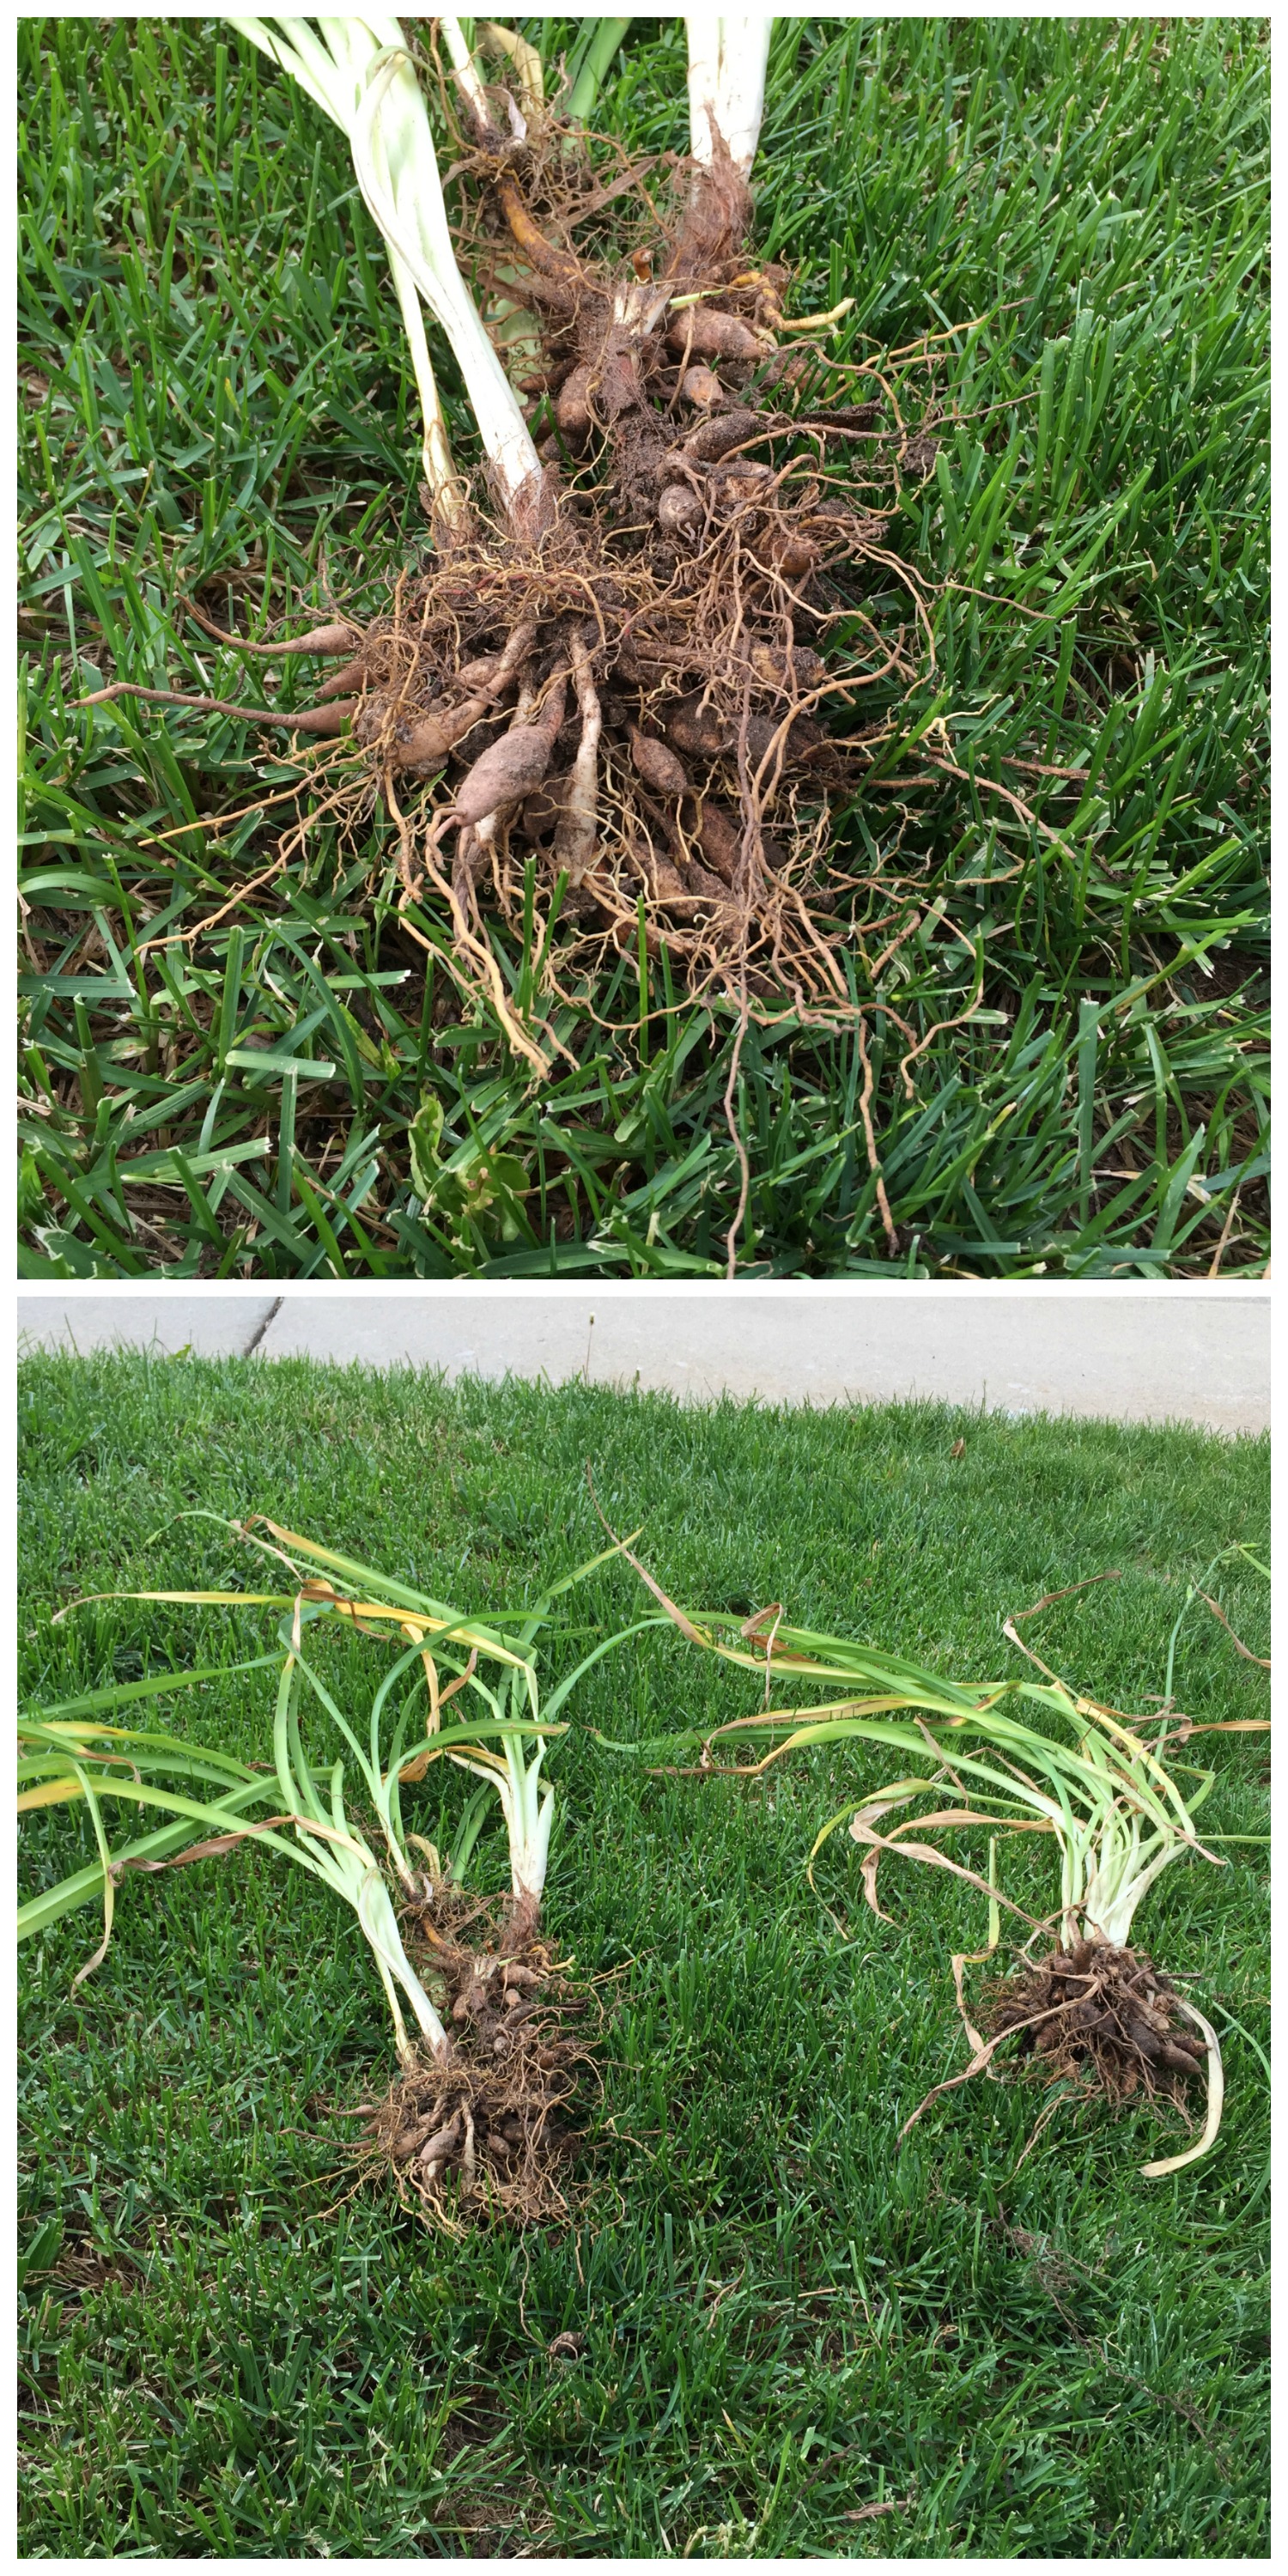
Daylilies look more tuberous than what you usually see with bulbs, so they are easier to separate. Technically daylilies can be planted as seeds OR bulbs but separating them once they’ve grown too large is a great way to fill a garden. For these, you just sort them apart at the root, trying not to damage the root tendrils in the process.
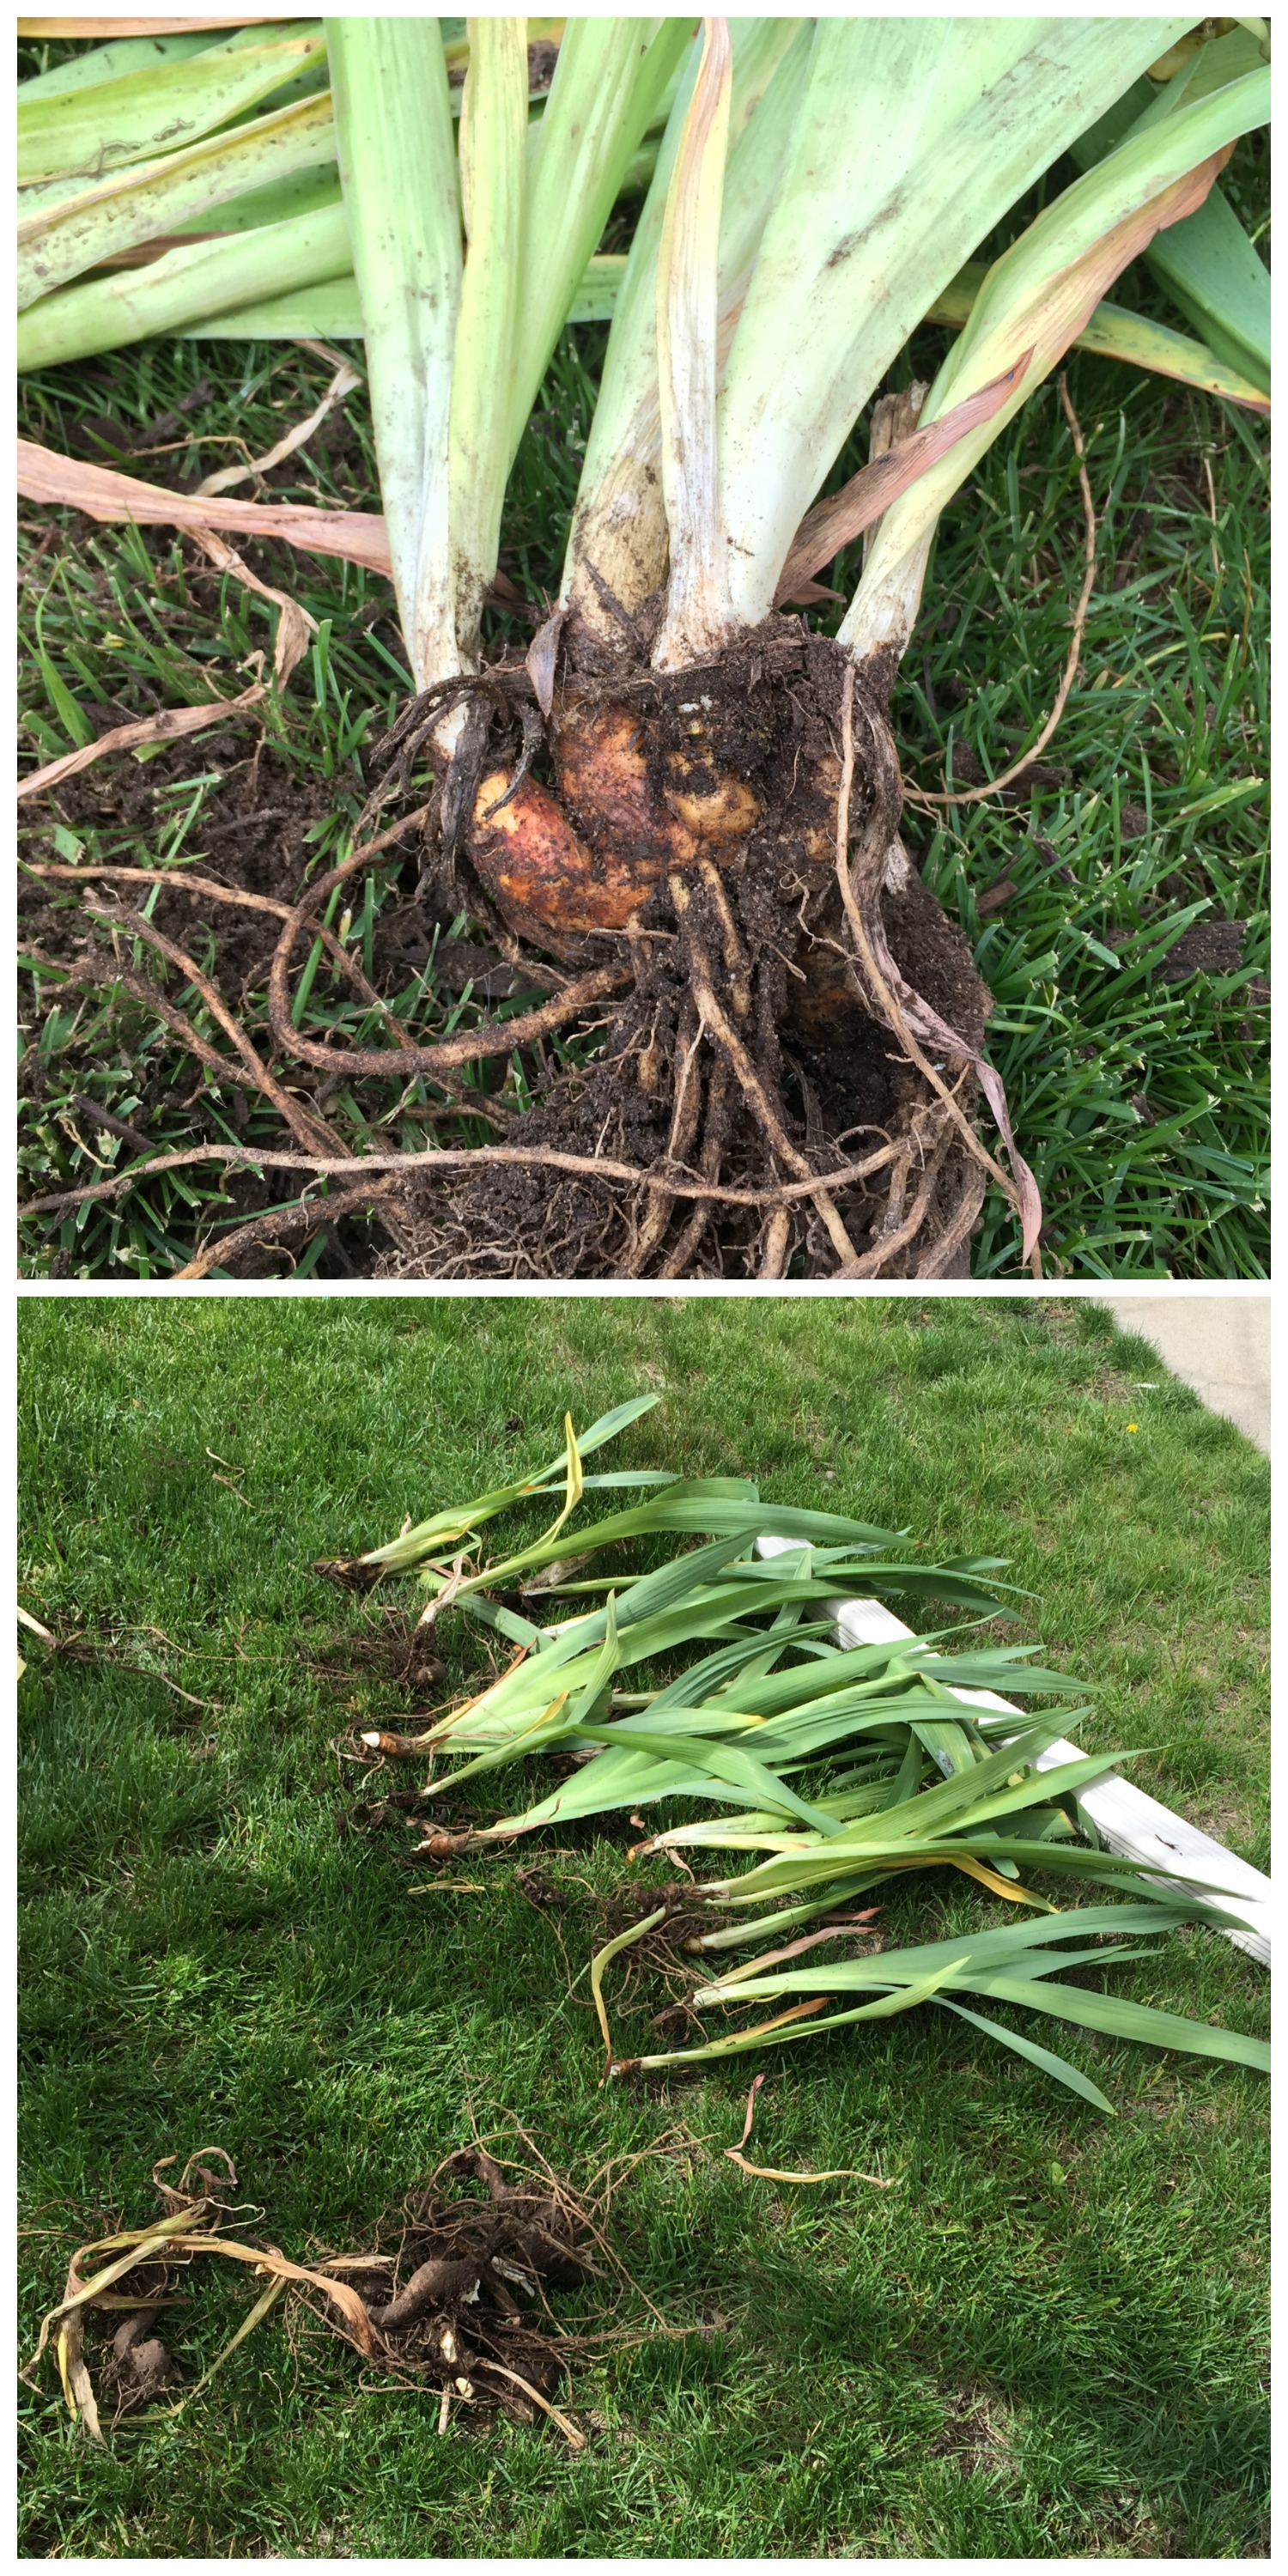
Iris are the kind of bulbs most people are used to seeing, which means when you separate them, they are in huge crazy chunks. You want to be very careful about pulling the bulbs apart where they have leaves growing, because this is where each plant begins. From this one bucket, I was able to get about 25 separate plants.
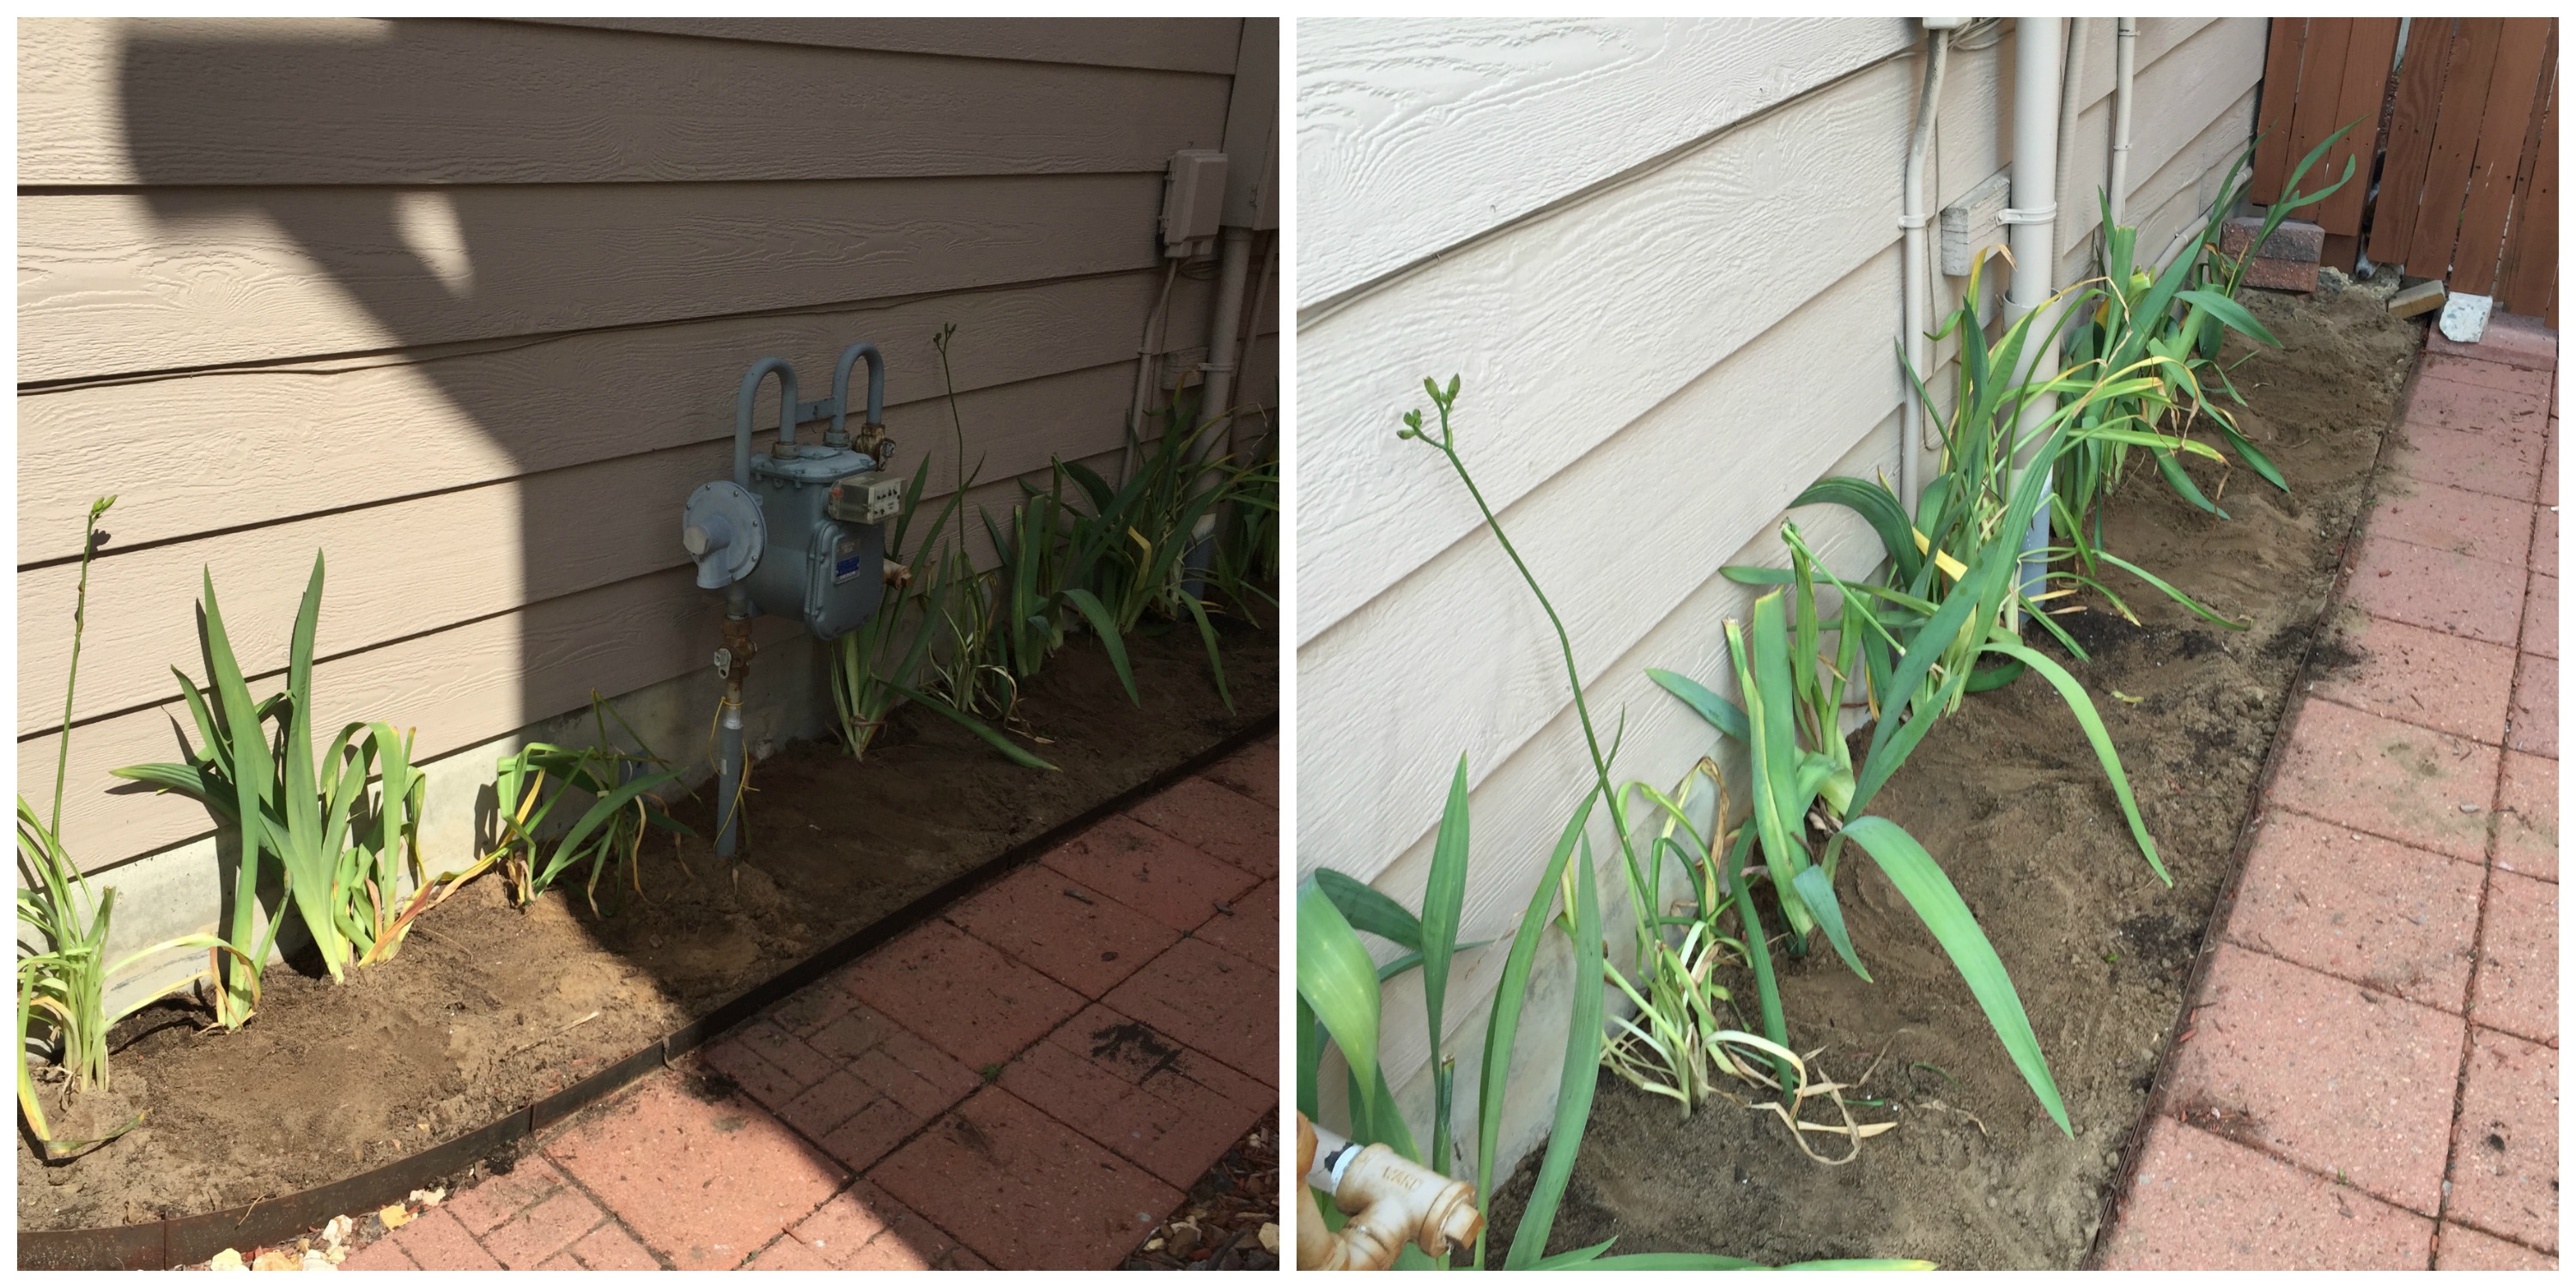
Once separate you need to put them back in the ground about 12 inches apart. I added fertilizer to the soil and alternated between lilies and Iris. You can place multiple bulbs in each hole so that the garden doesn’t look sparse later.
We’ll see what comes up next summer, but for now I’m super happy about how green everything looks currently. This was a great free way to add what would have been an otherwise pretty expensive project.


No Comments