Can you believe it’s almost the end of April??? We’re getting down to the last of our spring inspiration and I am so excited to have Natalie from Fern & Maple joining us today to show us a super cute way to display some of the small items you may find around your home. See the full project and don’t forget to enter to win one of the three prizes from our party sponsors!

Hi Rocky Mountain Bliss Readers! I’m Natalie, I blog over at Fern & Maple, where I share all things party-related as well as DIY projects and seasonal crafts.
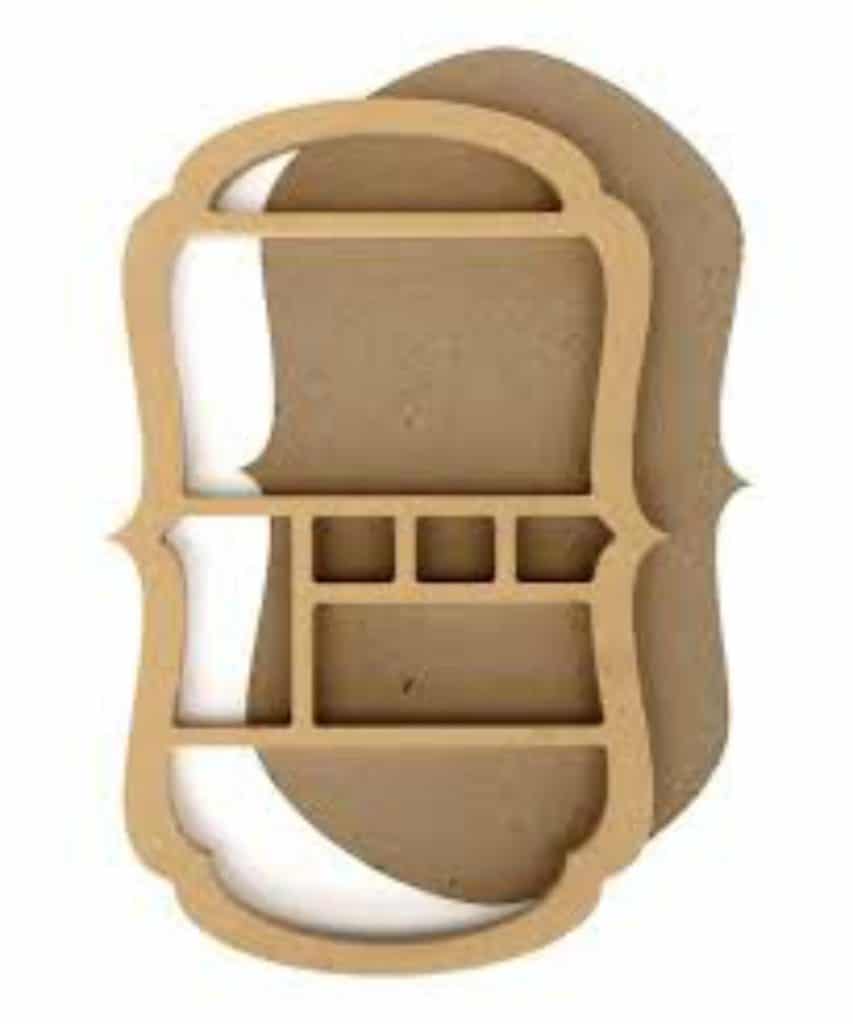
I’m so excited to be participating in this Spring Craft Blog Party! Today I’m showing you how I made this super cute, super easy, DIY toy figurine display using an ADORNit shadow box kit.
Around this time of year I start spring cleaning my children’s rooms. Stepping on their toys reaches critical mass post winter hibernation and I like to sort and organize.
Both children have started collecting mini figurines and my daughter has just got into Pokemon, and particularly Pikachu. As a child I looooooved collecting things so I’m thrilled she does too, but not when her collection is all over her floor, lol!
If you have children who love collecting too, then this DIY display box project is just right for you!
Easy DIY Display Box
Items You’ll Need:
- ADORNit wood long shadow box kit
- Paint in color of choice
- Ribbon
- Trading Card (or images of a collectible)
- Wall decal
- Gold body tattoos
- Tools (i.e. Scissors, glue, staple gun & staples)
Step One:
First, brush off the wood frame and backing to make sure there is no dirt or grime before painting.
Step Two:
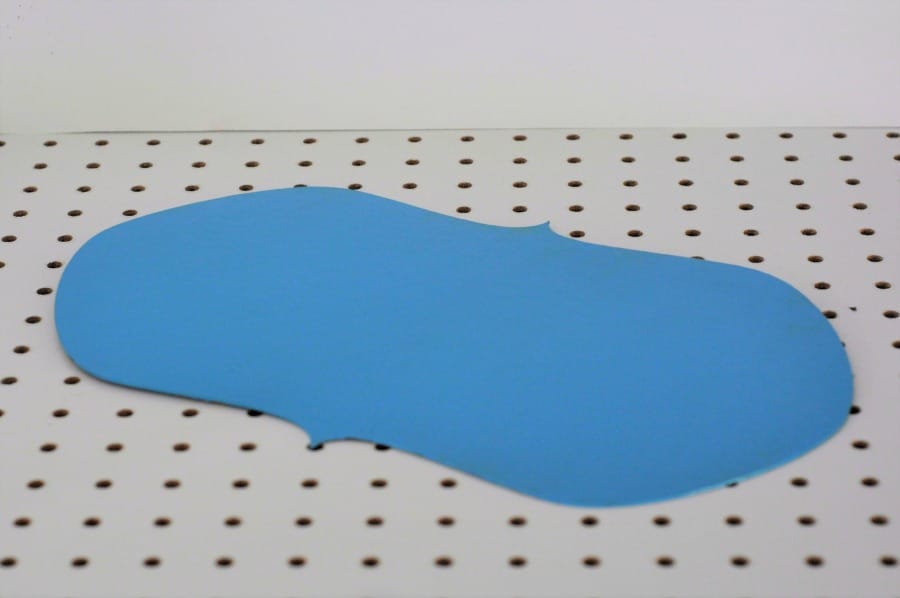
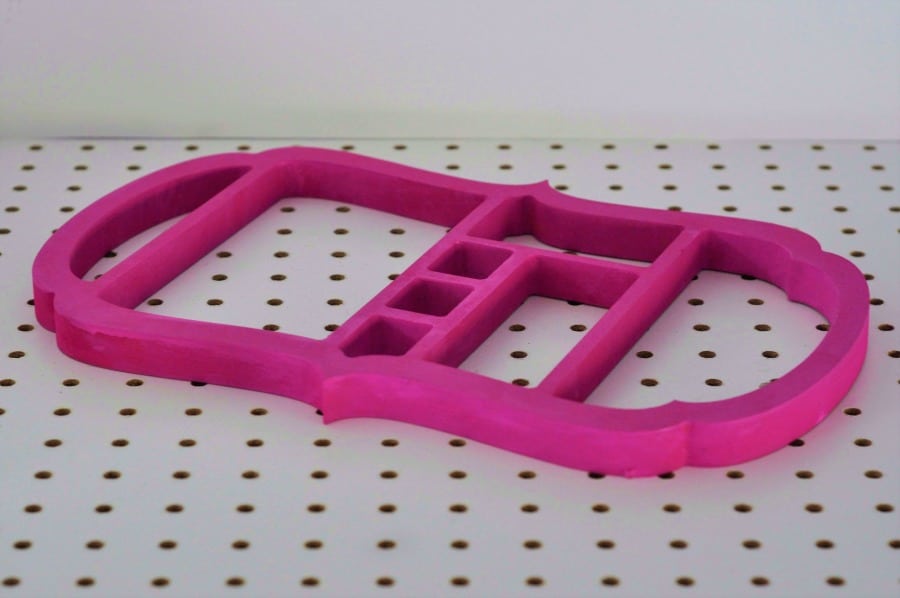
Paint both the frame and the backing. You may need two coats of paint and be sure to let the coats dry between applications. I love using Deco Art paints. I used Americana acrylic for the frame and a high gloss patent leather paint for the background piece to give it some pop. Set aside to dry.
Step Three:
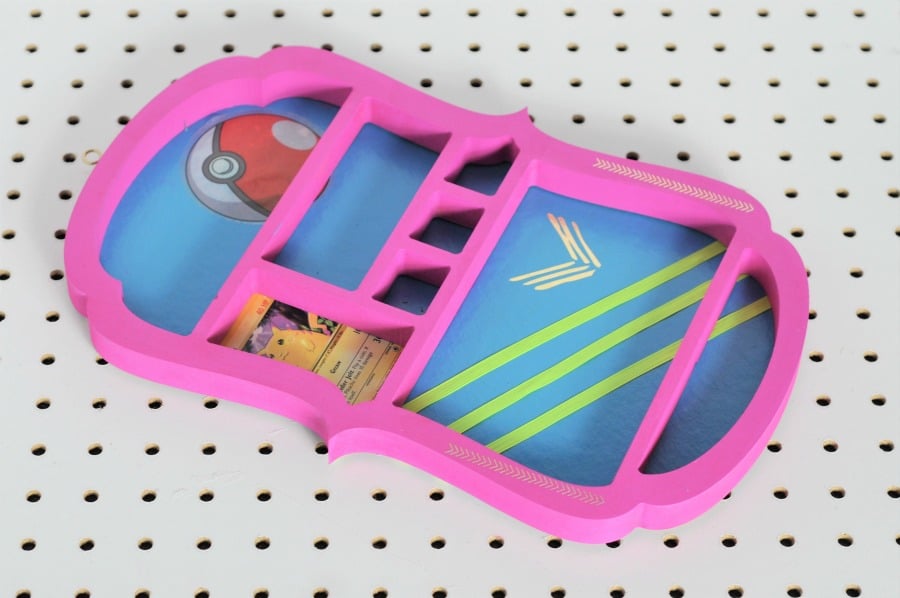
Once the paint is dry and hardened, you can measure out placement and attach your decorations. I chose the following decorations:
- Fun neon ribbon
- Pokemon ball wall decal
- Pikachu pokemon trading card
- Gold body tattoos
I attached them to the backing board and frame as follows:
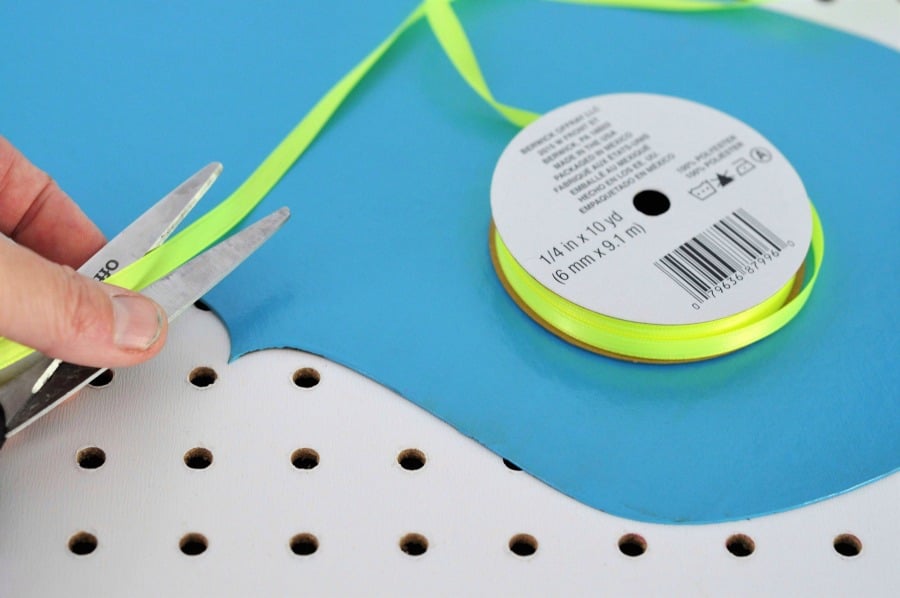
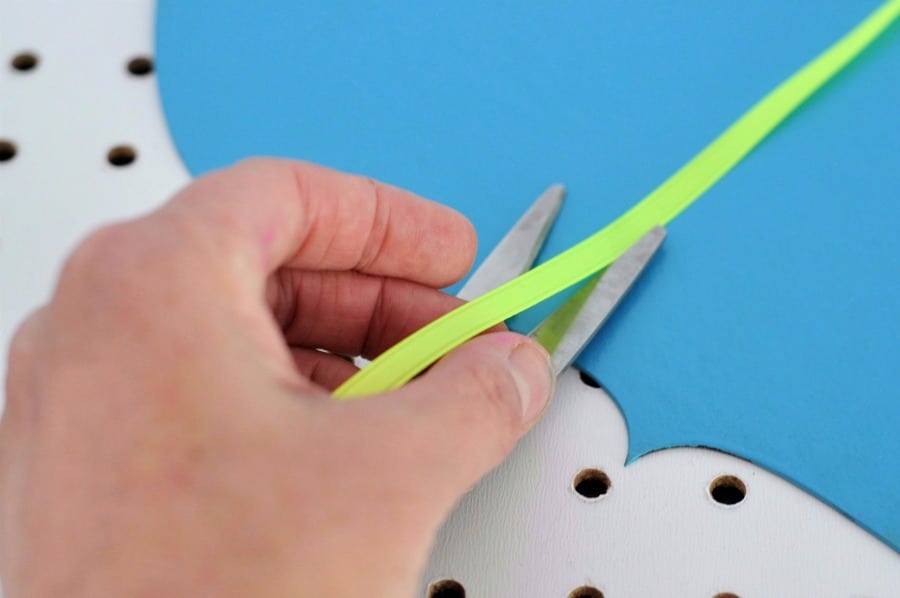

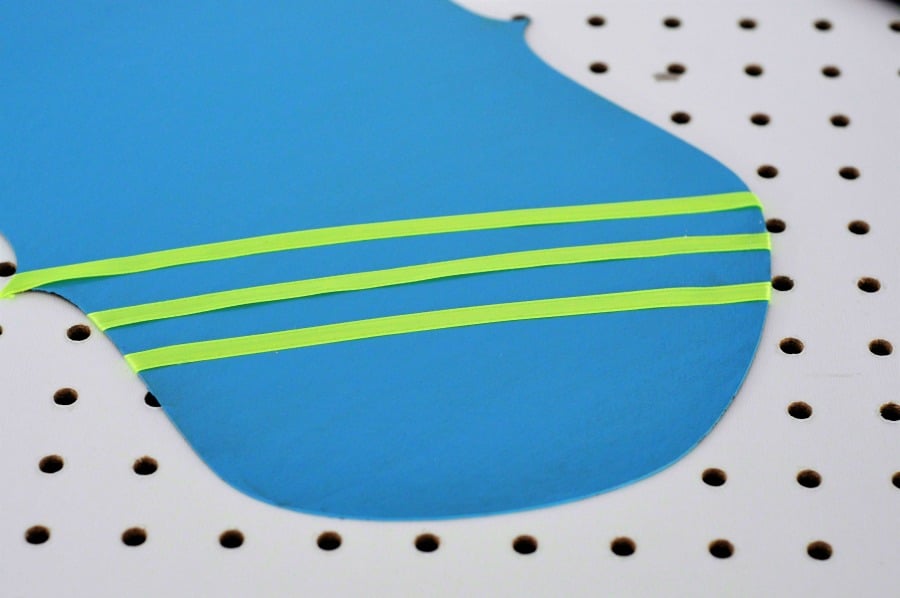
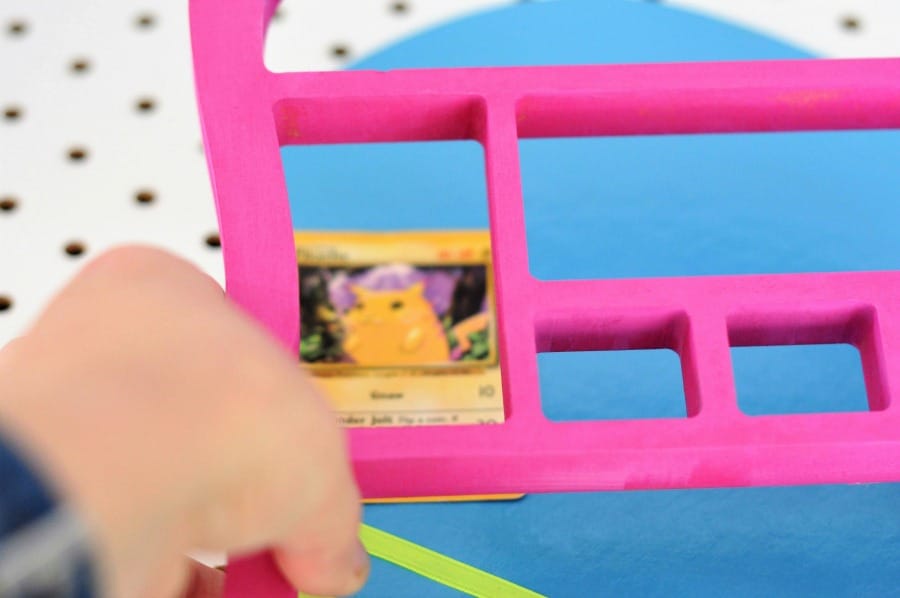
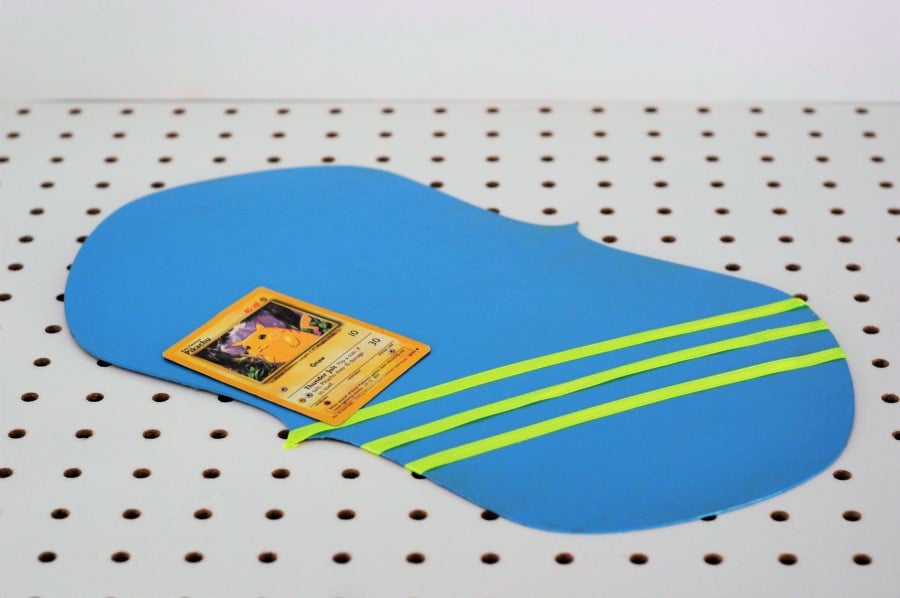
3a – Use glue to attach both the ribbon and trading card to the backing board using a strong 3-in-1 glue.

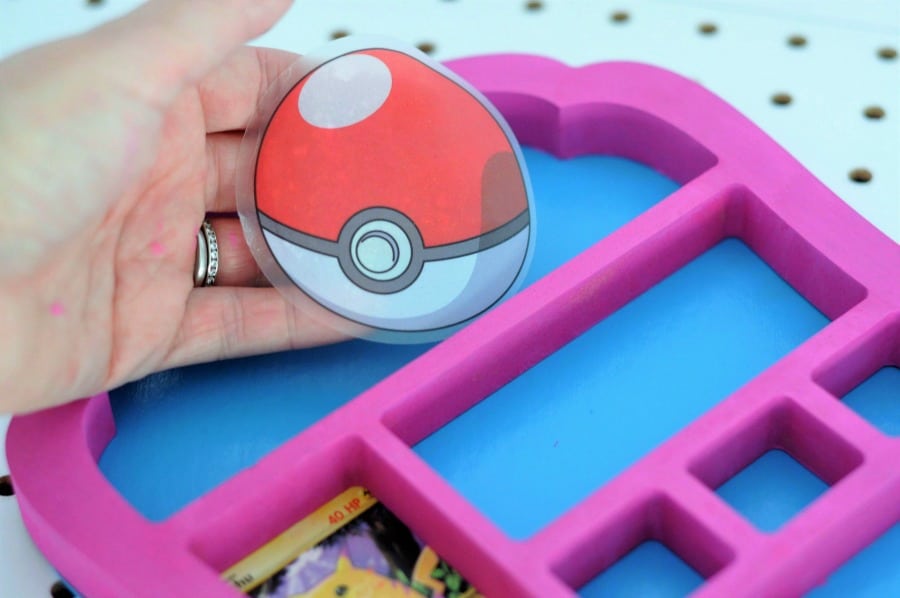
3b – The wall decal can be peeled off it’s backing paper and attached directly to the backing board
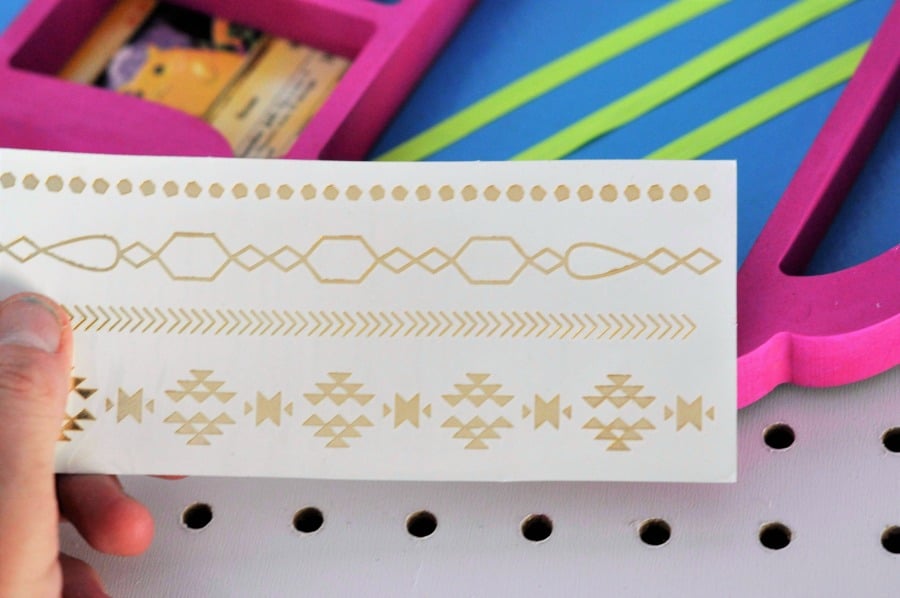

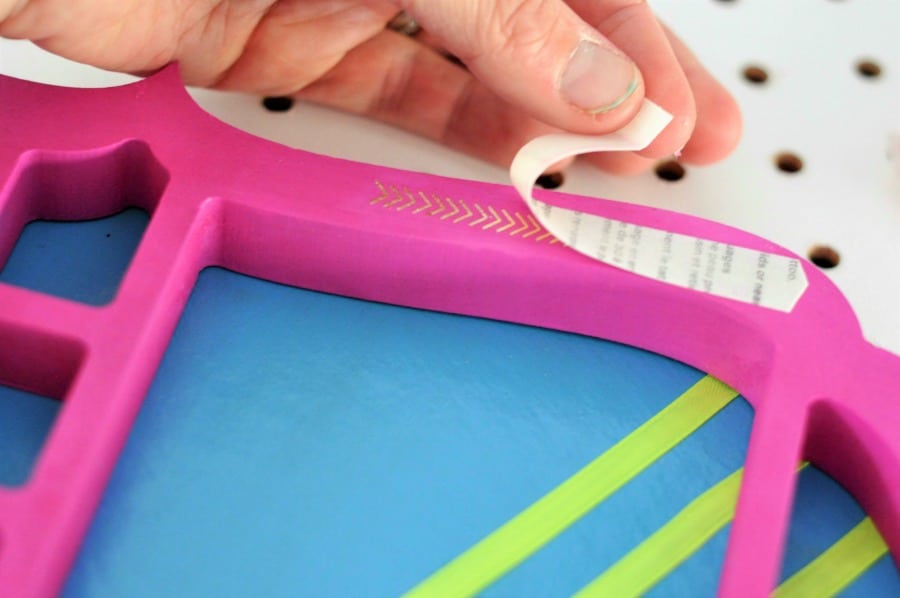

3c – Apply the gold body art tattoos as you would to your own body. Then gently remove the backing paper.
i.e. strip off the clear cover, apply the tattoo face down onto the painted surfaces (the backing board and the frame) and use water and pressure.
TIP: you need to be more sparing with the water if you are using acrylic paint. I used a paper towel to apply the water and rung it out before putting it onto the tattoo. Then it doesn’t drip onto the paint directly, it is only on the backing paper. I also increased the pressure I used, using my nail to rub a little harder.
Step 4:
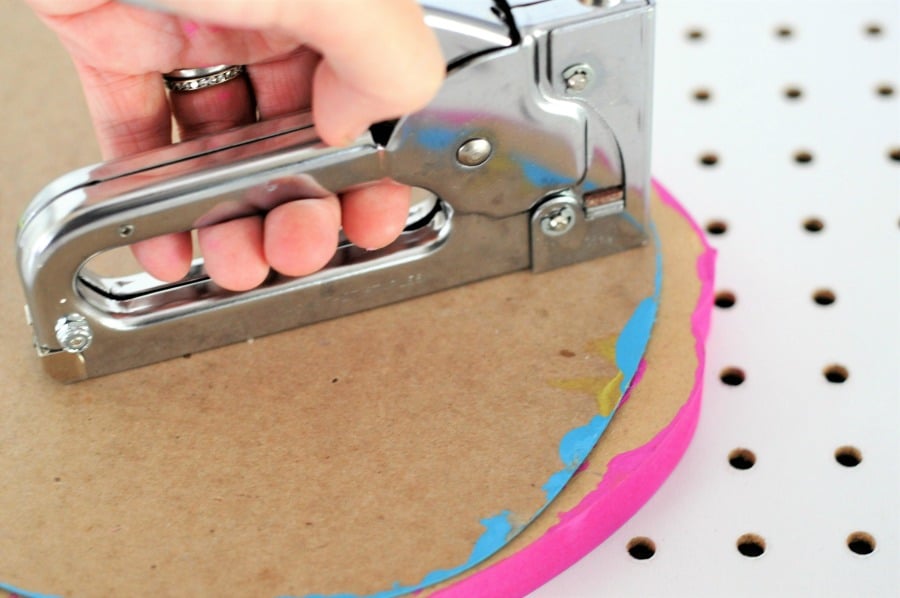
Use a staple gun or a strong glue like power tac to attach the backing board to the frame.
Step 5:
Attach a hook to the back of the frame and board and hang to a hook on the wall.

Step 6:
Finally, add the toy figurines or whatever else you are putting inside your box and let your child enjoy seeing their fabulous collection up on their wall. My daughter loves hers!
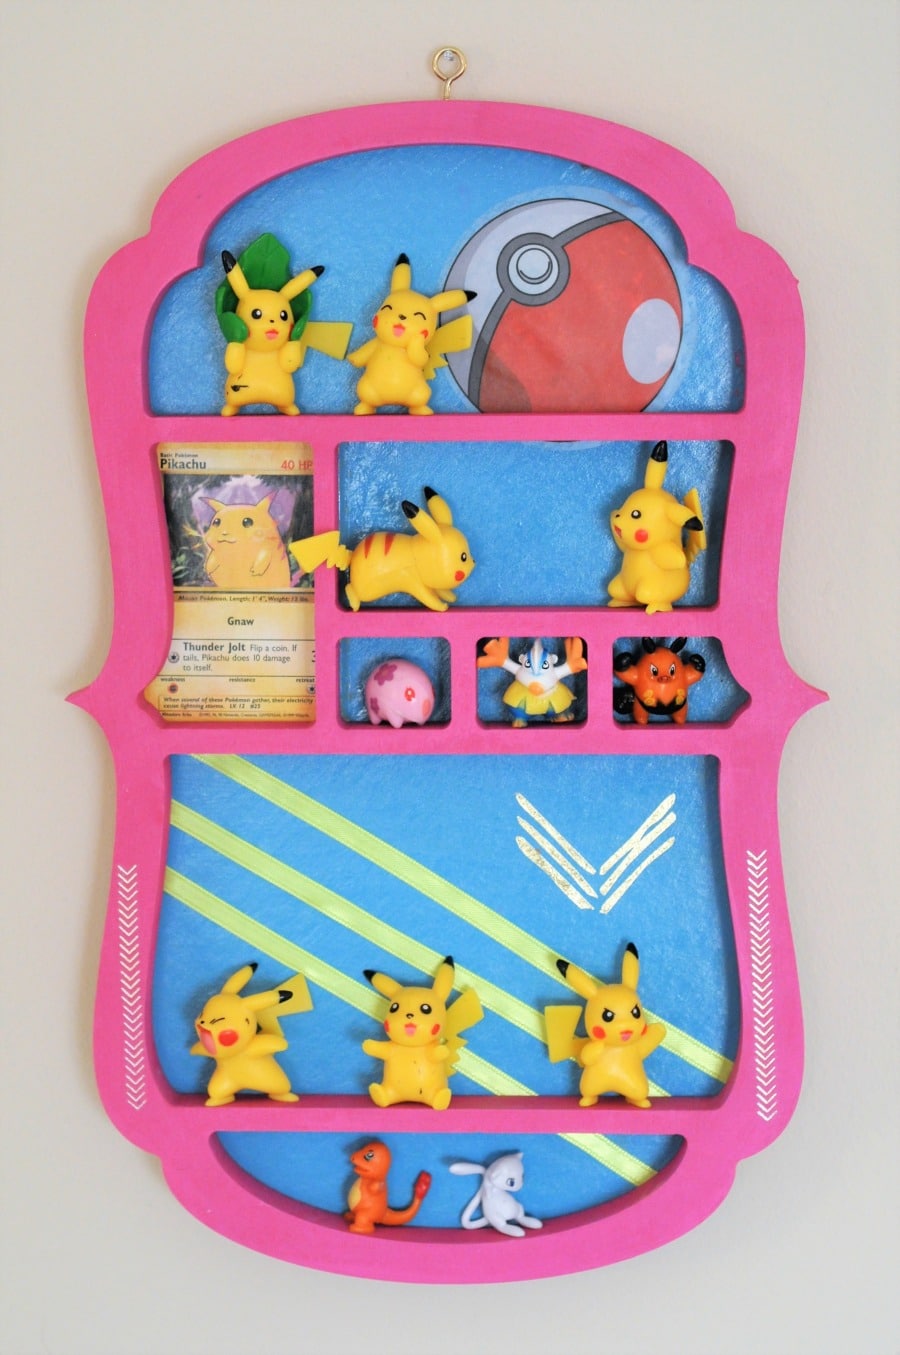
Hope you like this project! I love how easy & quick it was, and the same tutorial would work for any type of wooden shadow box. You could apply stickers, washi tape, glitter, sequins and all sorts of other things for a bit of fun!
You could also make multiple to create a toy gallery wall and it is a project your child can work on with you. Please share photos if you make one of your own!
Have a happy springtime and if you love this project, you can check out my other DIY projects here!
Thanks friends!
Disclaimer: Contest prizes are provided by sponsors. All writing and opinions belong to myself or the post contributors.
No Comments