
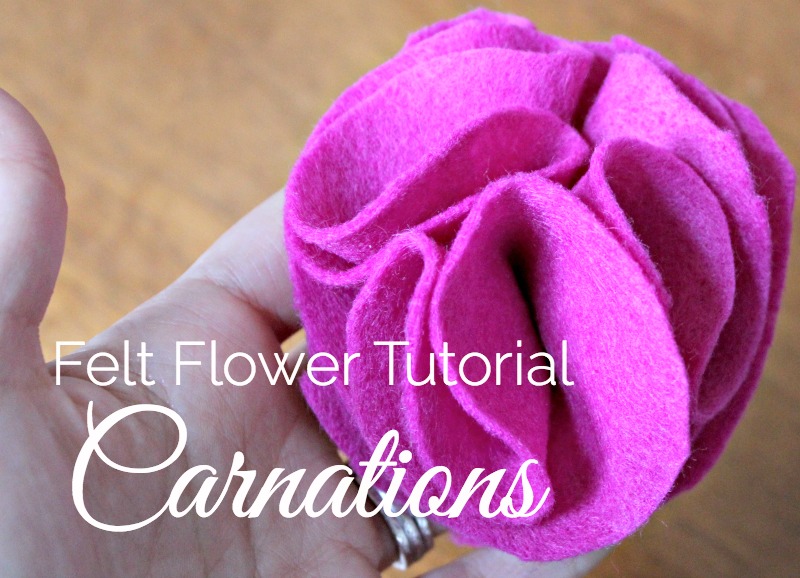
This felt carnation tutorial is part 2 of the wreath I’ve been working on for my front door. Full of color, felt flowers are perfect to add a bit of brightness to your door as the summer months begin. Part 1 covers how to make a Felt Rosette and today we’ll be adding to another flower to your arsenal – a carnation!
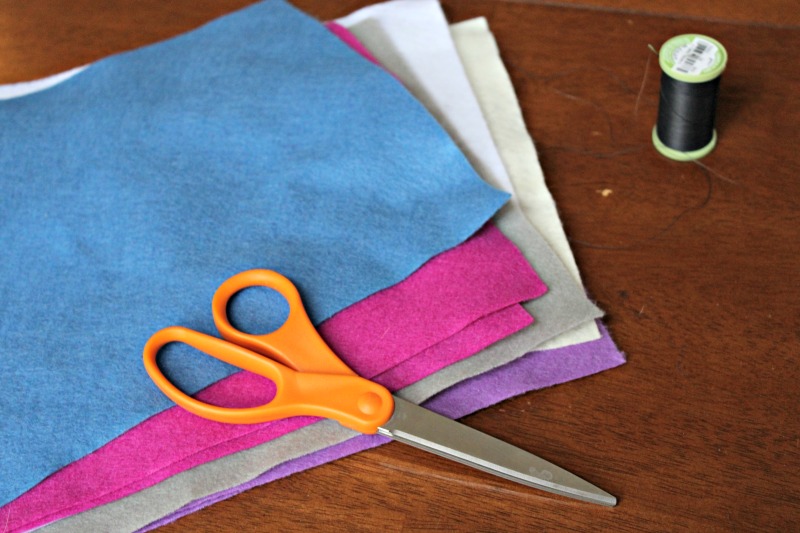
Scissors
Needle and Thread
Felt
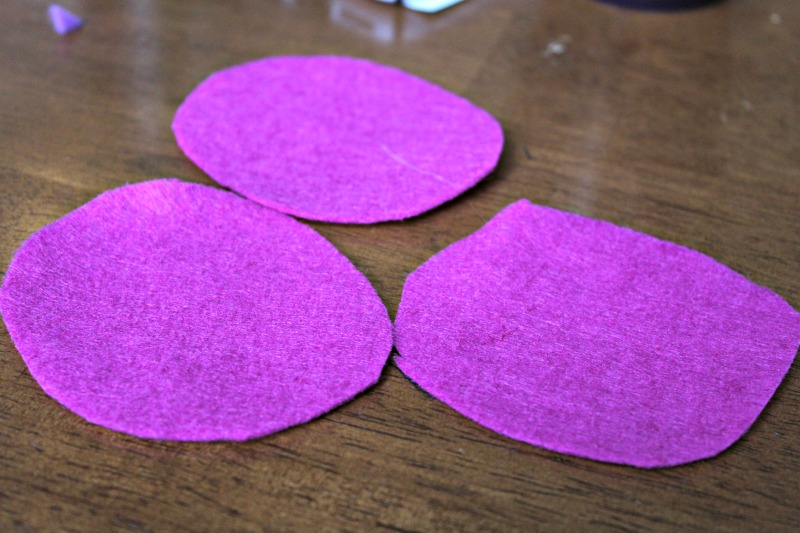
Begin by cutting out five circles of felt. The circles do not need to be identical, but should be about the same size. For mine, I used circles that were about 3 inches wide.
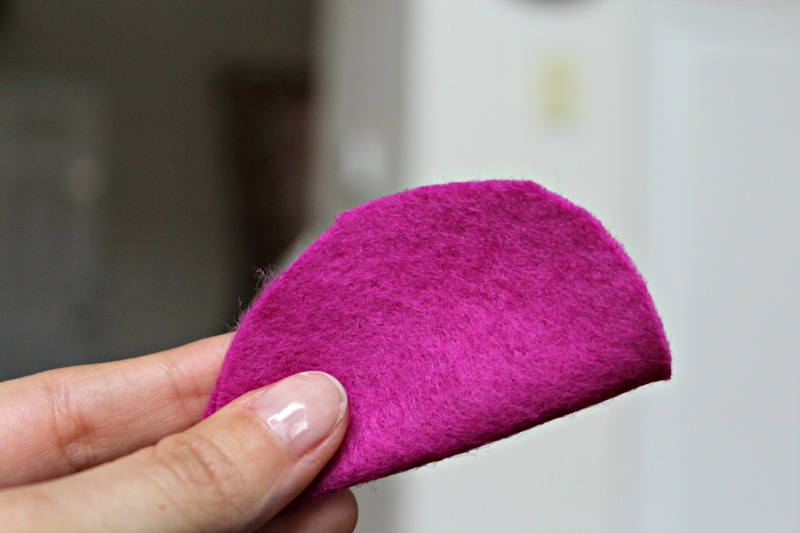
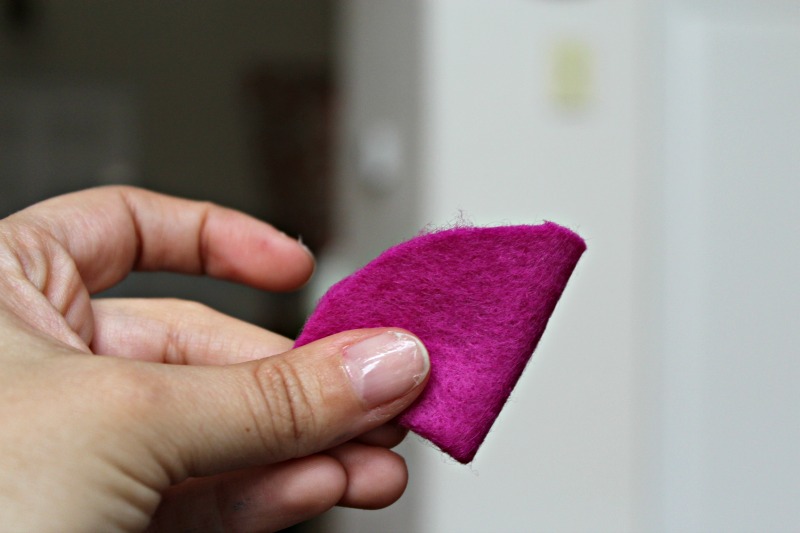
Fold your first circle twice, so that the felt is quartered.
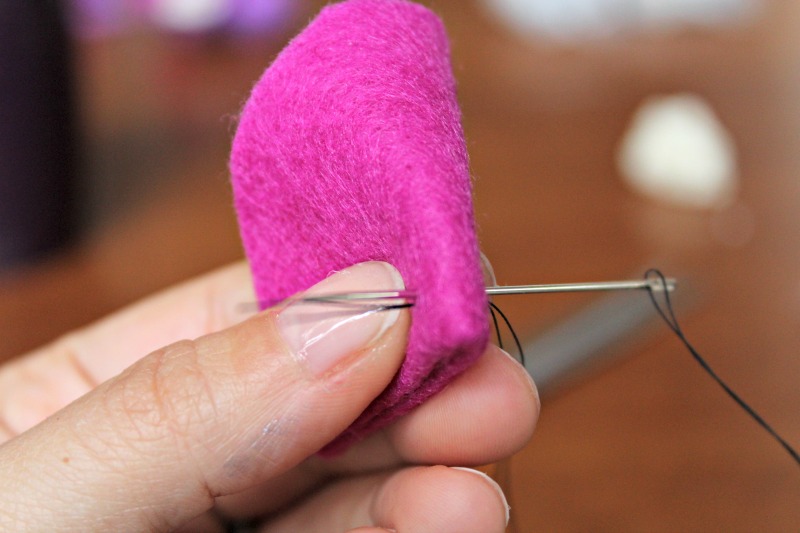
Place a stitch at the base of the circle to hold it in place. Repeat three more times.
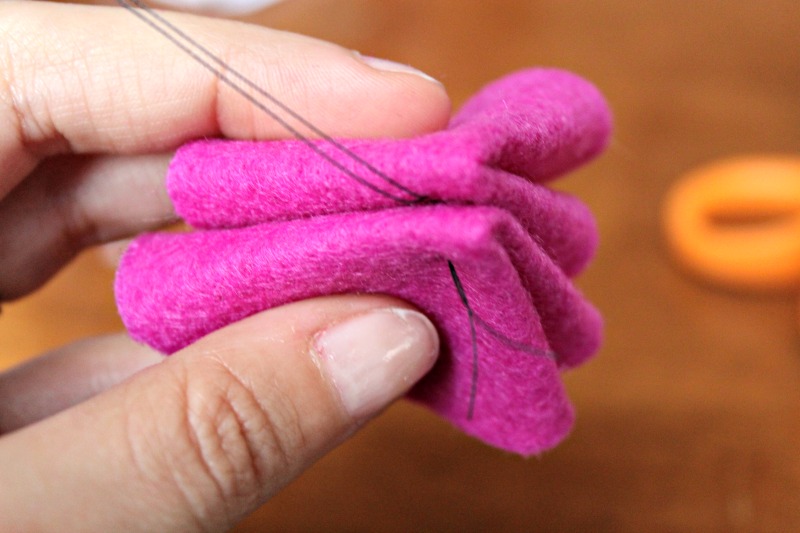
Hold two of the folded circles together and stitch through the middle. This is the center of your carnation.
Hold your third circle where the two felt circles meet and stitch through the center.
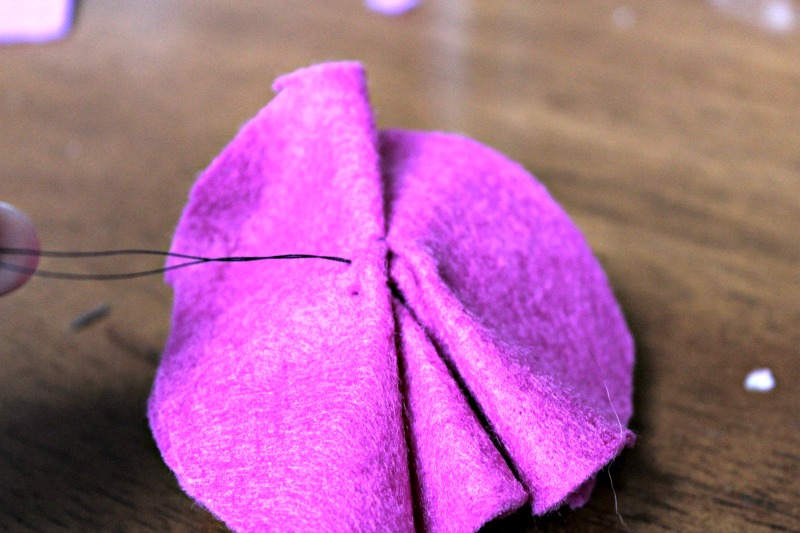
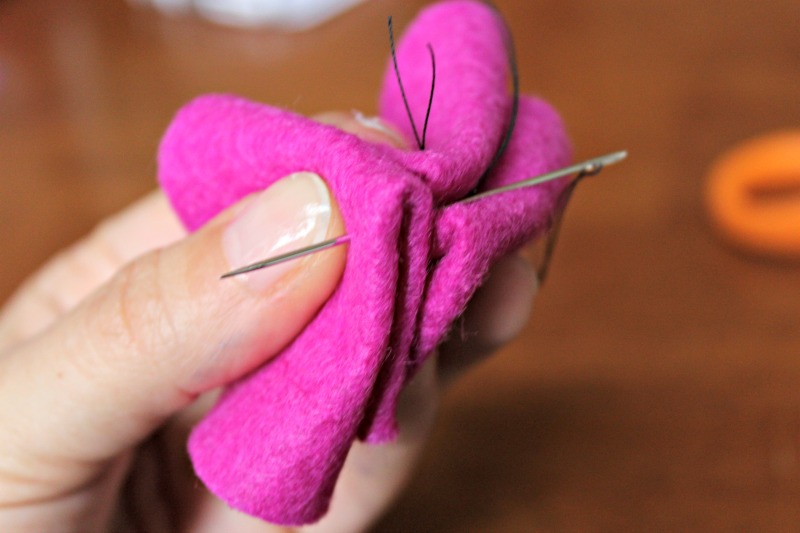
Fold each of your two remaining circles in half, and join them in the center to the rest of the felt. You should stitch through the backside so that the 2 back pieces are well attached.
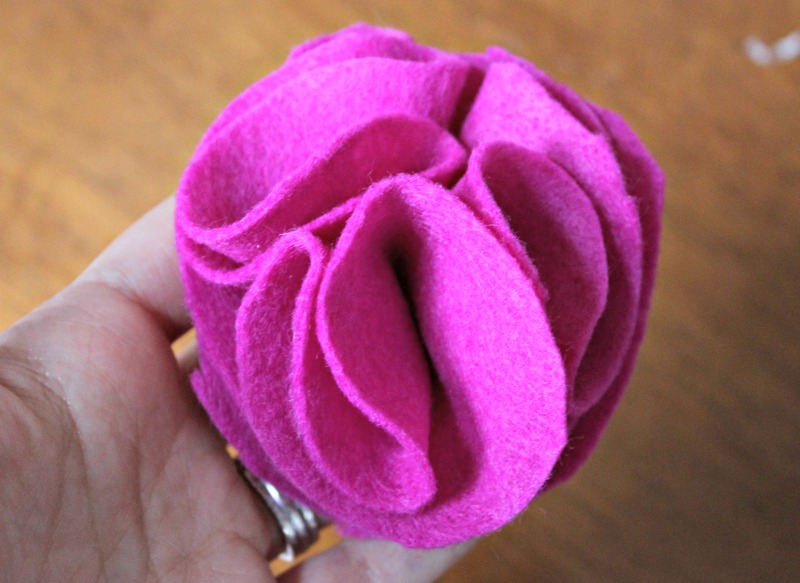
Turn your flower over and fluff out the petals. Your carnation is now complete.
This is part 2 of your floral wreath. In part 3 we’ll put all the pieces together and finish your wreath.
View Part 1: DIY Felt Rosette