

It’s already been a hot minute since December but I’m finally through some big projects and able to catch up on some writing! If you follow me on Instagram you might of seen my snapshot of my appearance on HGTV’s Martha Knows Best last month! If not, I wanted to share the clip and a bit of the backstory.
I was contacted back in early fall about the opportunity to share a craft as an expert on a show and told that ‘I would know who the host is’. I shared a few project ideas and was asked to create a brief video tutorial that could be shared with the producers. Roughly a month later I received a call from a producer asking to set up a zoom time to record the segment. After that, I pretty much forgot about the entire thing! It wasn’t until a friend reached out on a Friday night after stumbling across the video on HGTV that I realized it had made it to air!
As much as 2020 was a bummer, it was such a good year for me and getting to share a project with someone I grew up watching do DIY projects was so amazing. Martha Stewart has always been a huge inspiration of mine and it really was an honor to get to share my work with her and have my work featured on HGTV at the same time.
I do have the full Champagne Glass Etching tutorial as one of my original blog posts back from 2015. Its so crazy to see how far this blog has come and can’t wait to see what adventures are in store for the next five years of writing.
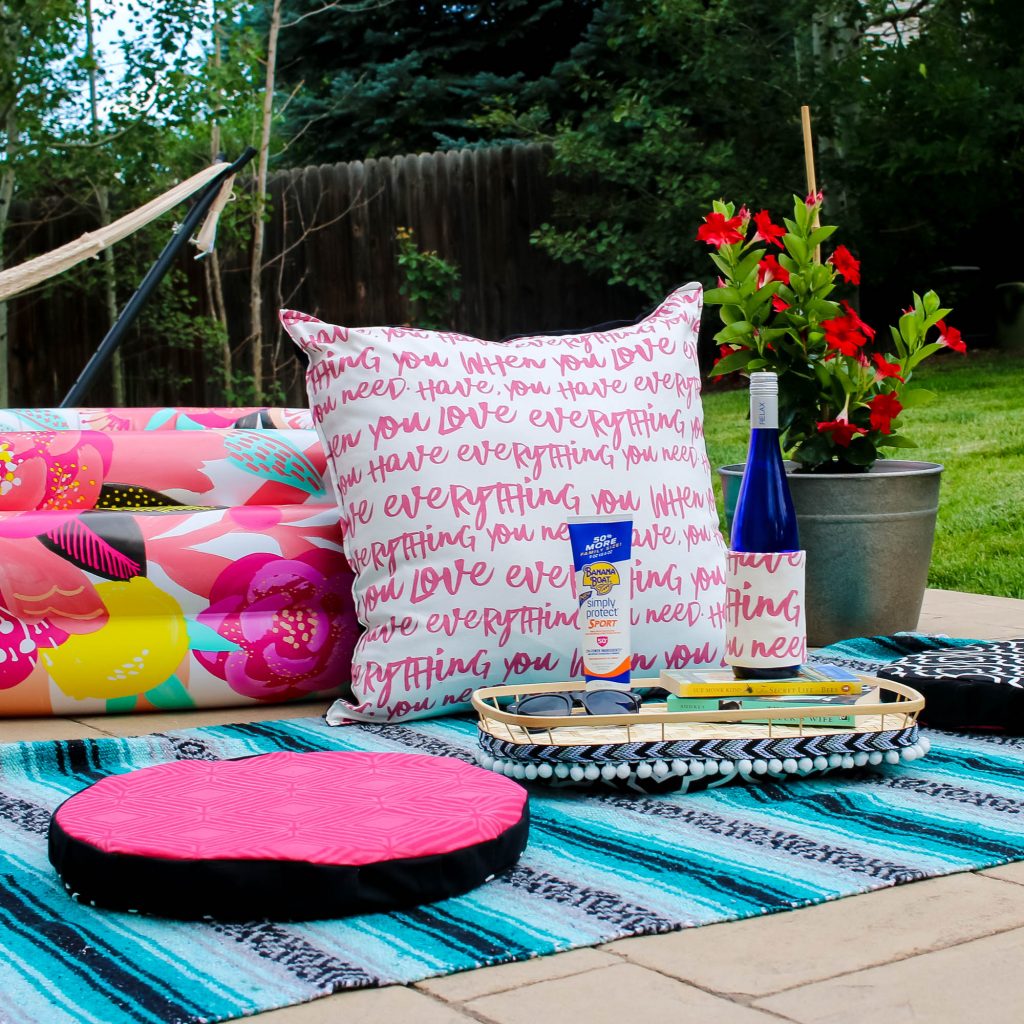
One of my favorite things about our house is the backyard and each summer I’ve been adding more elements to make lounging on the porch a daily activity. We have a big stamped patio, which gives plenty of space for trying out new decor and makes spending as much time as I can outside, that much easier.

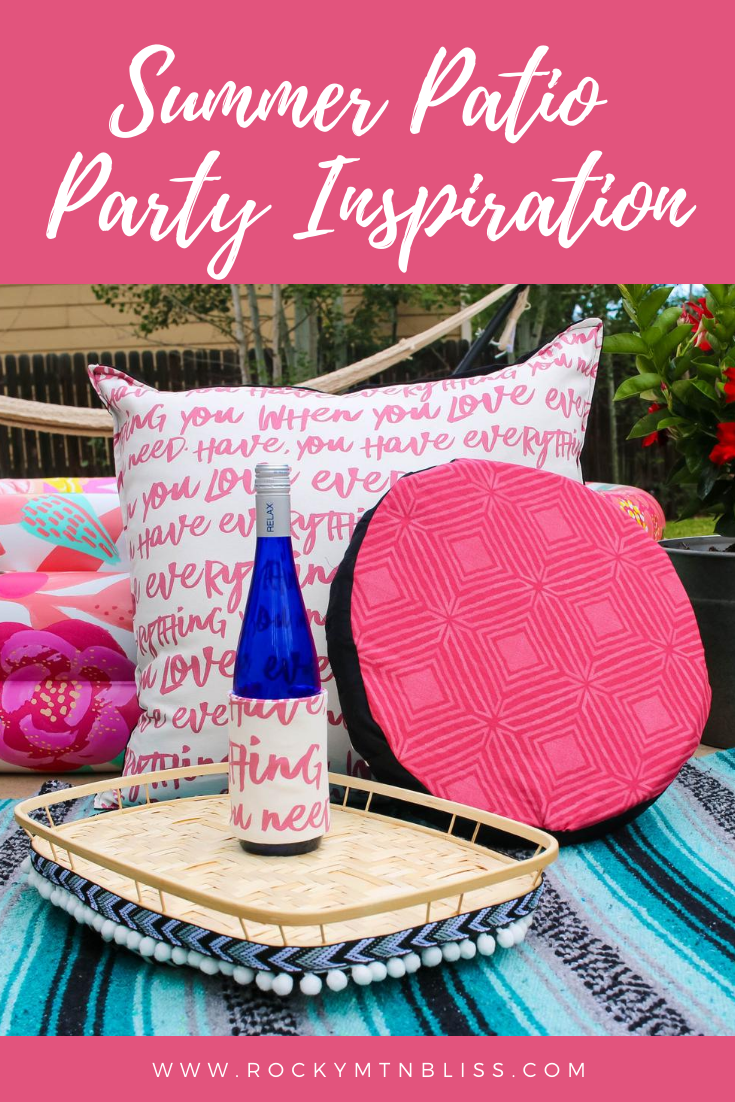
I worked with Fairfield World to update my patio with some fun crafts that are perfect for those new to sewing and I’m excited to be sharing their contest so you can have the chance to update your patio style as well! I’ll be sharing each project individually with step by step instructions over the next few days!
a Rafflecopter giveaway
We have a table and chairs, but most days I like sitting on the edge of the patio to play catch with the dogs. Colorado evenings are perfect for enjoying a summer picnic outside so I wanted to combine those two ideas and create a way to be more comfortable when seated on the patio.
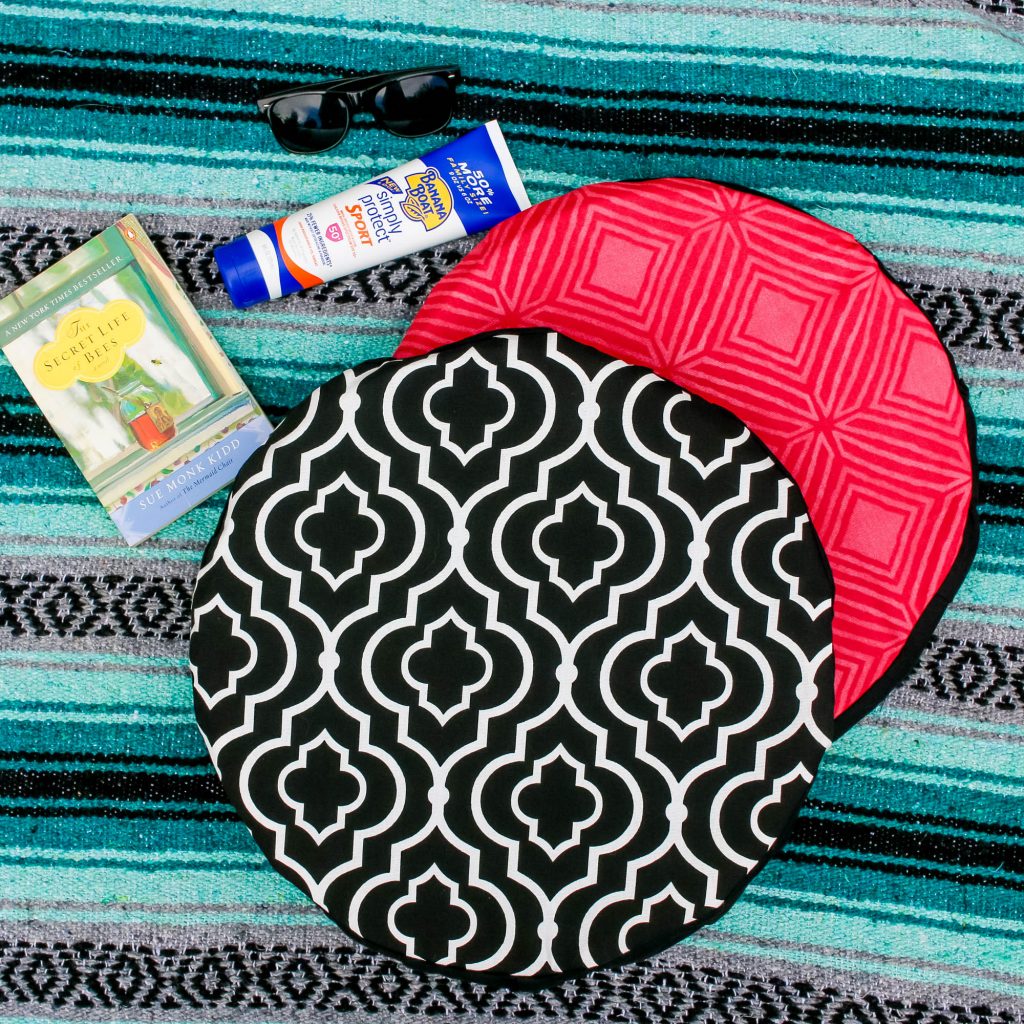
Each seat used two round cushion pads stacked together to create a 2″ tall seat perfect for sitting on the ground.
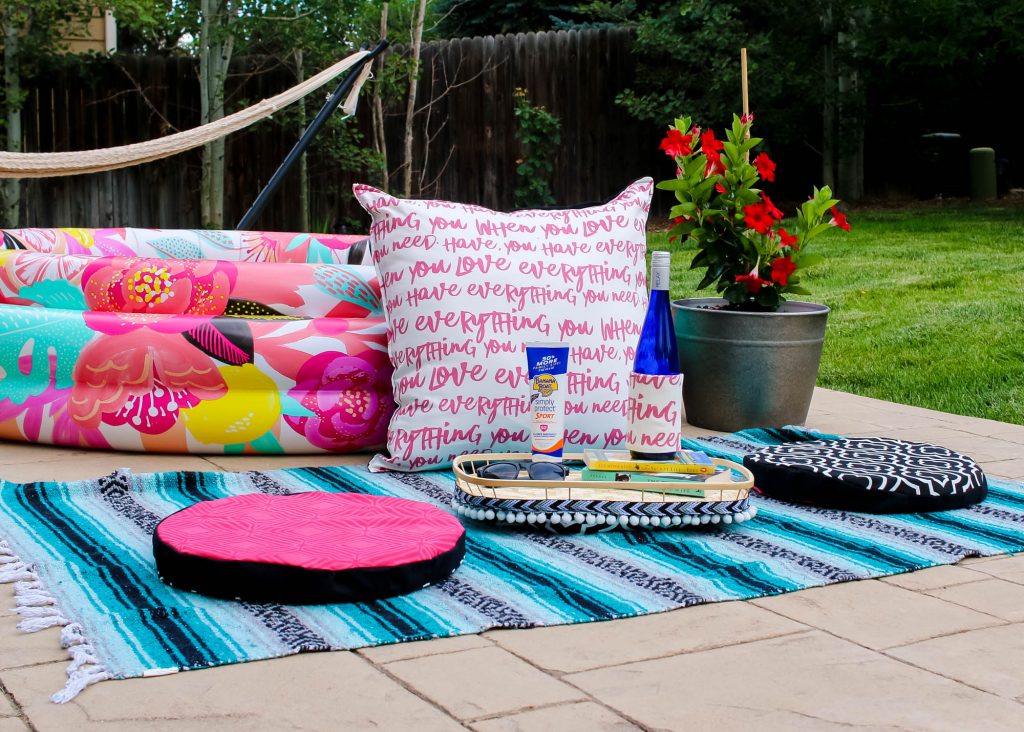
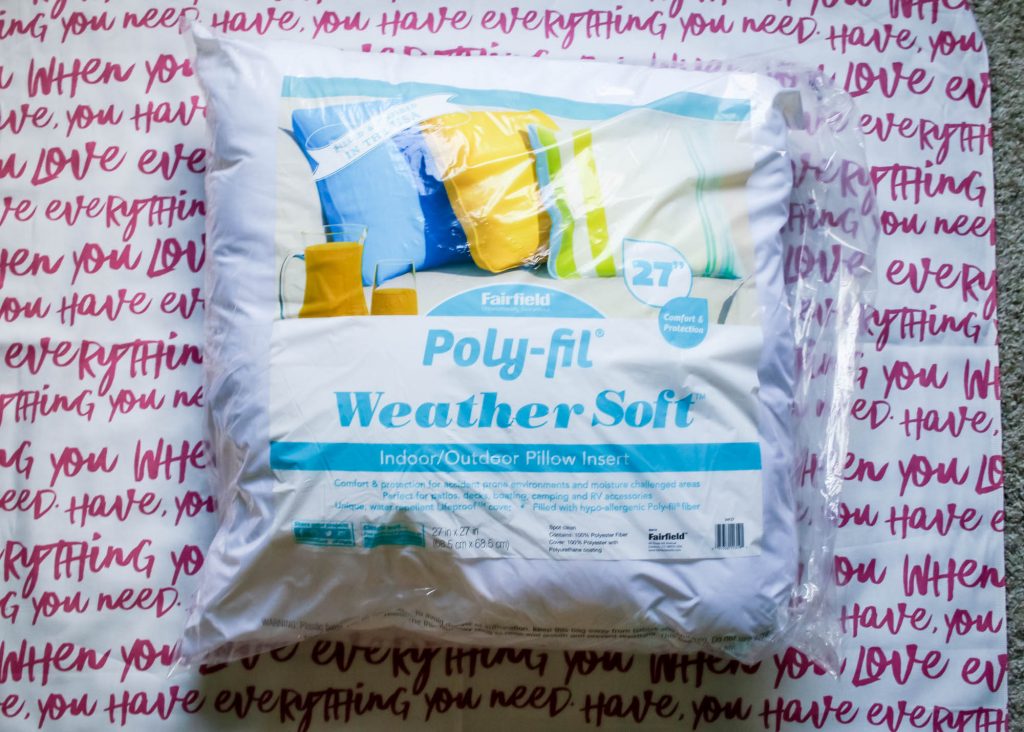
For the big pillow I used a Fairfield World Weather Soft™ . Weather Soft™ pillow inserts are water repellent so if I forget it outside during a Colorado afternoon rainstorm I don’t have to worry about the filling getting musty.
Learn how to make this DIY Outdoor Pillow.
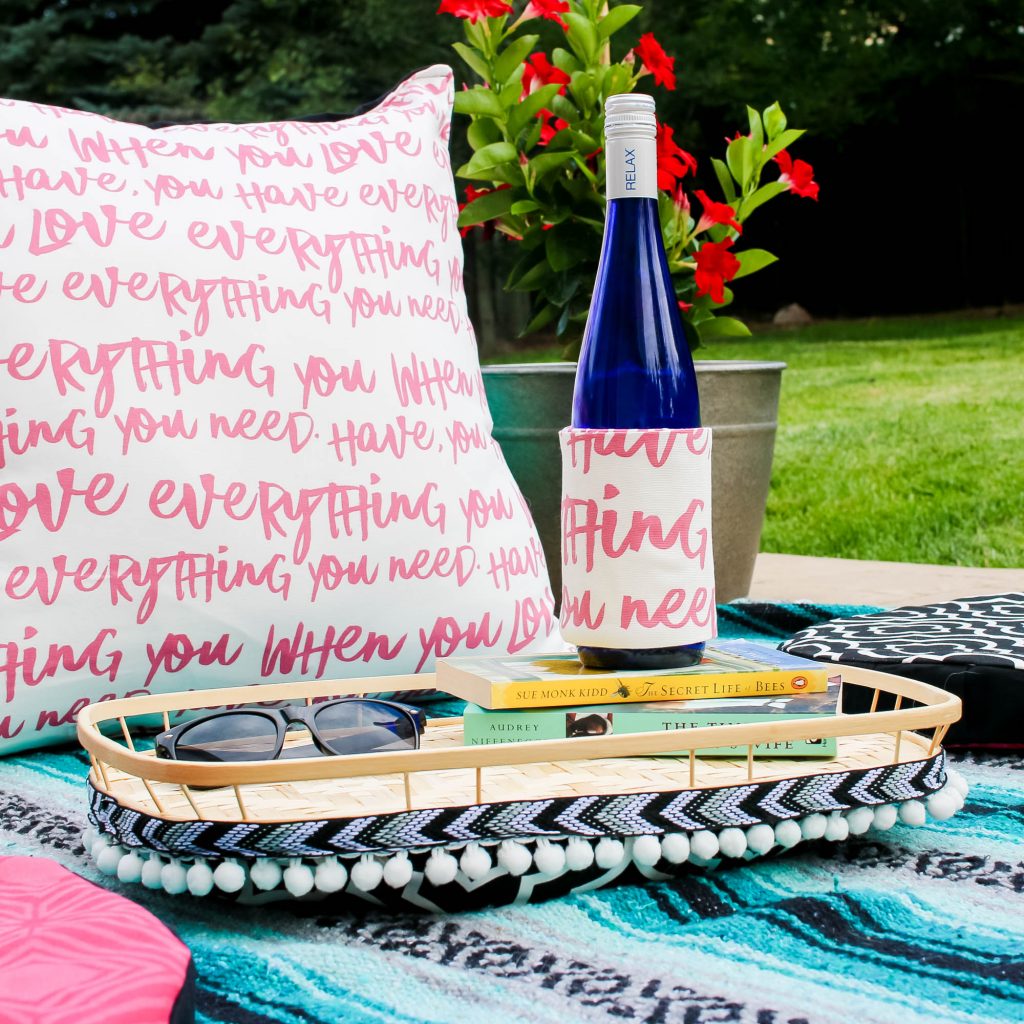
The dining tray is my favorite project from this set! While you don’t ‘need’ a tray to have a patio picnic it’s nice to lift everything off of the ground and the poly beads inside made it self leveling for use on the grass or inside later. This project used 6 lbs of weighted poly beads to fill the bottom.
We are lucky that Colorado isn’t humid, but after living in places that are I learned to LOVE Koozies. I used Solarize Insulating Liner to make this easy Wine Bottle Koozie, perfect for keeping white wine chilled while ‘chilling’. Sorry had to go there.
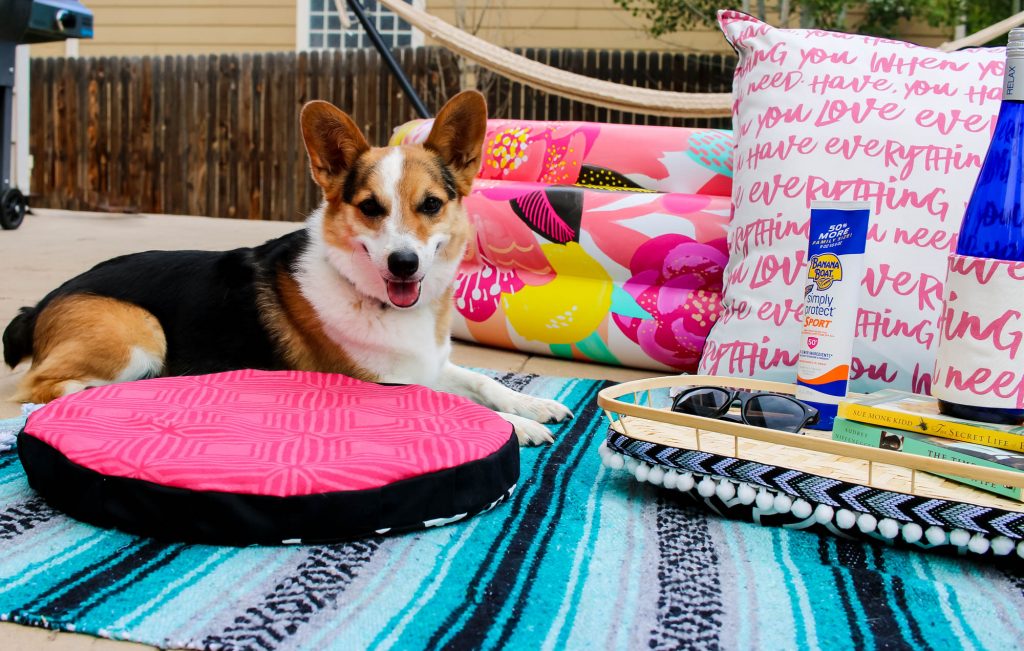
Now that my patio is all bright and comfortable I’m excited to share it with my furry friends, Rogue and Raven. The dogs are loving the cushions!
A few of my favorite bloggers are sharing their ideas for jazzing up your summer patio! Check out all their projects starting on Me and My Inklings and don’t forget to enter to win a gift pack to plan your patio party!
Disclaimer: I was provided with product samples from Fairfield World to inspire this post.
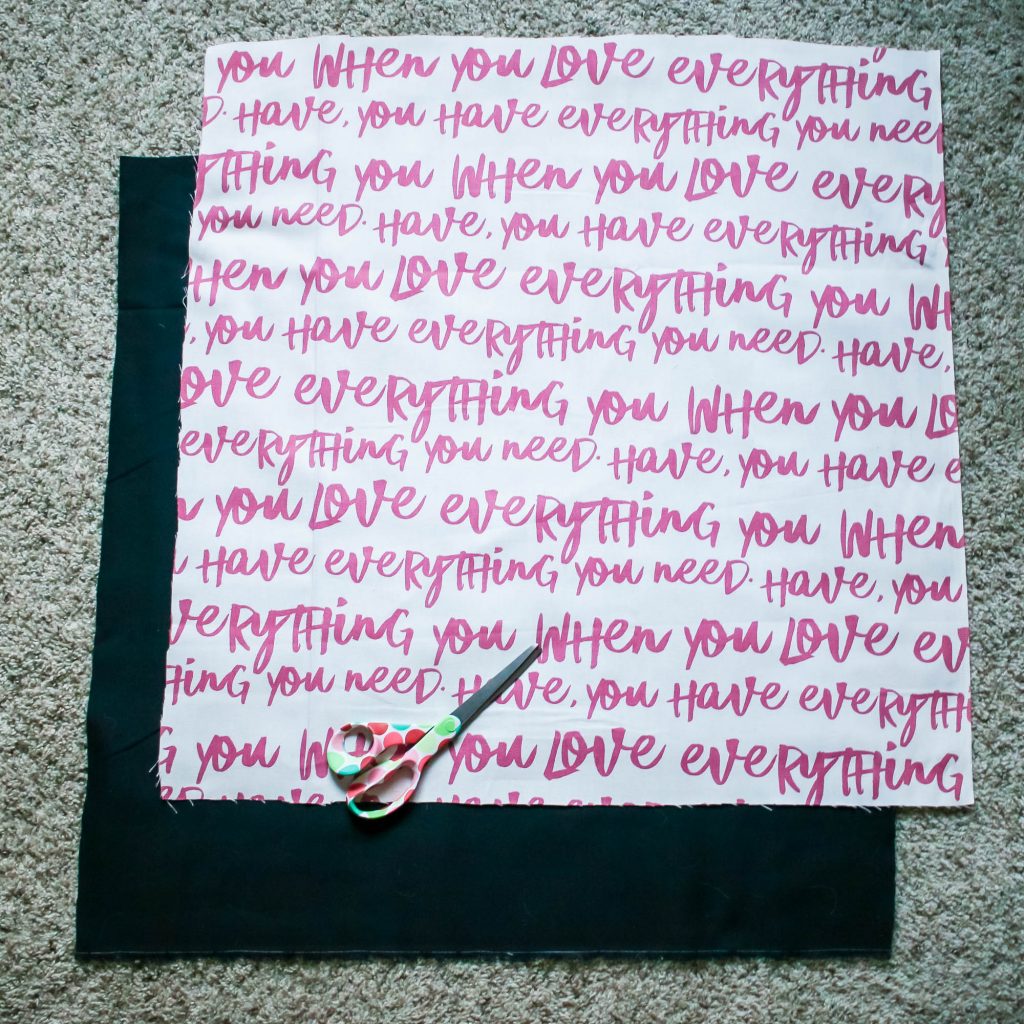
If you are new at sewing this DIY outdoor pillow is the perfect beginning project. I’m obsessed with throw pillows and love that it’s so easy to personalize your decor with fun fabric.
This fun print says ‘when you love everything you need, you love everything you have‘. I chose it because I love how bright it is and that the color really pops against the pool I’ve been lounging in all summer long.
For pillows you really want to use a home decor fabric. A bit more heavy duty these fabrics hold up well for regular use and can still be washed in the washing machine. Home decor fabric usually has a bit of texture as well, giving it more depth then you see in a standard cotton print.
You could easily sew this project by hand but a sewing machine will make sure you have really strong seams.
Start out by cutting out the fabric. I have a front side [the write and pink] and a backside [black]. To make sure that the pillow is really fluffy and the case is secure I am cutting out fabric the same size and the filler [in this instance 27″]. I used a Fairfield World Weather Soft™ insert.
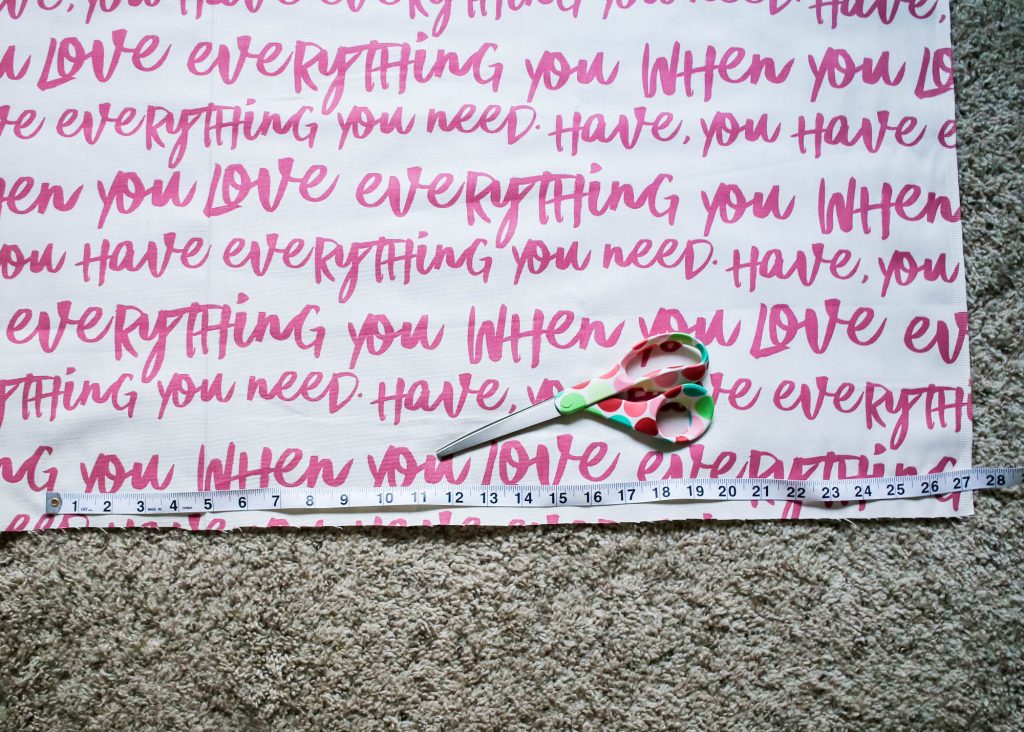
Before starting to sew I ironed both sides to take out any seams or creases. Place the fabric right sides facing one another and sew around 3 of the edges with a 1/2 easing.
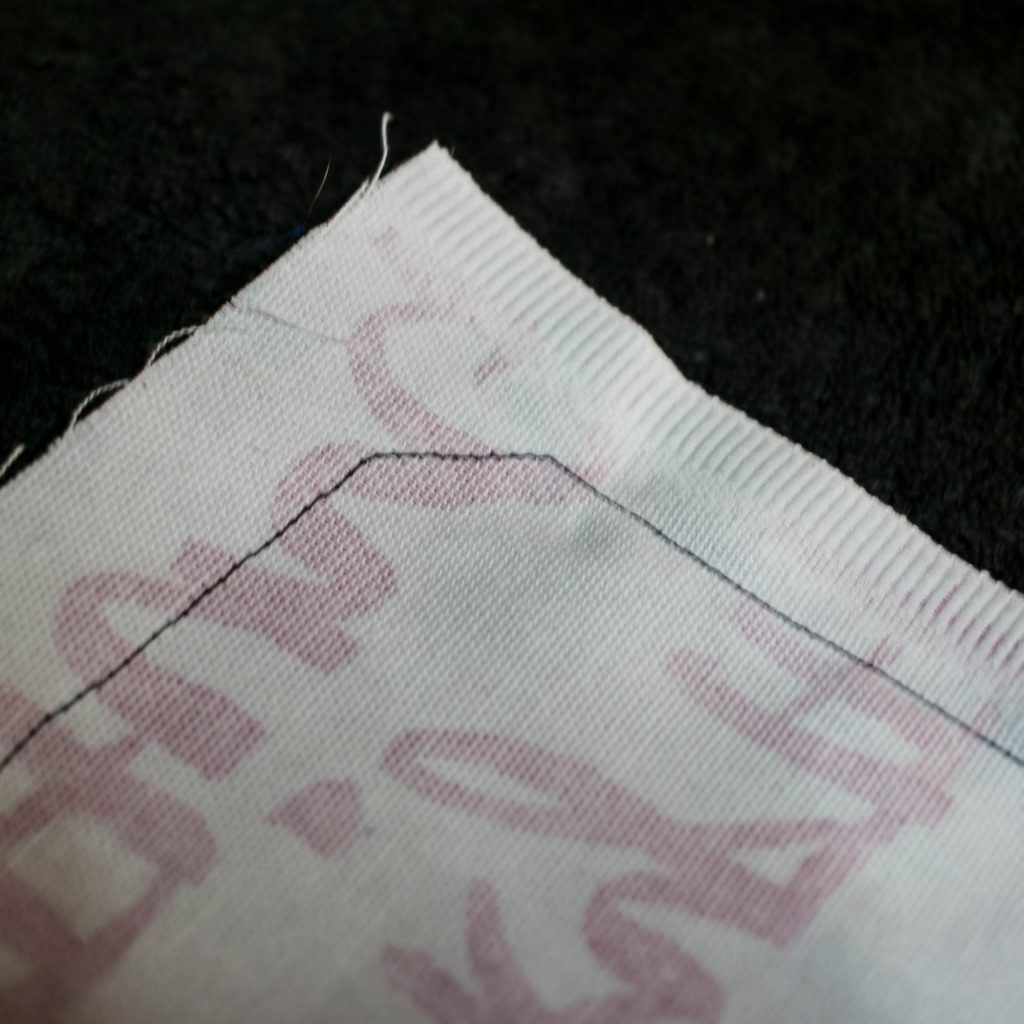
When sewing a pillow it’s important that each corner has a diagonal seam across the edge. I don’t know why, but its a magic trick so when you turn the case right side out the corners are sharp.
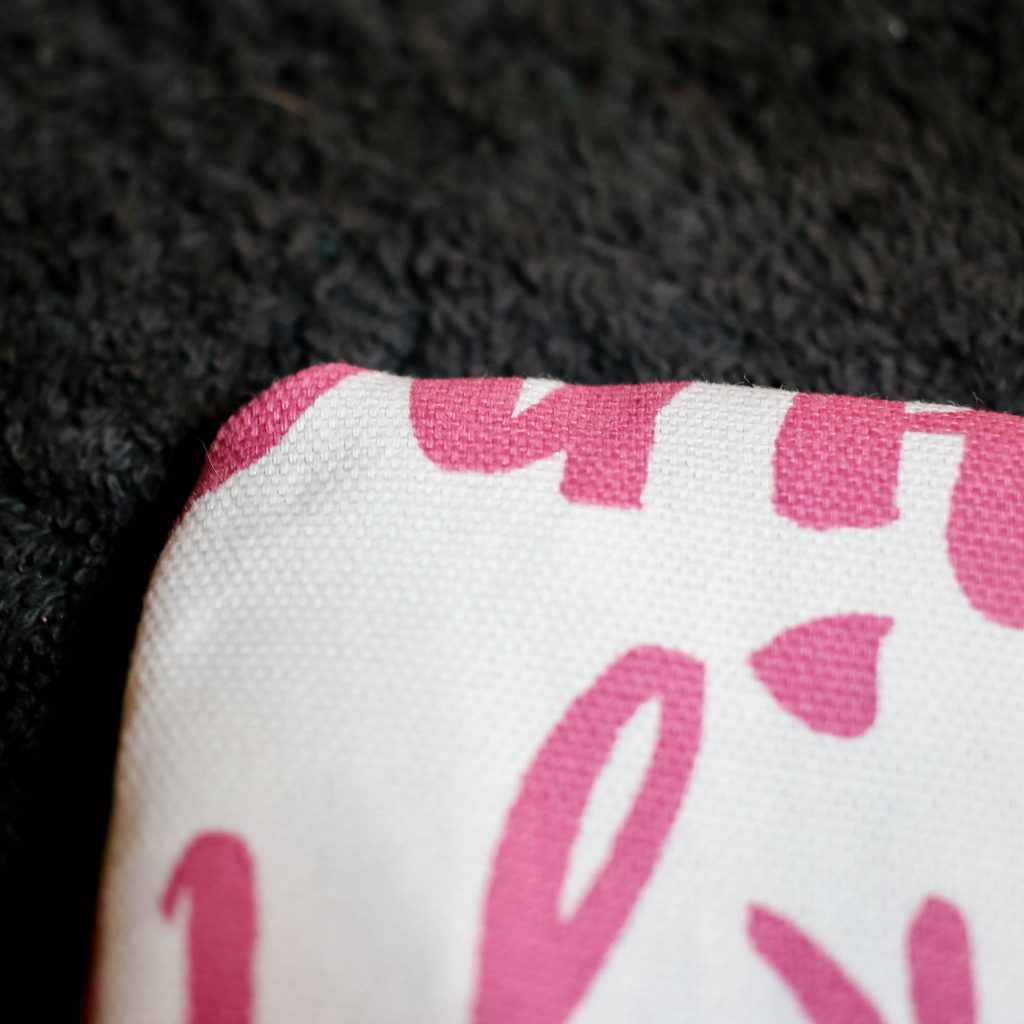
On the open edge, fold over the raw material and iron along the side. This is what will ensure a nice finished edge to the project. Place the pillow inside and sew across the open side with a 1/2″ ease. Finish the case by sewing all around the edge to create a nice finished look.
For more fun patio DIY projects head over to the Patio Party post! I am sharing the finished look and you can enter to win a prize pack from Fairfield world.
Disclaimer: This post contains affiliate links.

This month has been so busy and I don’t feel like like I really had time to properly decorate the outside of our house for Halloween as much as I would have liked. We do have a skeleton out in the yard and our spooky halloween wreath hanging on the door but thats about as far as I was able to get.
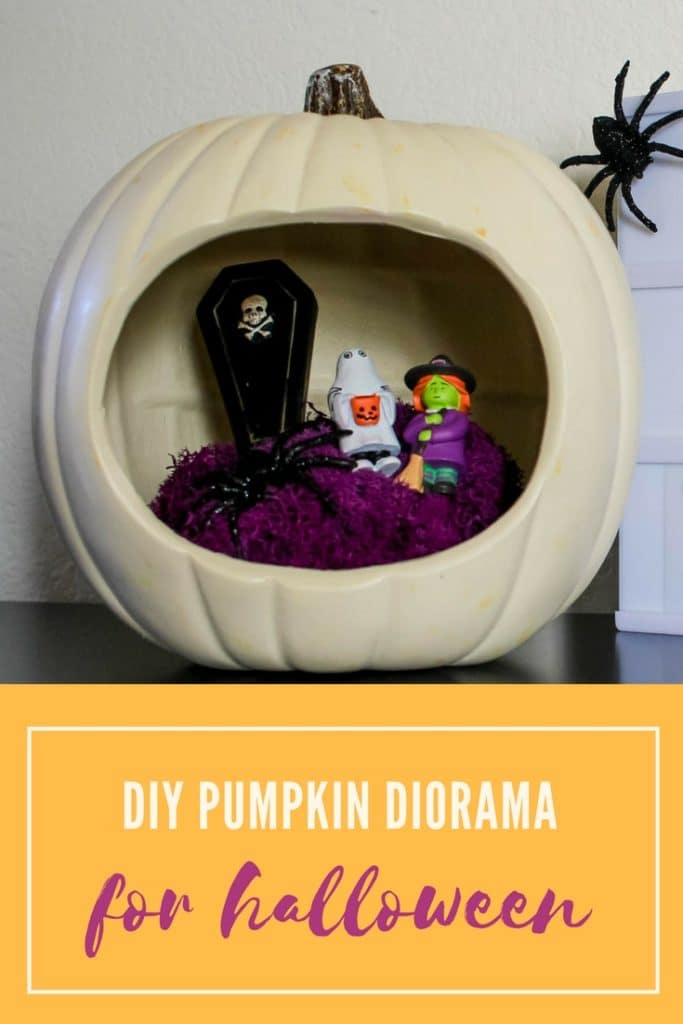
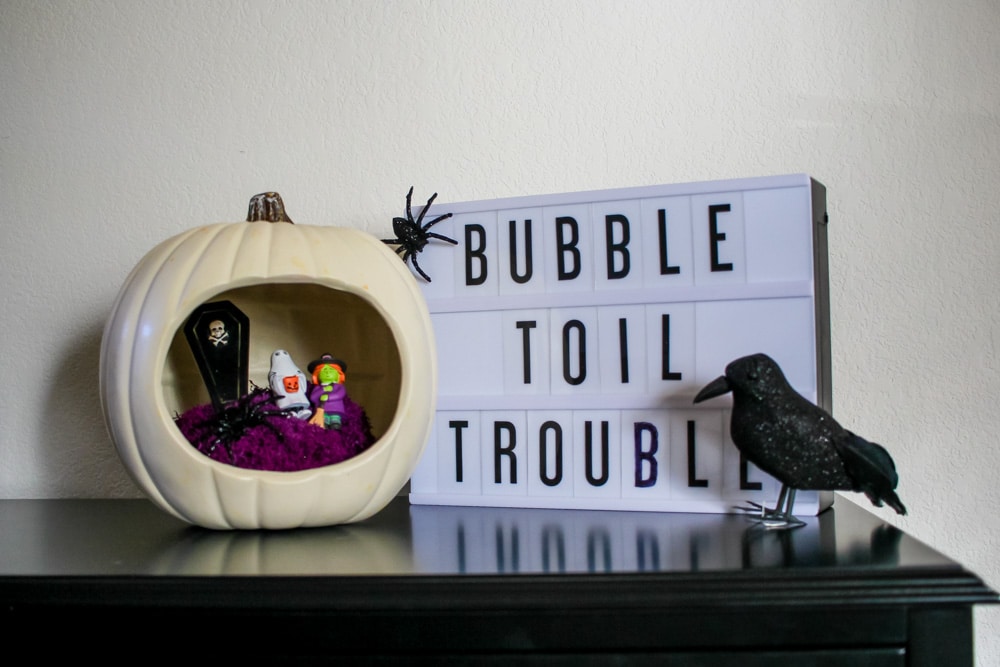
I saw a finished halloween diorama last year and knew that I wanted to make one for our front living room. I picked up a pumpkin and a few figurines during last years Halloween clearance sale and packed them away to be assembled this year. This DIY Pumpkin Diorama is easy to make and can be personalized to fit your decor or personality.
I used a half ball floral base for the bottom of my diorama. It fit nicely into the pumpkin shell I has selected and would be easy to affix the moss onto.
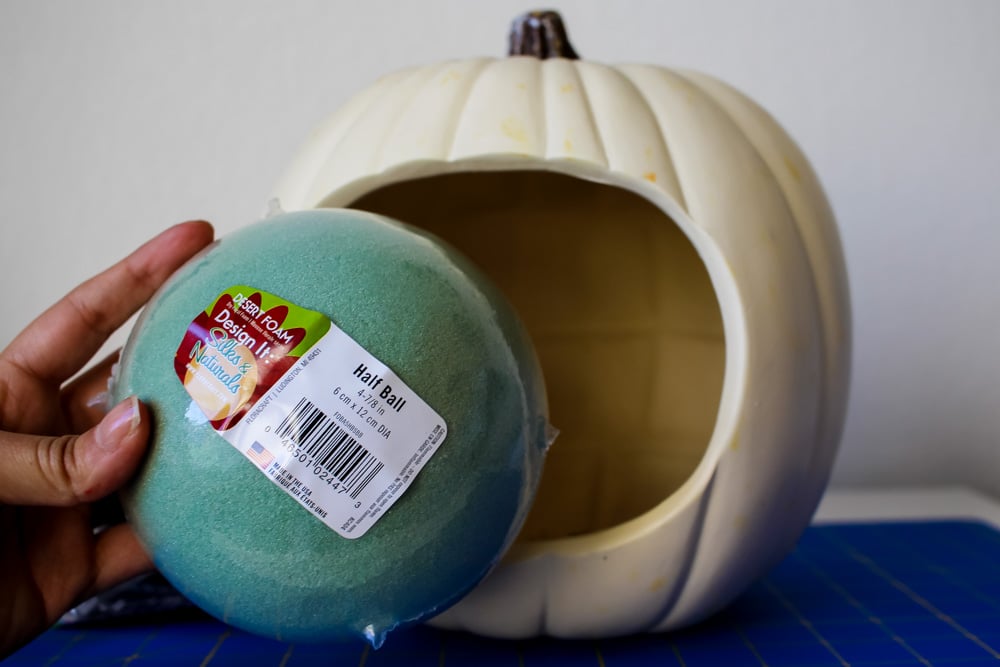

I like that this base has a bit of dimension, allowing me to put my figurines on different levels inside the scene.
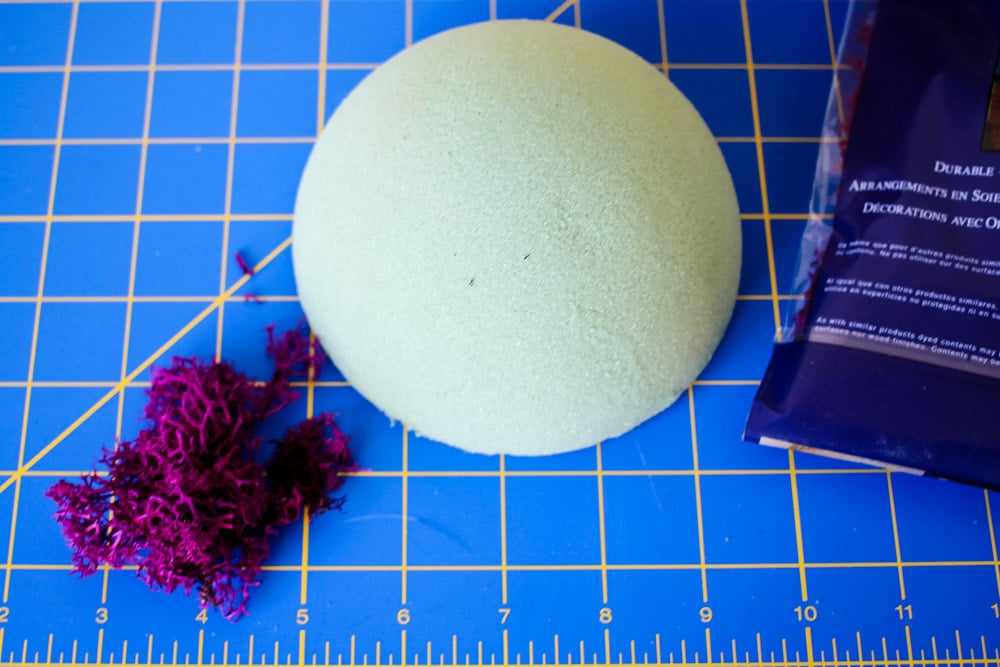
Did you know that Spanish moss comes in a whole variety of colors? I love this purple shade against the white pumpkin background. If you are using a different colored pumpkin, you might want to try hunter green, orange or even black moss as your base.
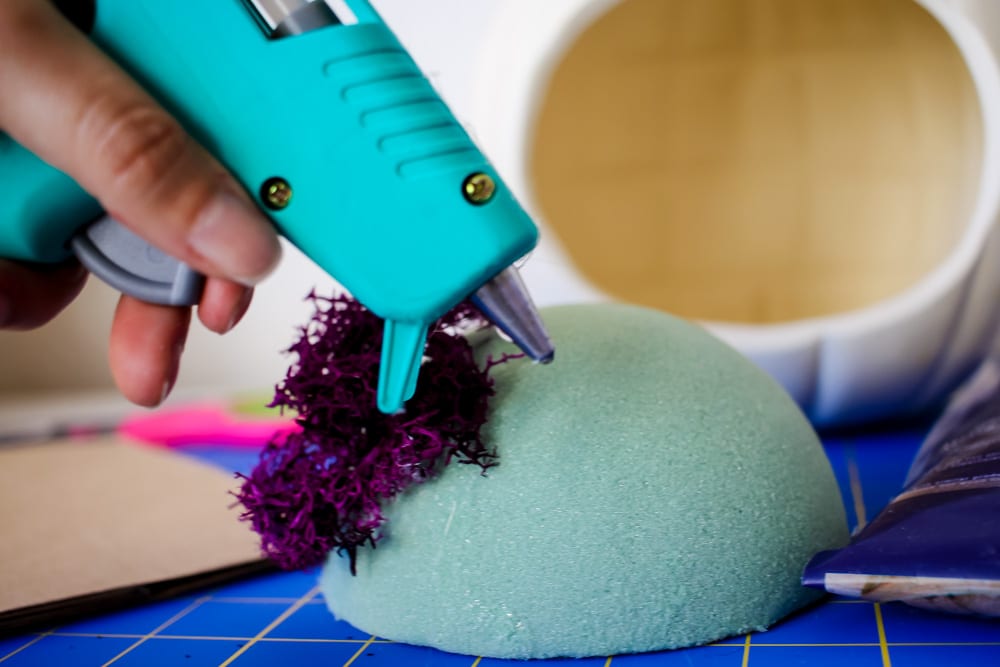
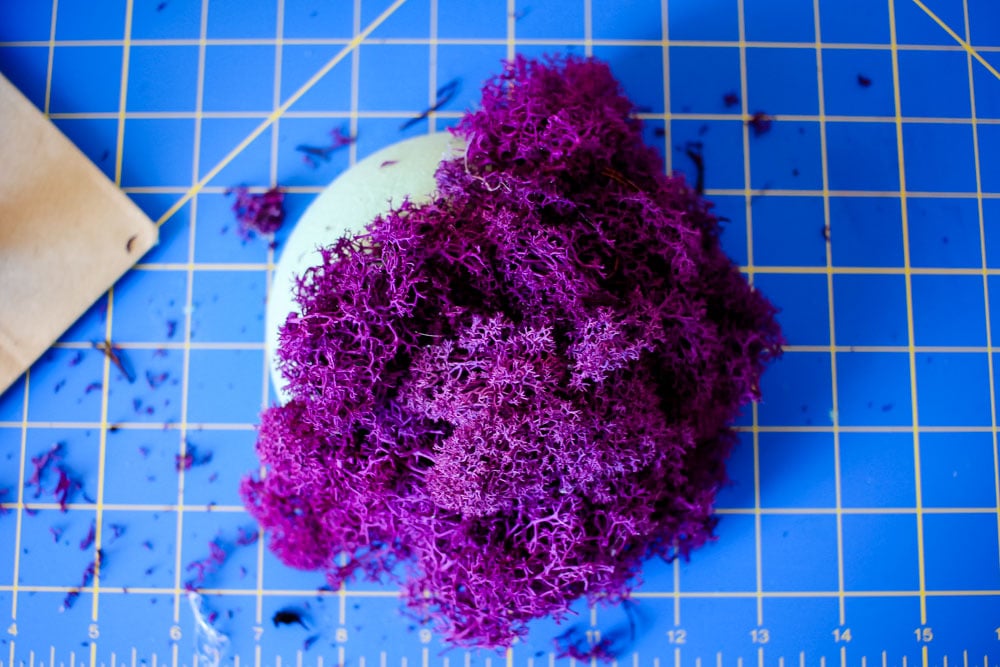
Glue the moss onto the base in portions, starting at one side and progressing until no foam shows beneath. Be careful not to burn a whole into the foam with your gun as your glue and keep your fingers on the very edge of the moss to prevent burns.
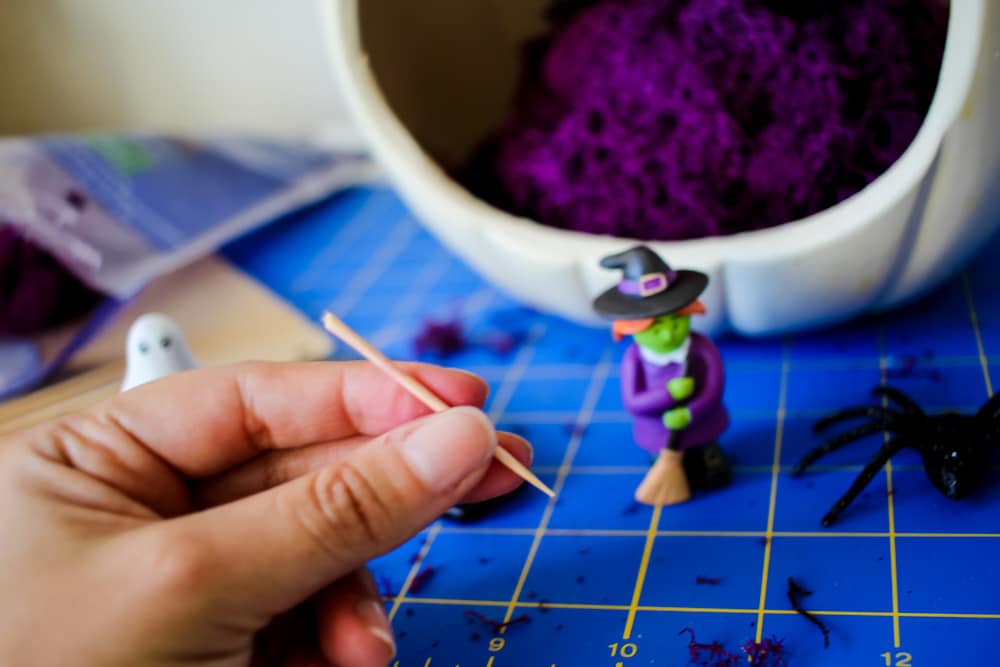
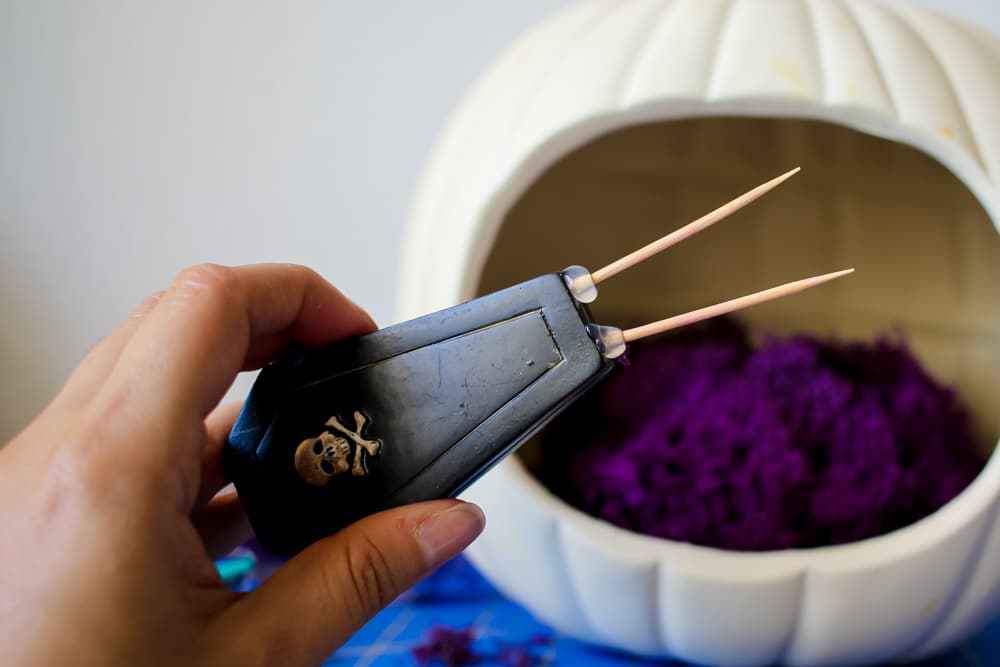
Using hot glue, I attached toothpicks to help the figurines stand up properly inside the diorama. You may need to break the wood so that the picks arent longer than the base you plan to affix to.
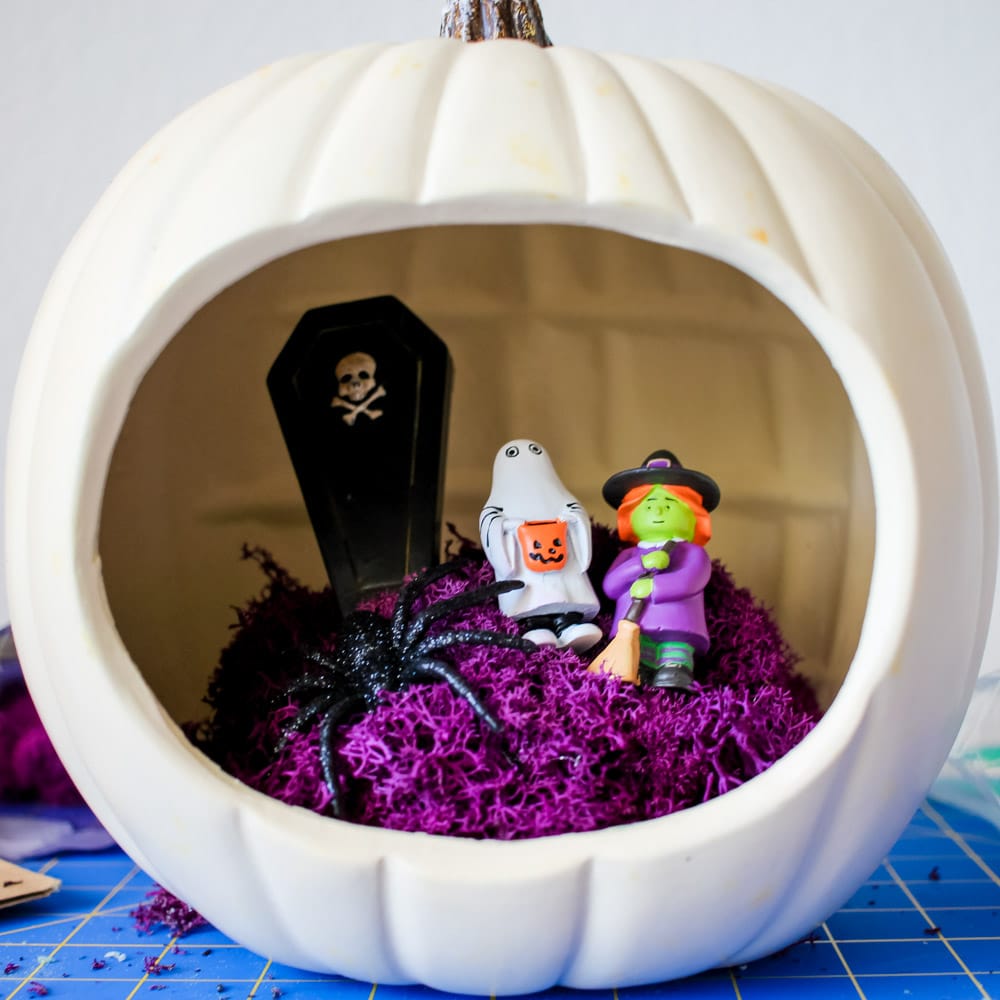
Push the Halloween figurines into the foam base and arrange however you’d like. I used a coffin, a couple of trick or treaters and a giant spider to round out my scene.
Looking for more easy Halloween Projects? Check out my $3 Tissue Paper Wreath Tutorial!