
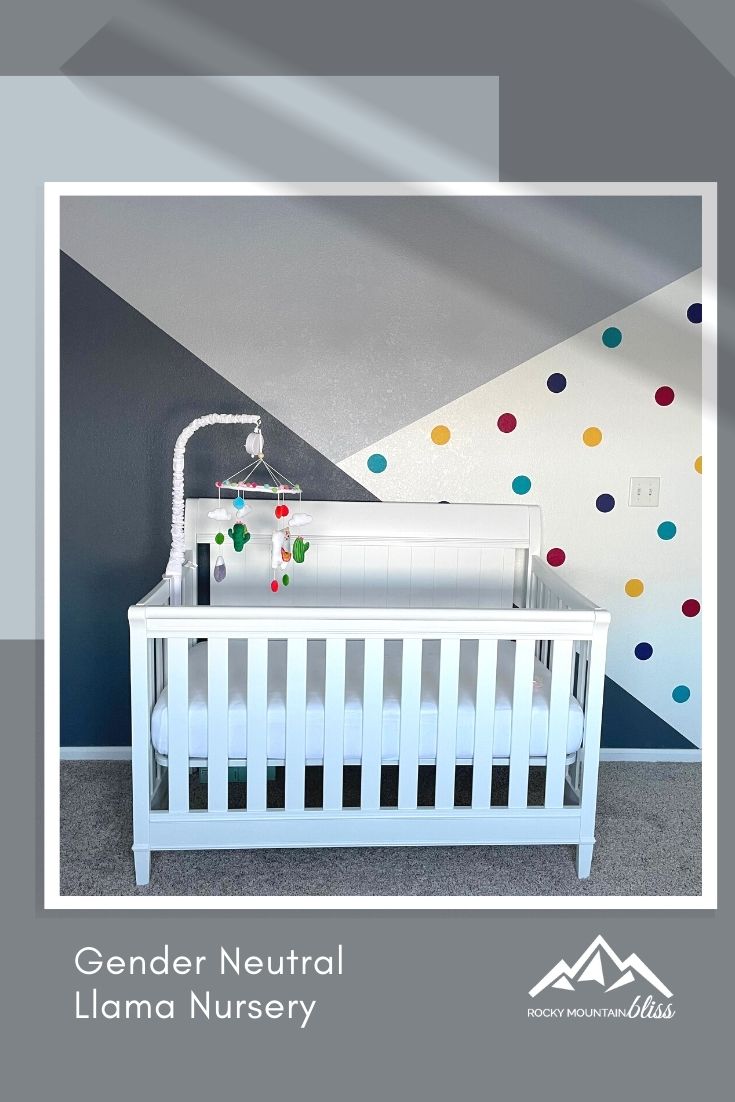
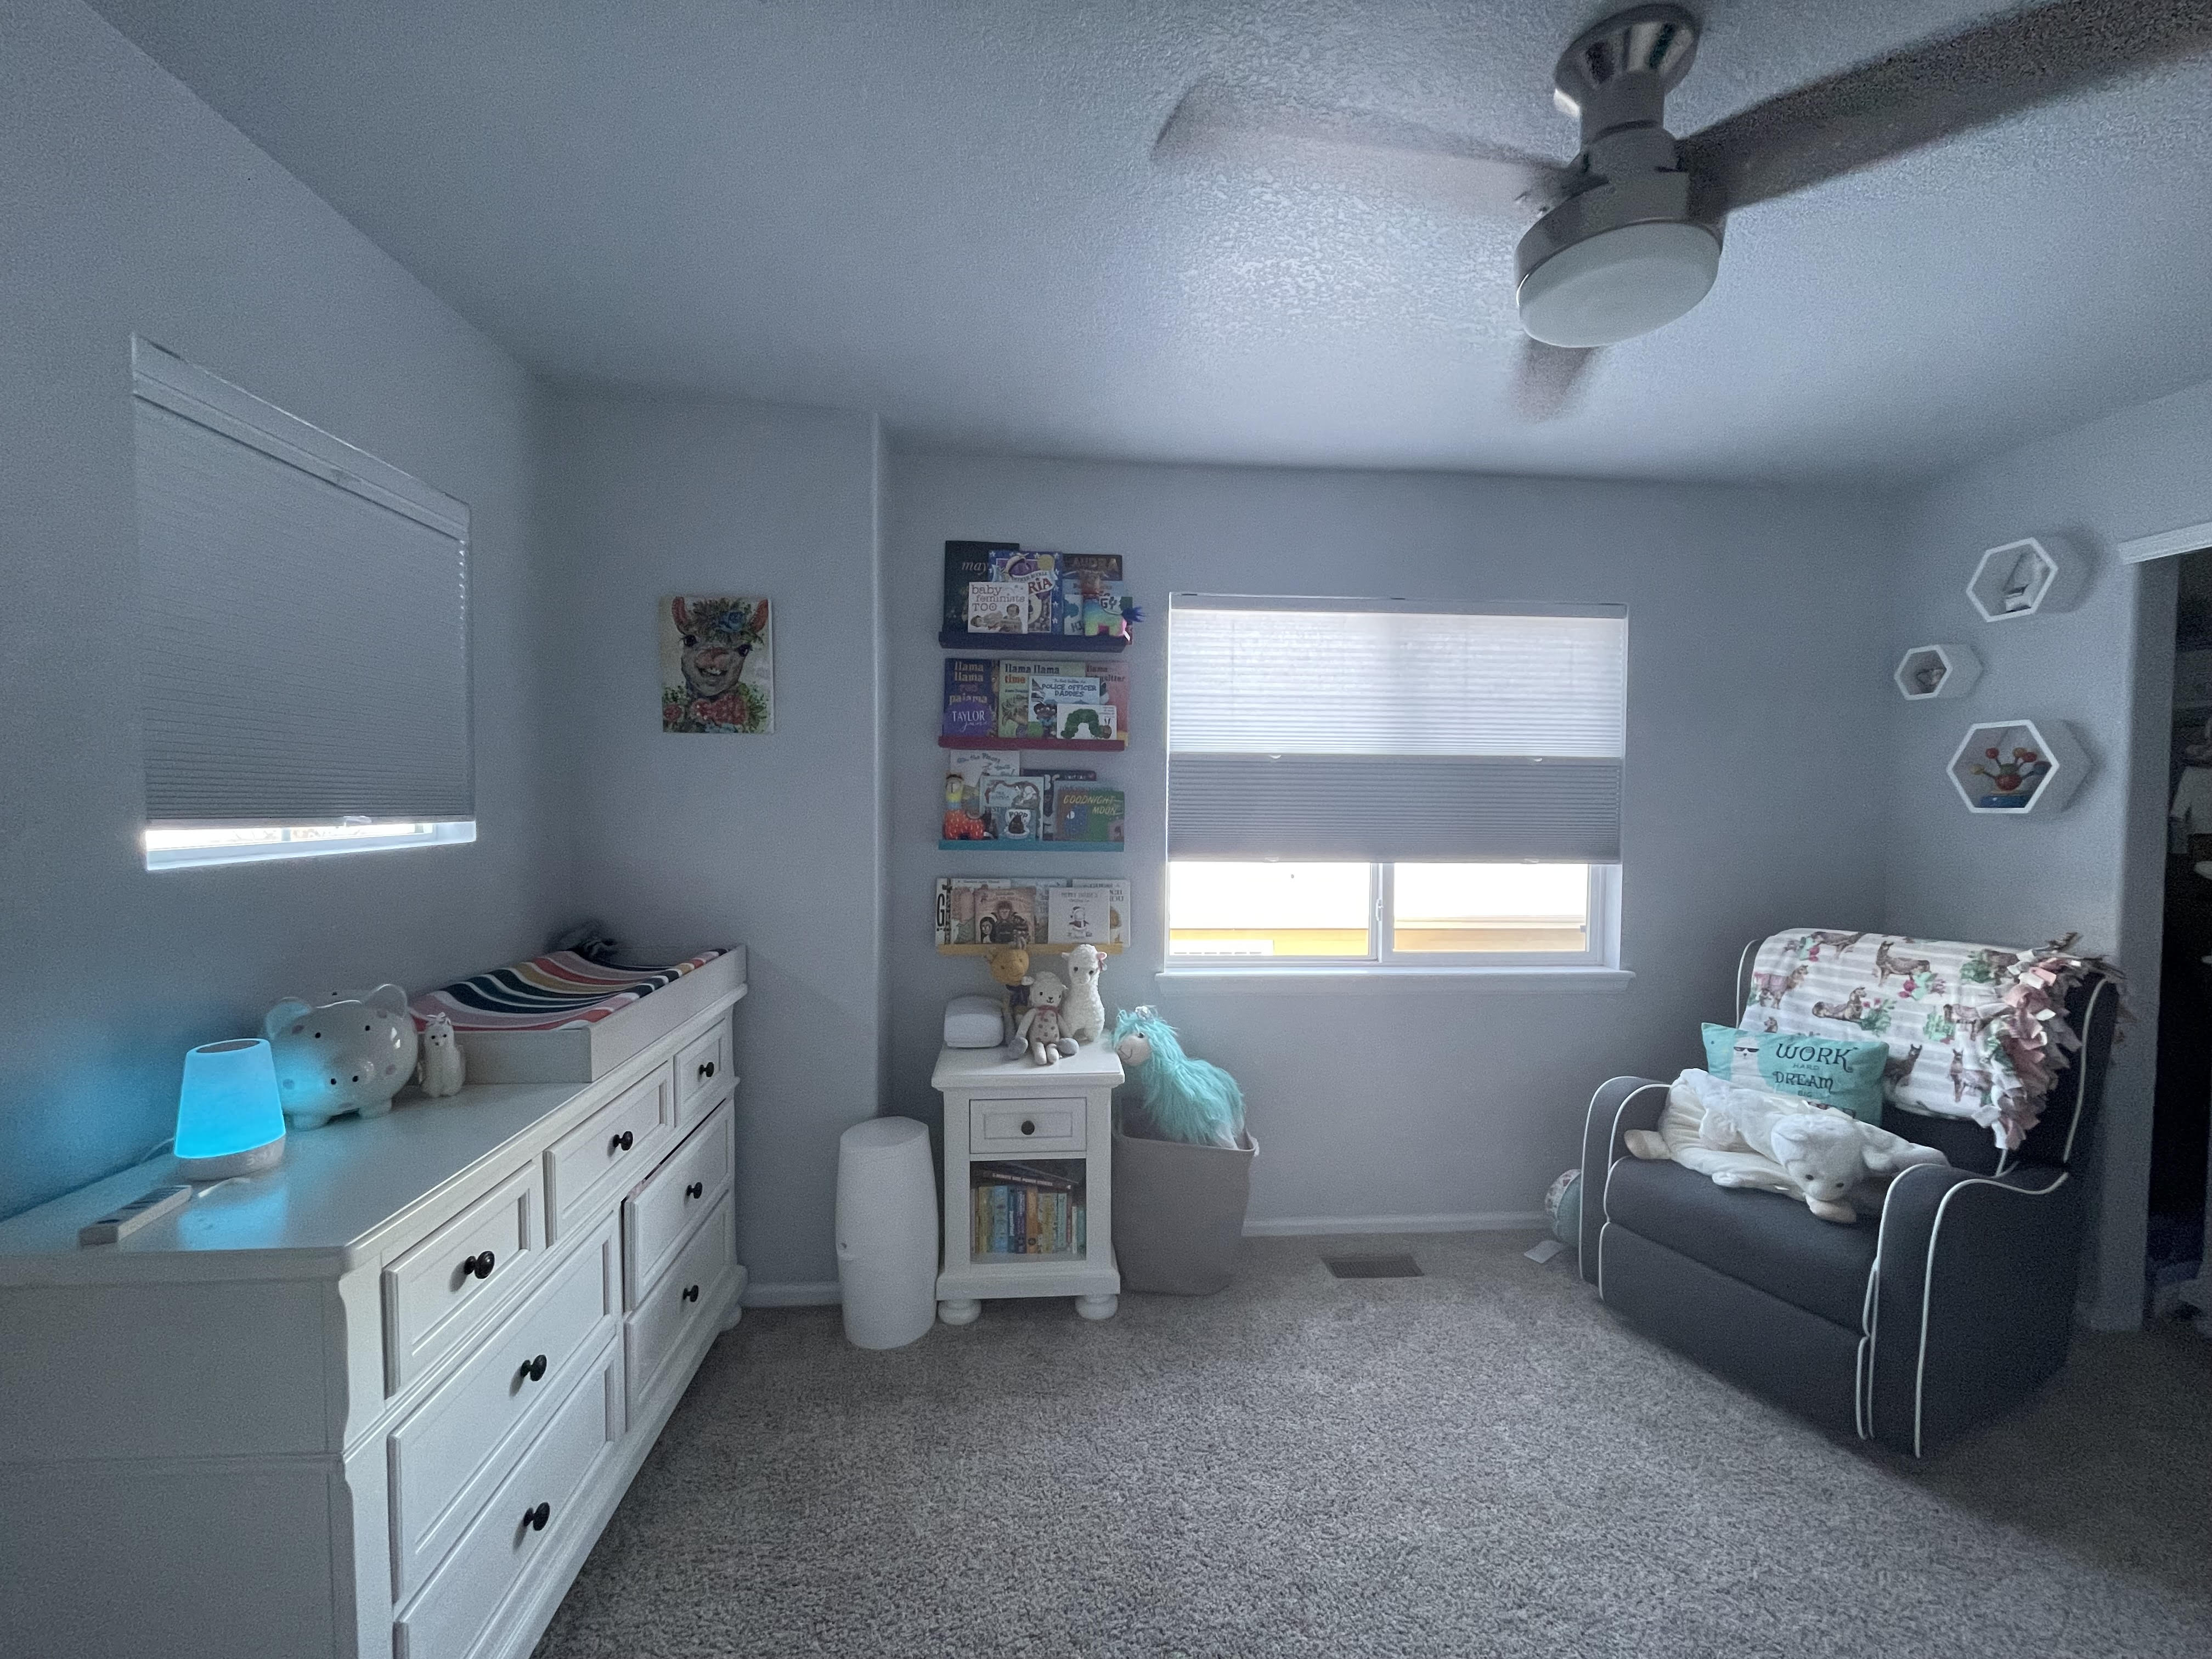
While I waited for Taylor to arrive I had spend years planning the perfect gender neutral Llama Nursery. Once we found out she was on the way last spring I started planning exactly how we were going to bring this vision to life.

Using bold jewel tone colors as a starting point I painted the entire room grey to provide a good base neutral that would make the colors pop. The base paint color is ‘Olympus white’ but it does look a bit more grey than white against the accent wall.
Throughout the entire house we lean towards a grey monochromatic color scheme, and wanted to keep something relatively simple to contrast against the colored dots. The top section of the wall is a light grey [a different shade than the base color but not much] and a dark grey. I originally ‘pinned’ the inspiration for the room nearly 4 years ago and its fun to see how many people have used nearly this exact same styling with personalized contrast patterns on the right side.
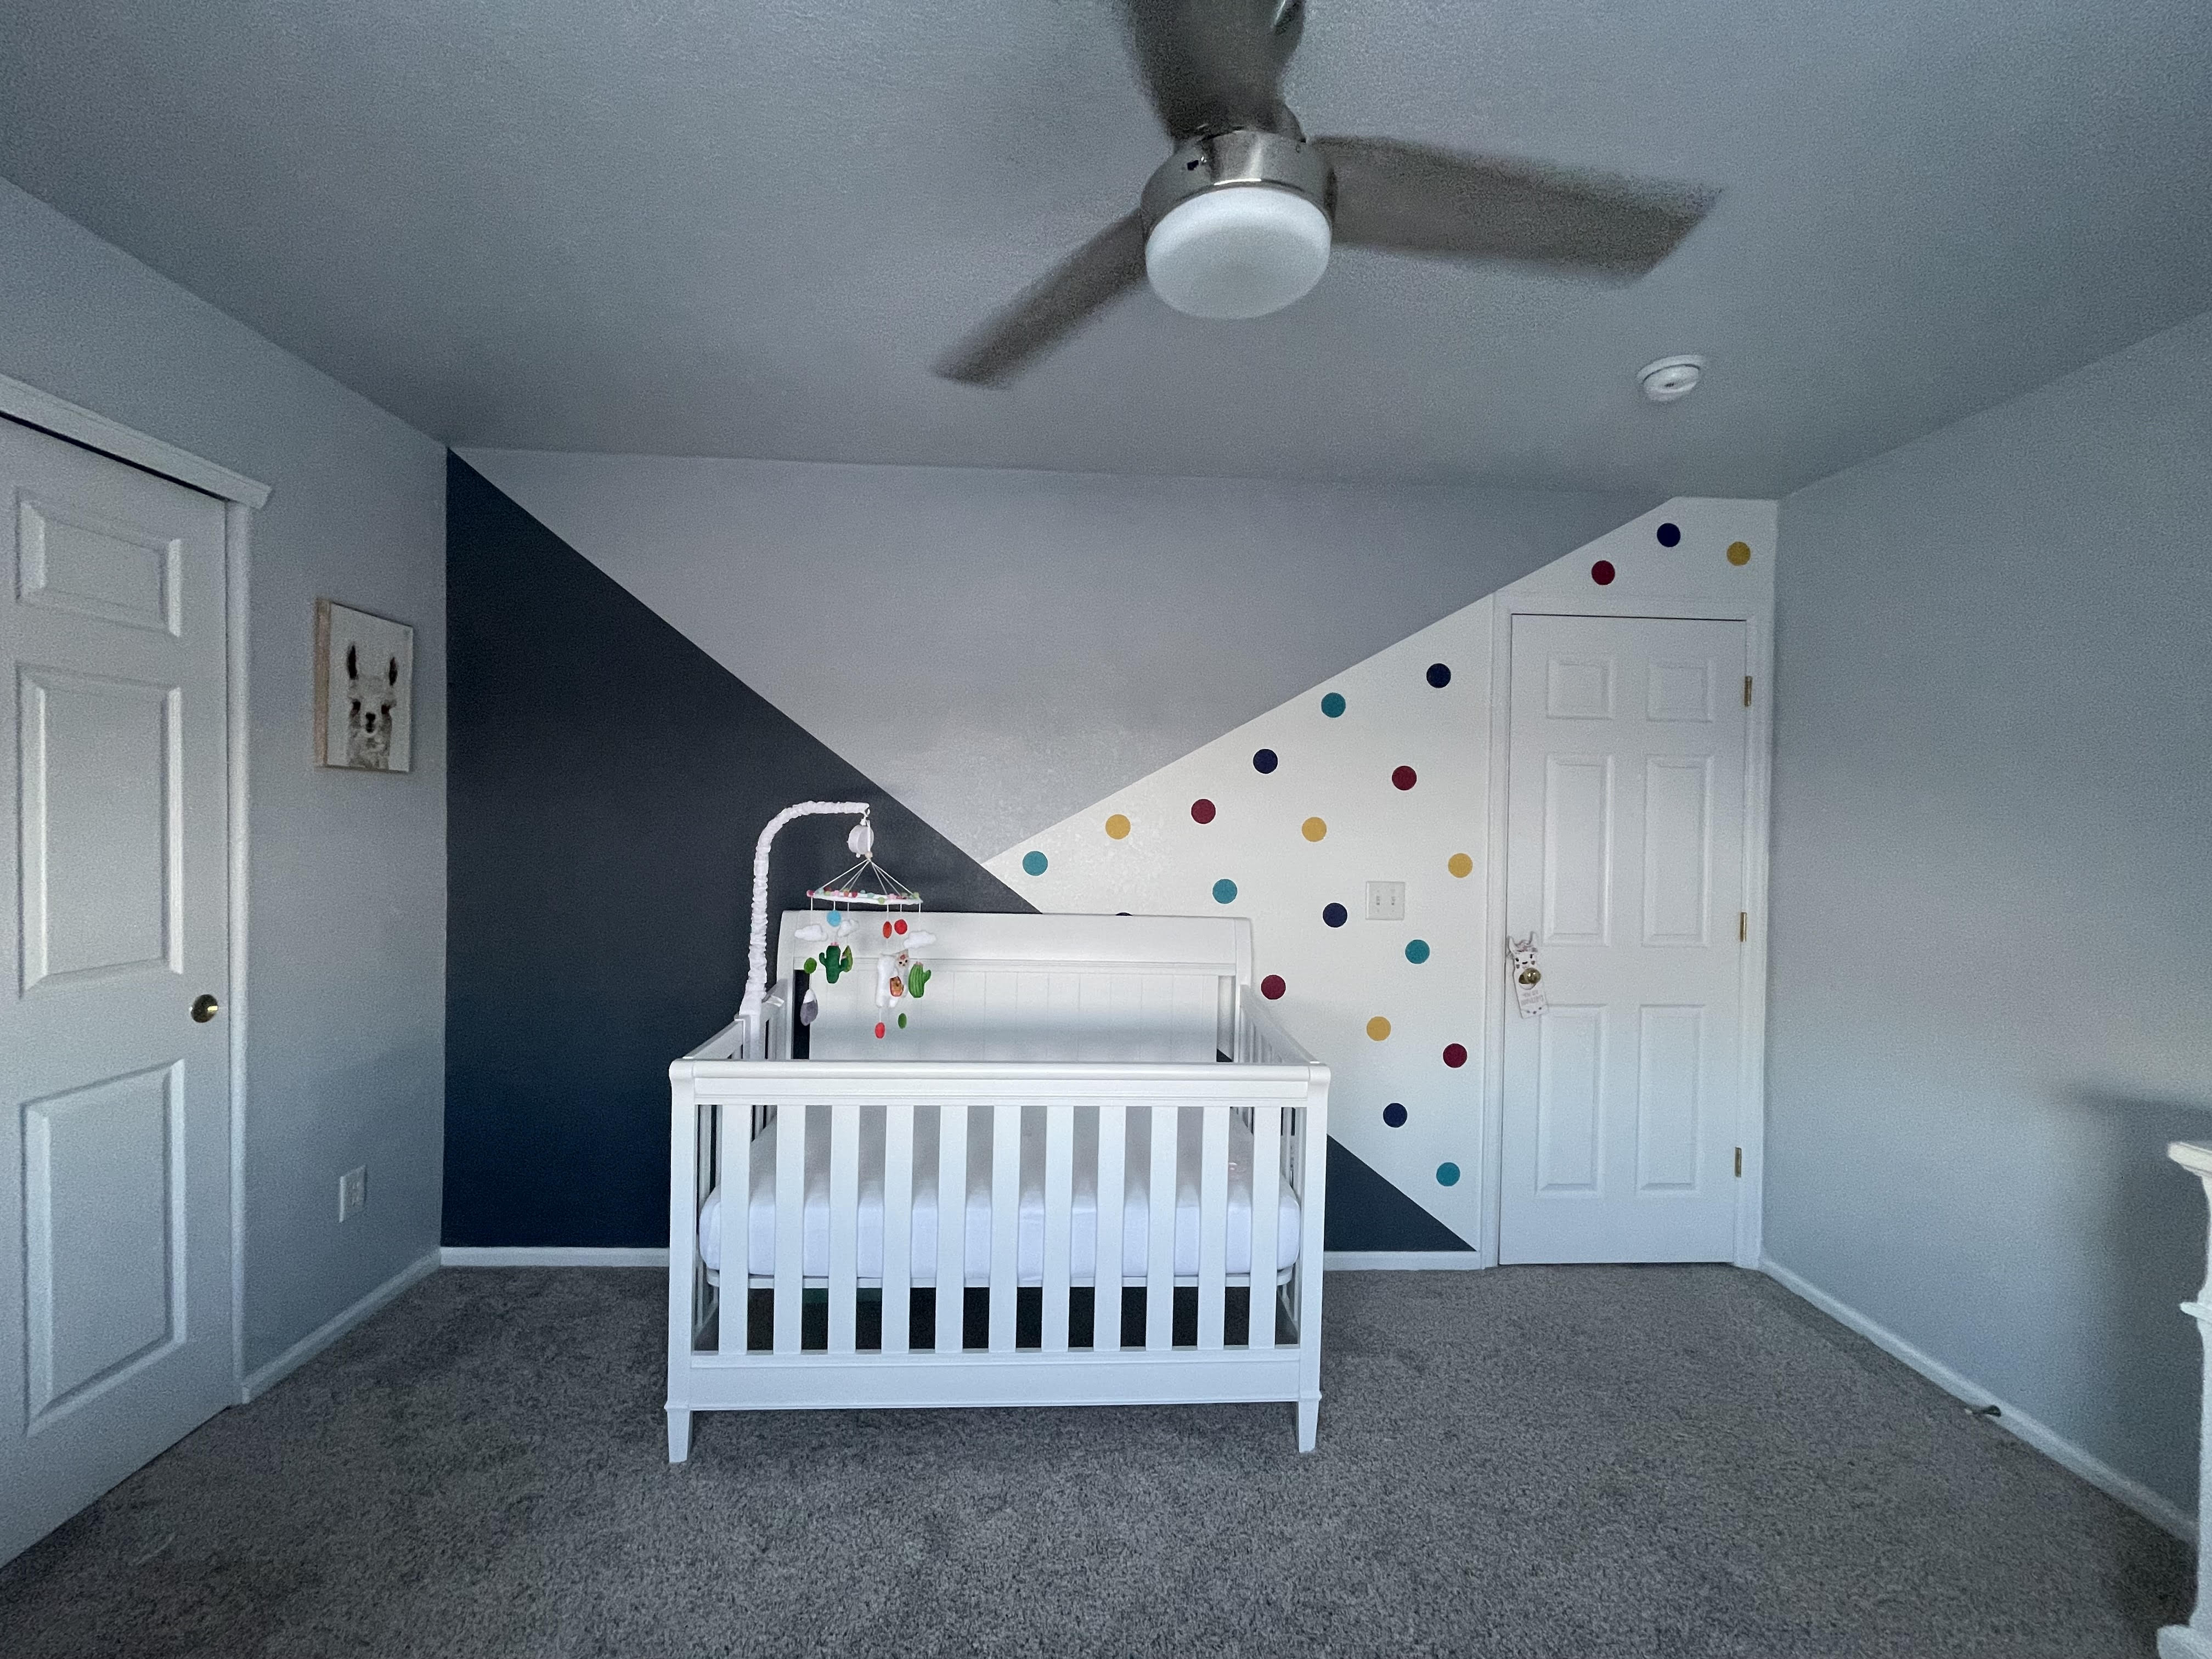
To obtain the clean lines I used a paintable silicone along the edge of the painters tape. Off hand you may not think you need the silicone but trust me, you do.
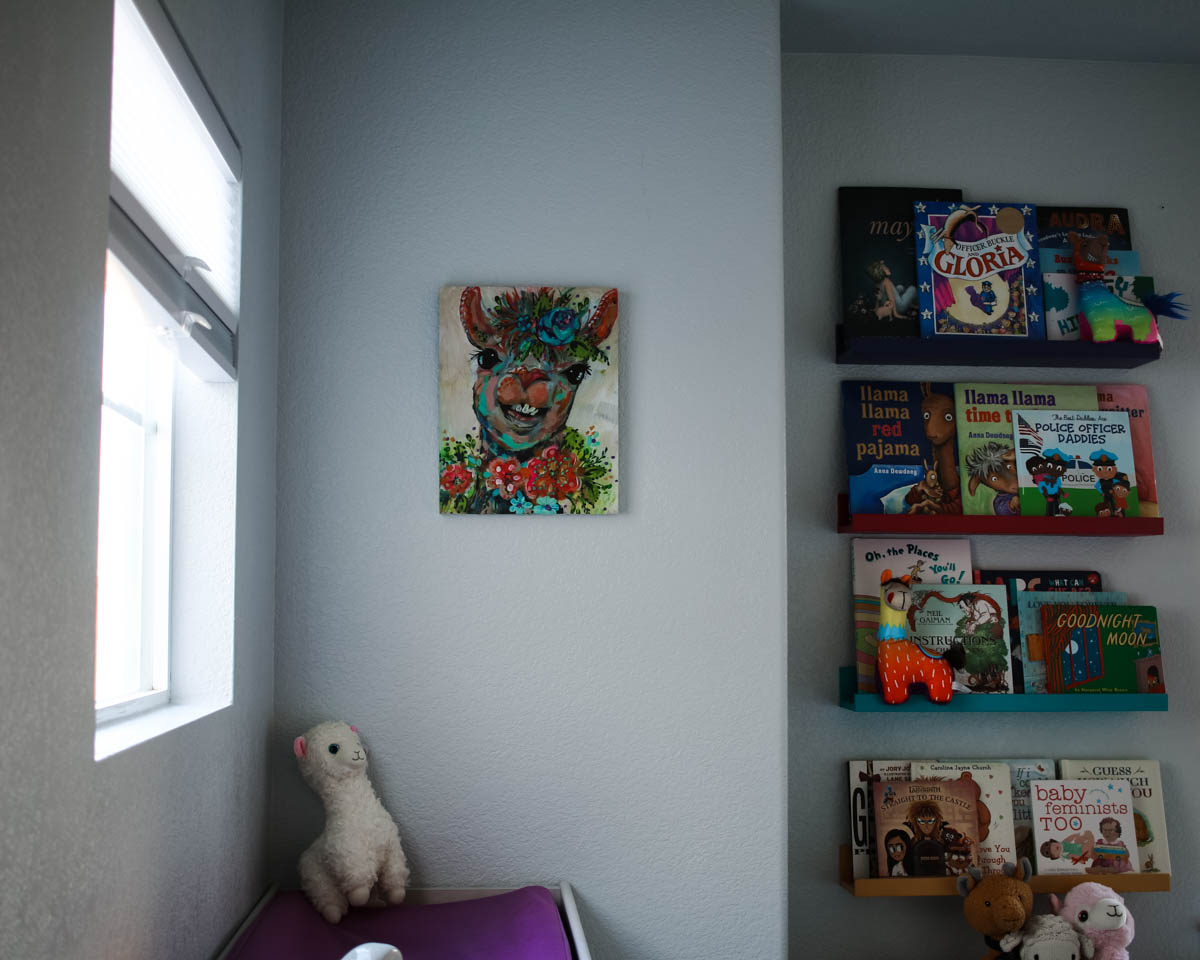
For the colored dots I cut out circle stencils using my cricut and placed them sporadically across the wall. Similar to the edges on the triangles, I used silicone to get a good clean round look. With just a few colored areas there was no need to buy full quarts of paint. Lowes and Home Depot both offer small ‘paint samples’ that work perfect for a project of this size.
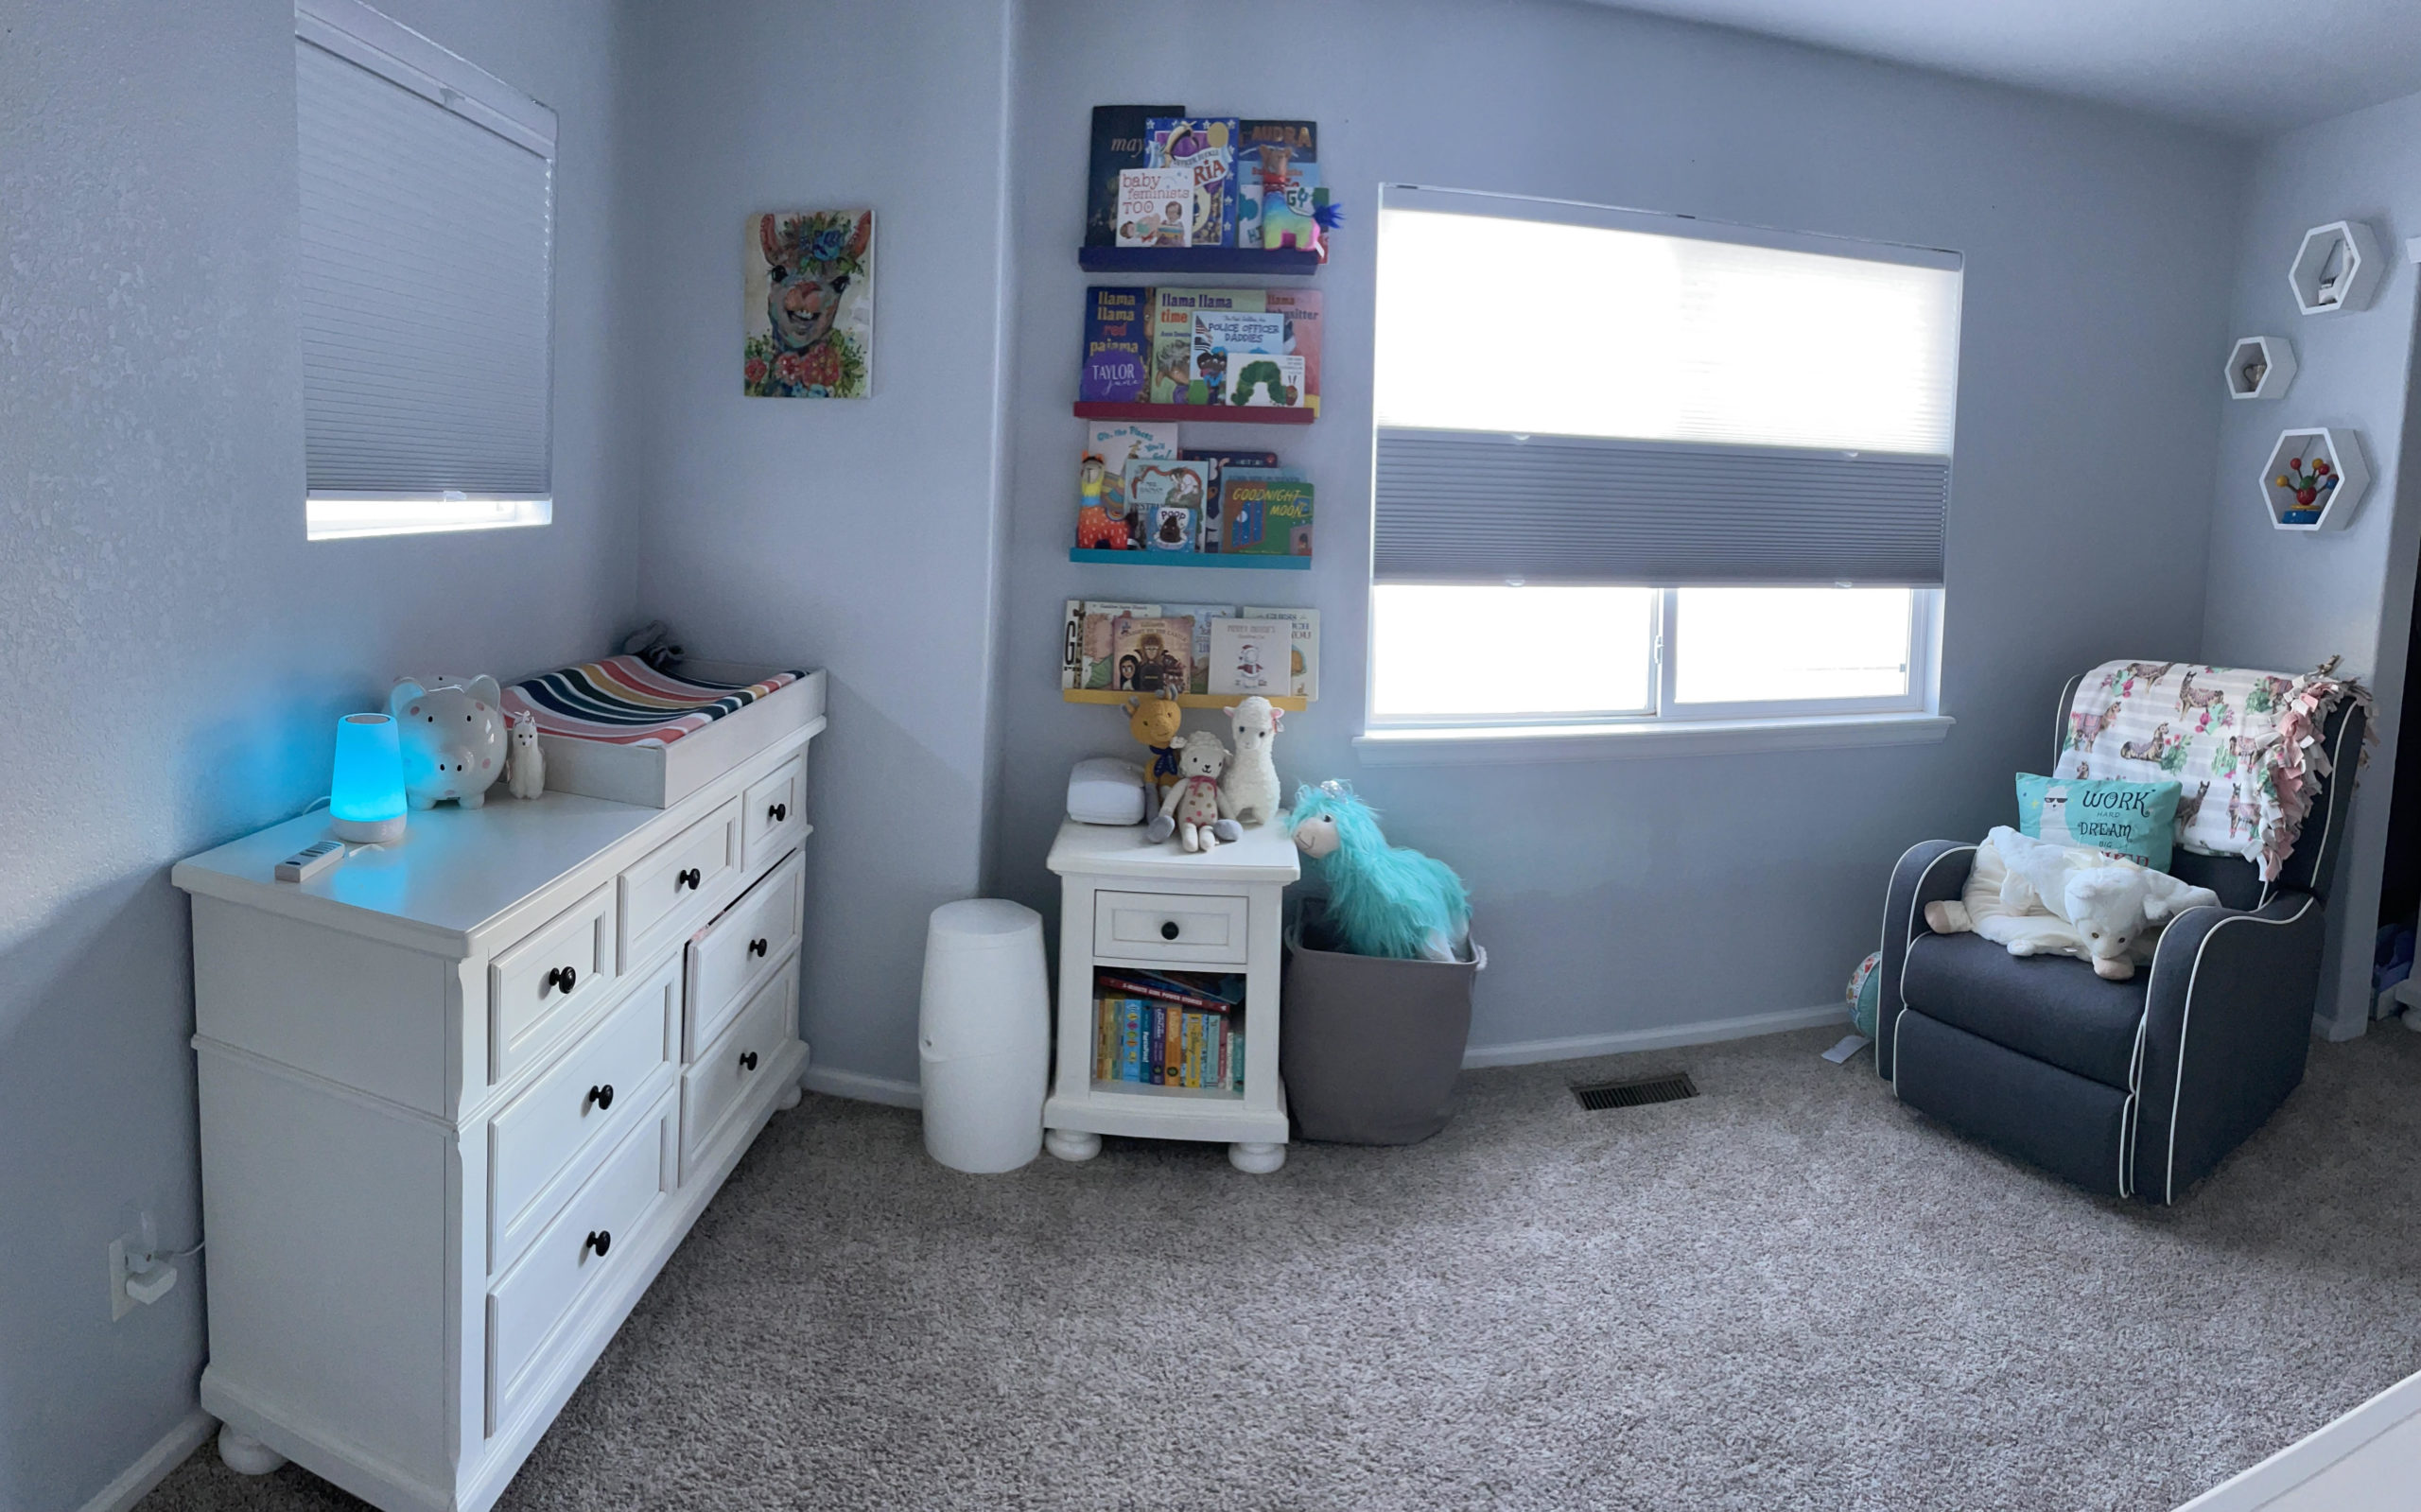
To mirror the colors across the room I painted the MOSSLANDA white picture ledge from IKEA to match the colors of the dots. Since the picture ledges are finished these required several coats to cover up the glossy finished coat but they came out great after being allowed to dry for a few weeks.
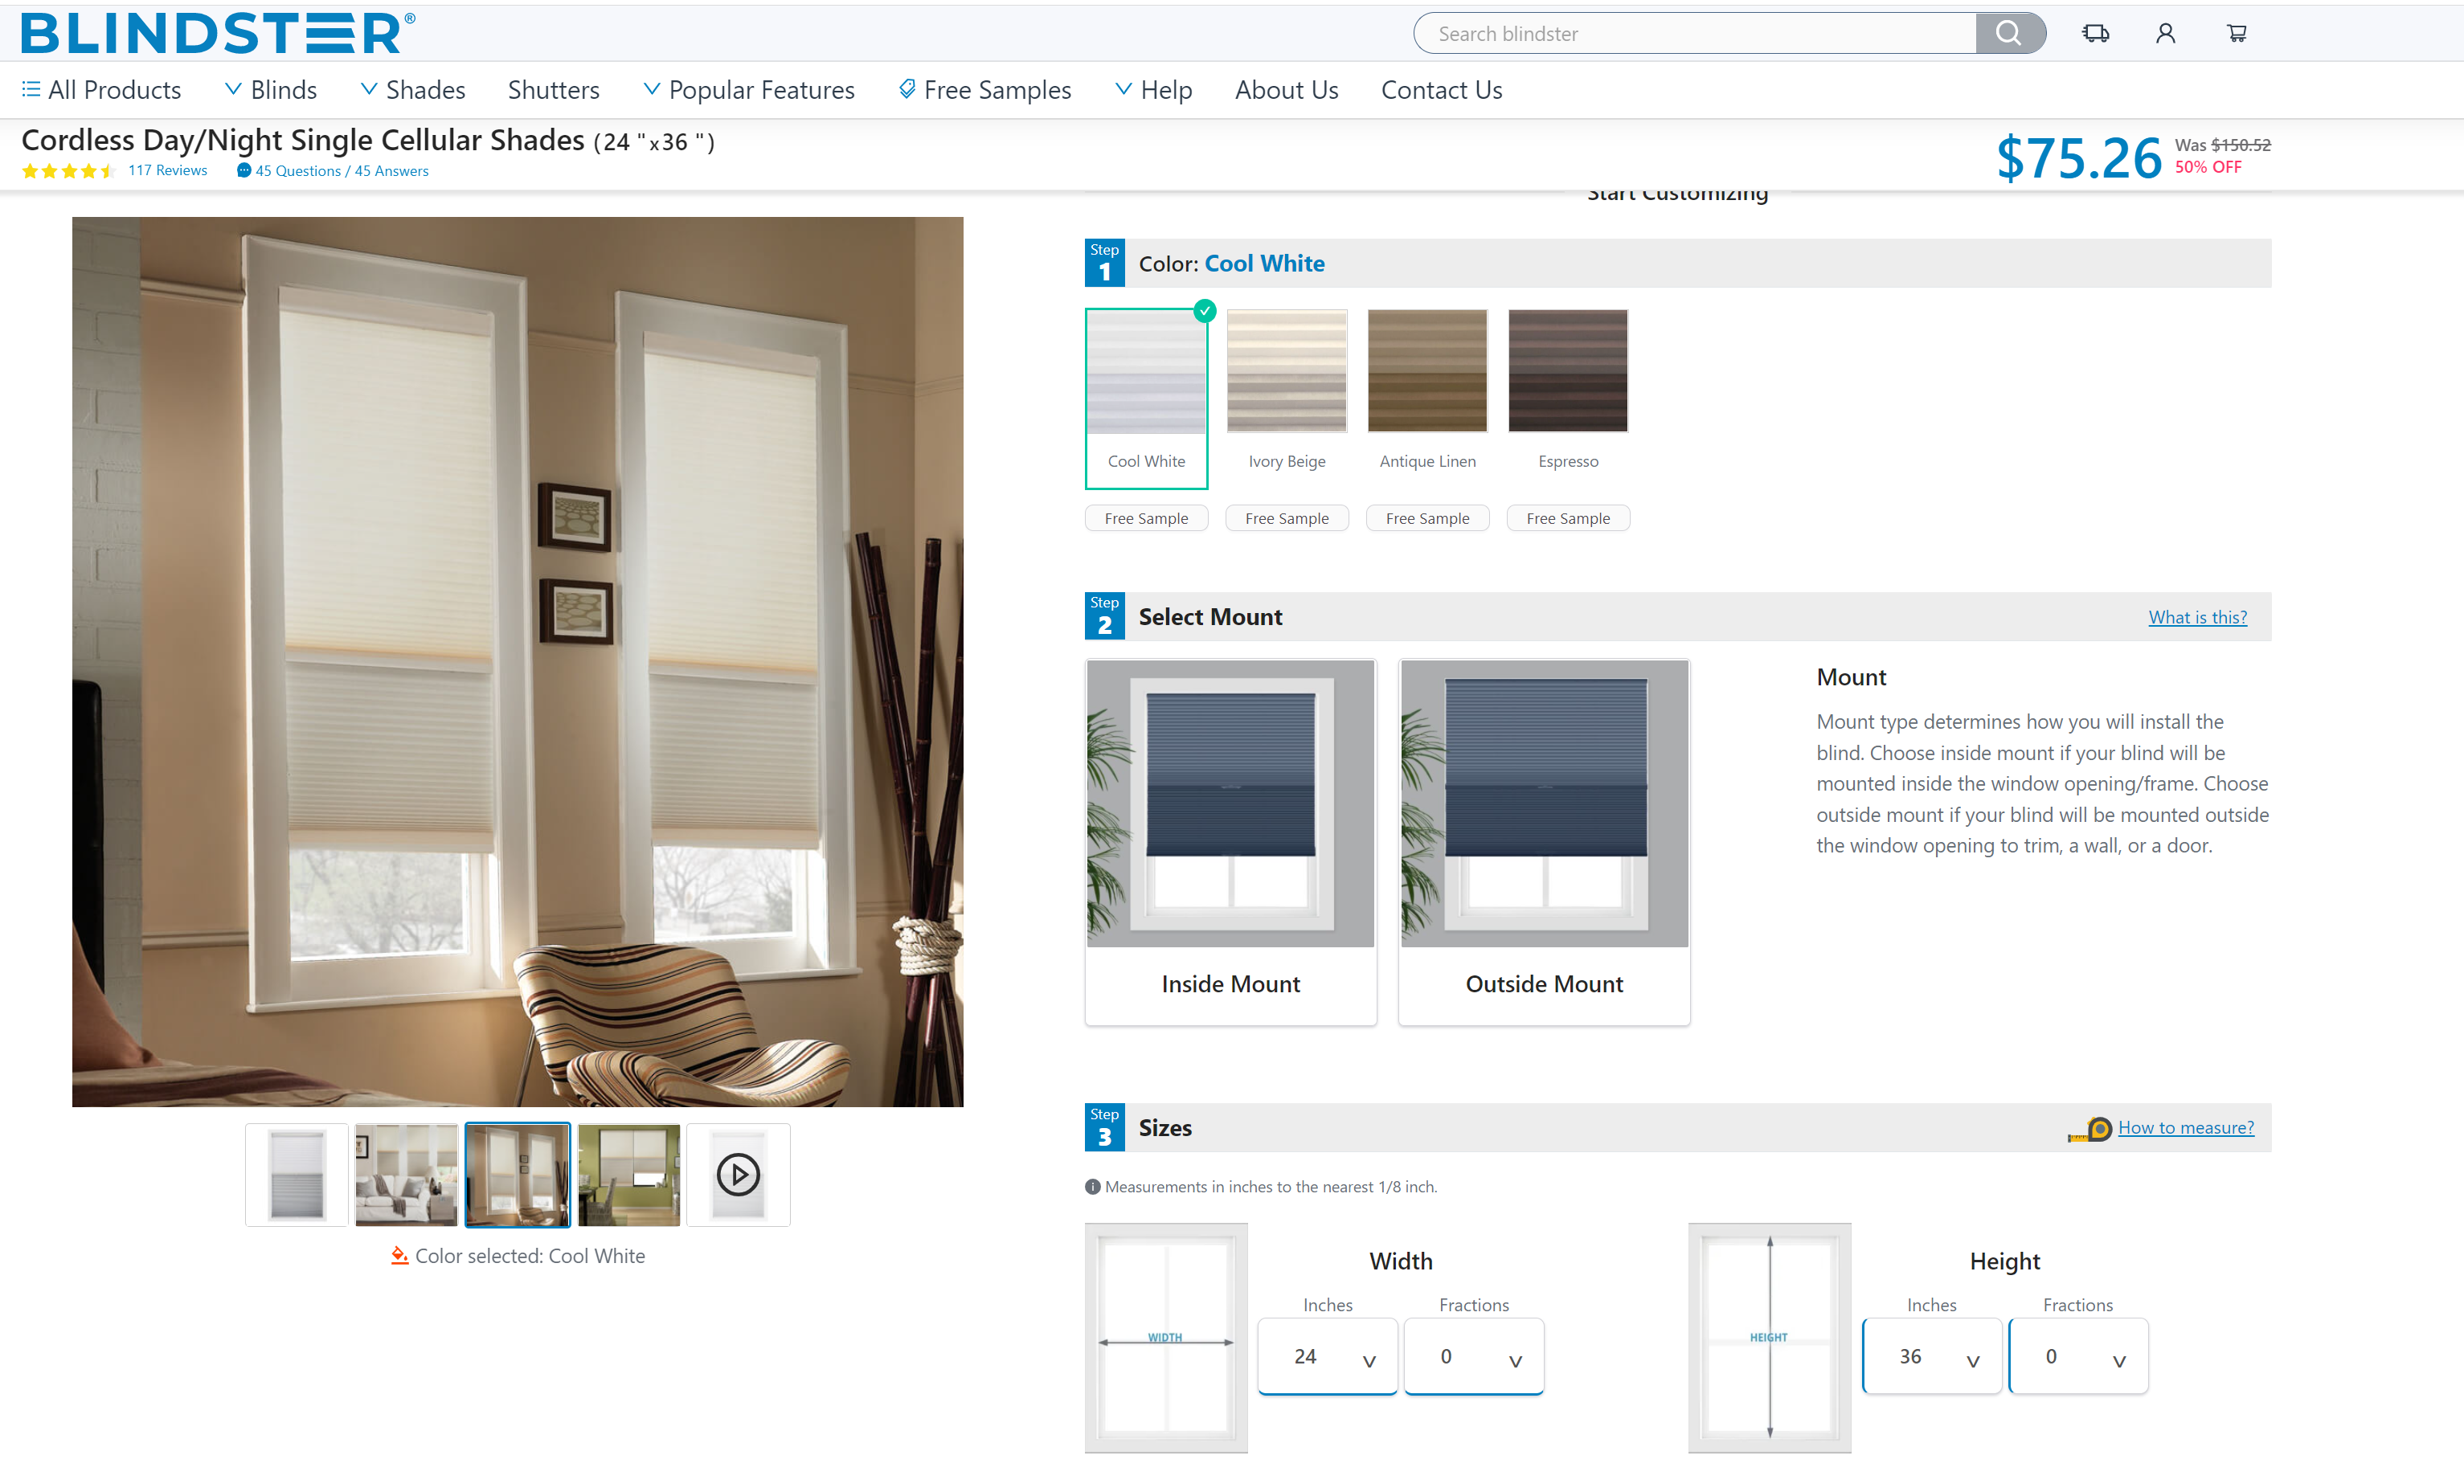
Once all the core colors were up I added Night and Day Shades from Blindster. These blinds were so easy to order and install. You can see the full post about that experience and learn why we selected this two-toned cellular shade for our gender neutral llama nursery.
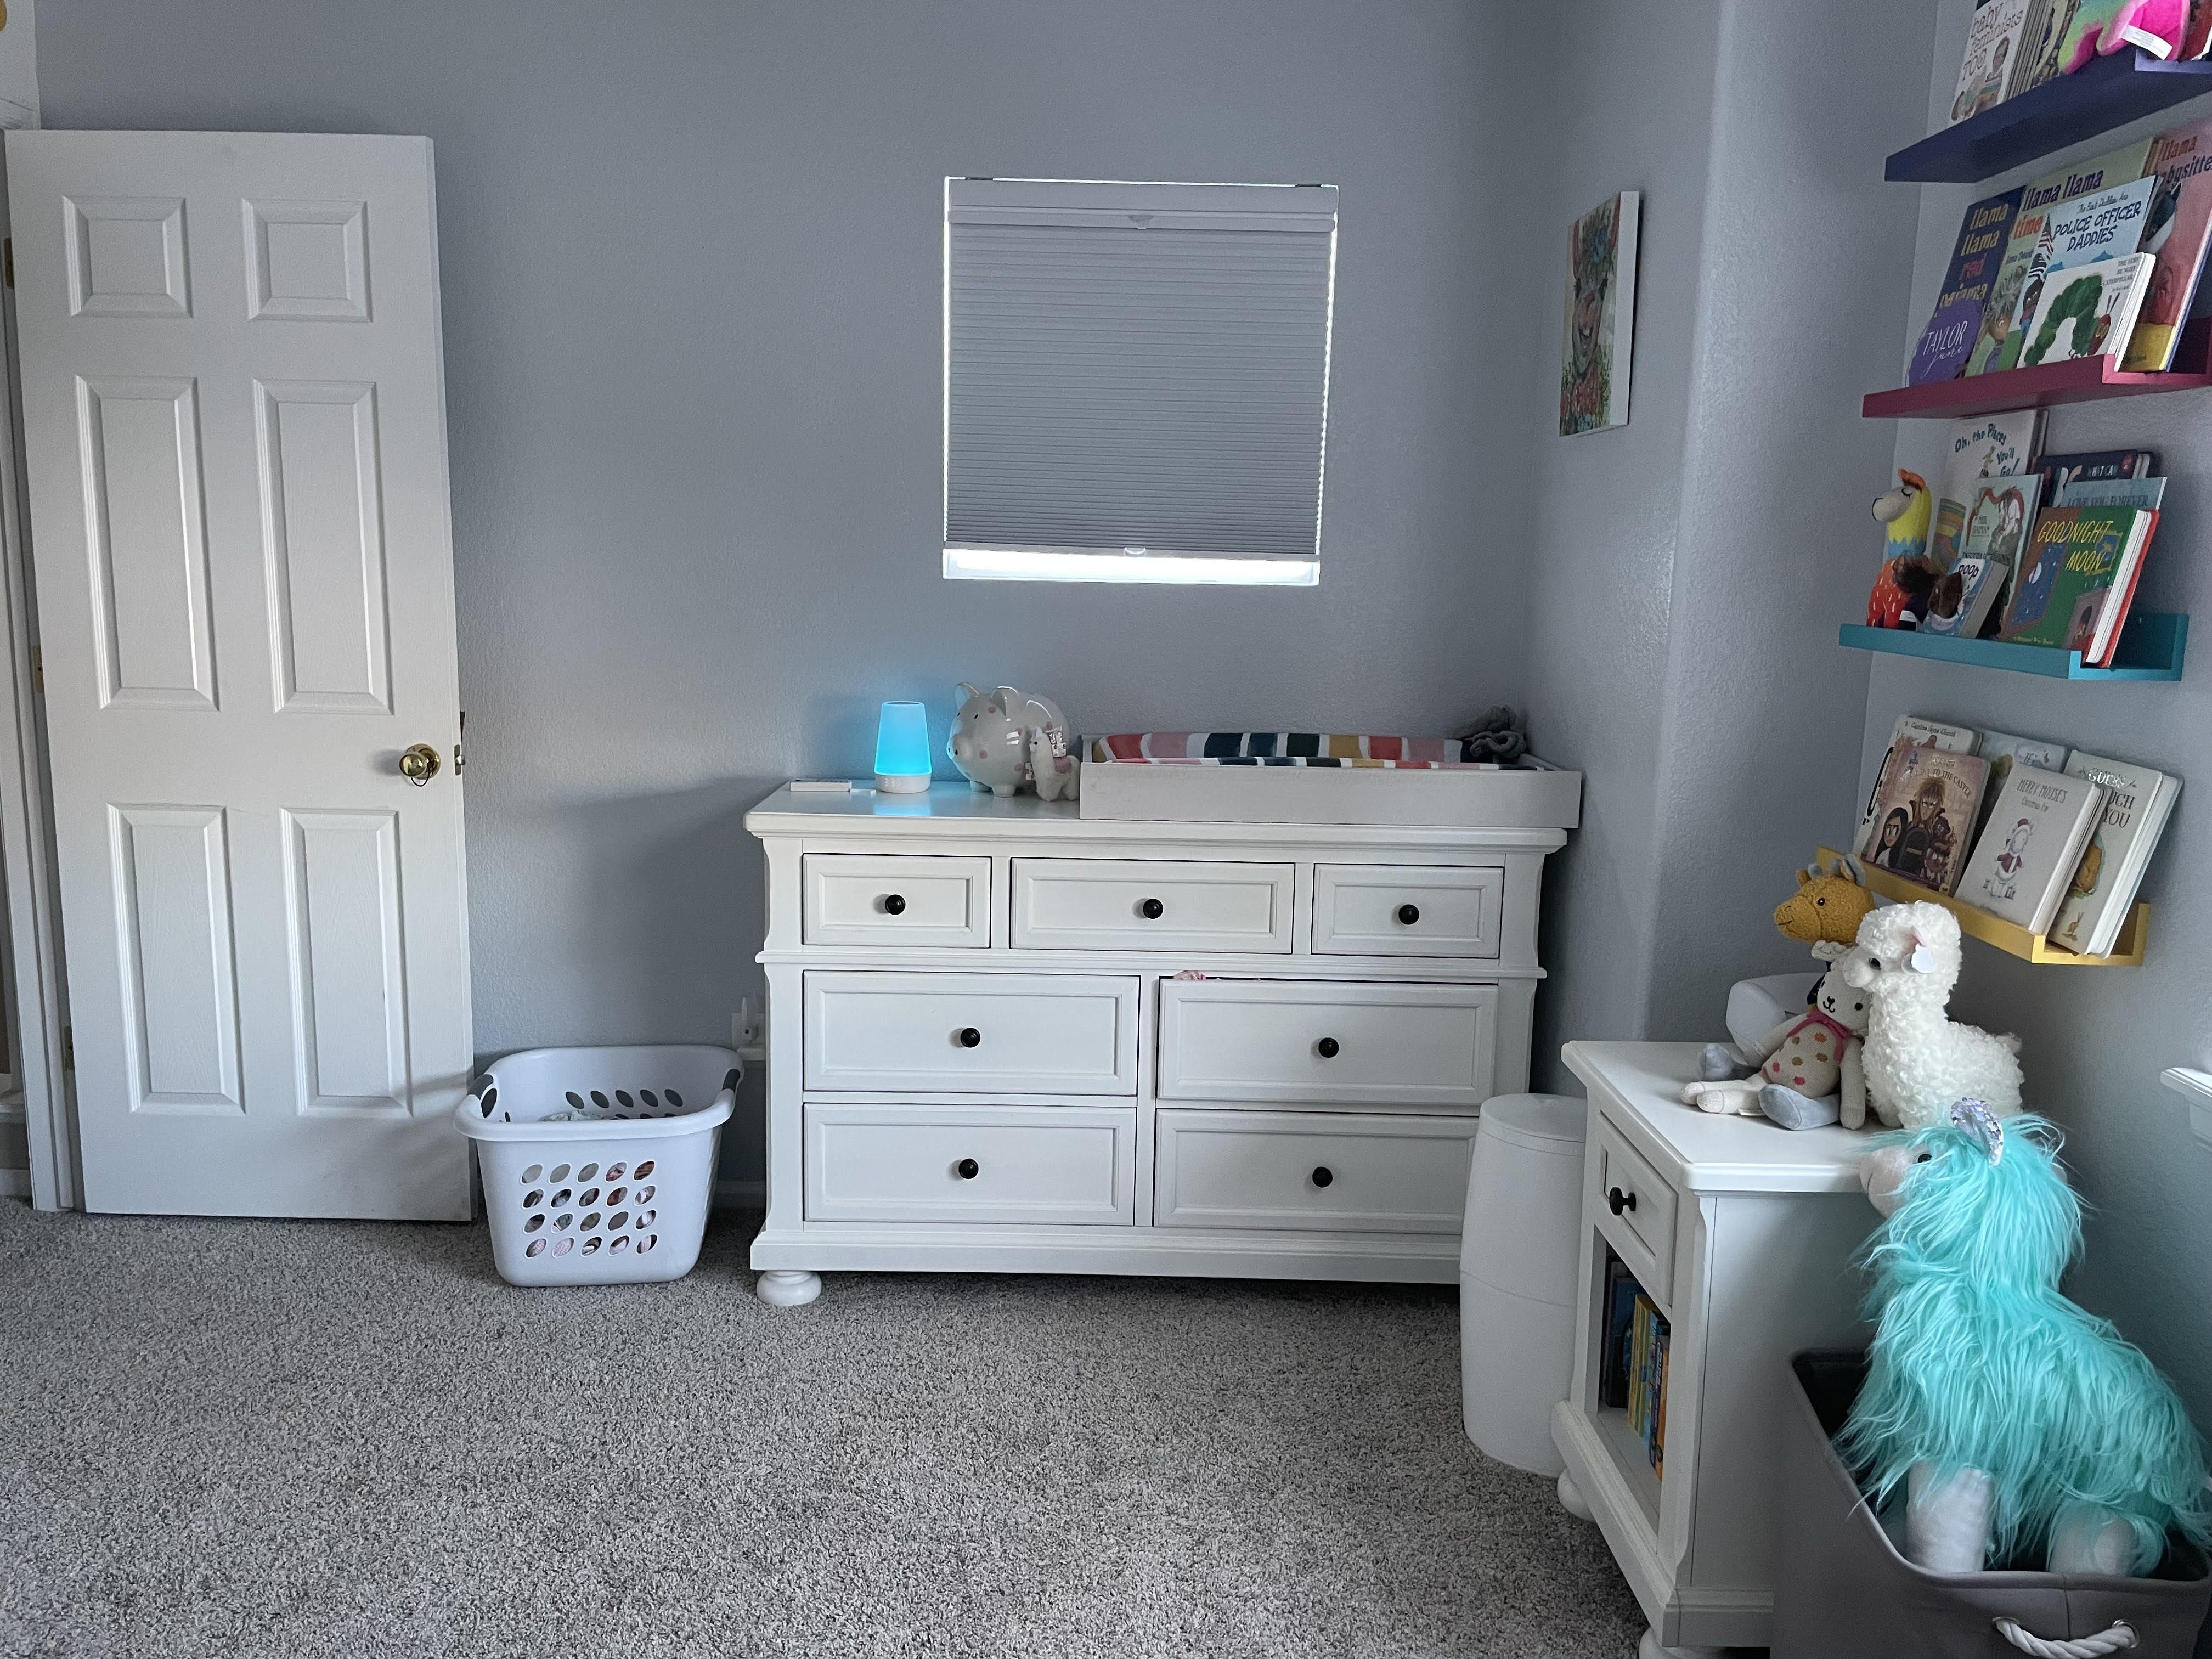
Once the base walls and windows were finished it was time to add in the furniture. I wanted to select a dresser that would grow with Taylor and continue to fit her wardrobe after was out of infant sizes. With so many shipping challenges we headed to our local Furniture Row and asked to see examples of white dressers currently in stock. This helped narrow things down and made sure we didn’t fall in love with something we couldn’t get in time. The original plan was to pick up just the chest of drawers but we found the tall dresser and nightstand in the scratch and dent section of the store for a steal!
We finished the room off with a convertible crib from Delta Children. Convertible cribs change into both a toddler and double bed ensuring we’ll get tons of use out of this entire set as Taylor grows up!
I love how everything came together and I am looking forward to spending tons of time in this room with Taylor! I hope she loves it as much as I do.
With as long as we had been working towards having a baby the nursery was ‘planned’ far in advance. In contrast to the popular styles today I wanted a bright and colorful nursery using bold jewel tones and llamas as inspiration. What I didn’t know, was how to cover the windows in an effective way that allow the baby to get the most sleep.
Cordless cellular shades are the best nursery blind solution and I was excited to find a Day and Night shade at Blindster perfect for helping ensure the nursery blinds would encourage the babies adjustment to the world outside the womb. I didn’t want to deal with curtains that could eventually be pulled down by a toddler but I knew I wanted something that could effectively block the light when necessary.
Despite my best intentions of wrapping up the nursery before the baby was set to arrive, our early little girl got here before everything was completely done. We are just now putting the finishing touches on the room while she spends most of her evenings in our bedroom for the next six months.
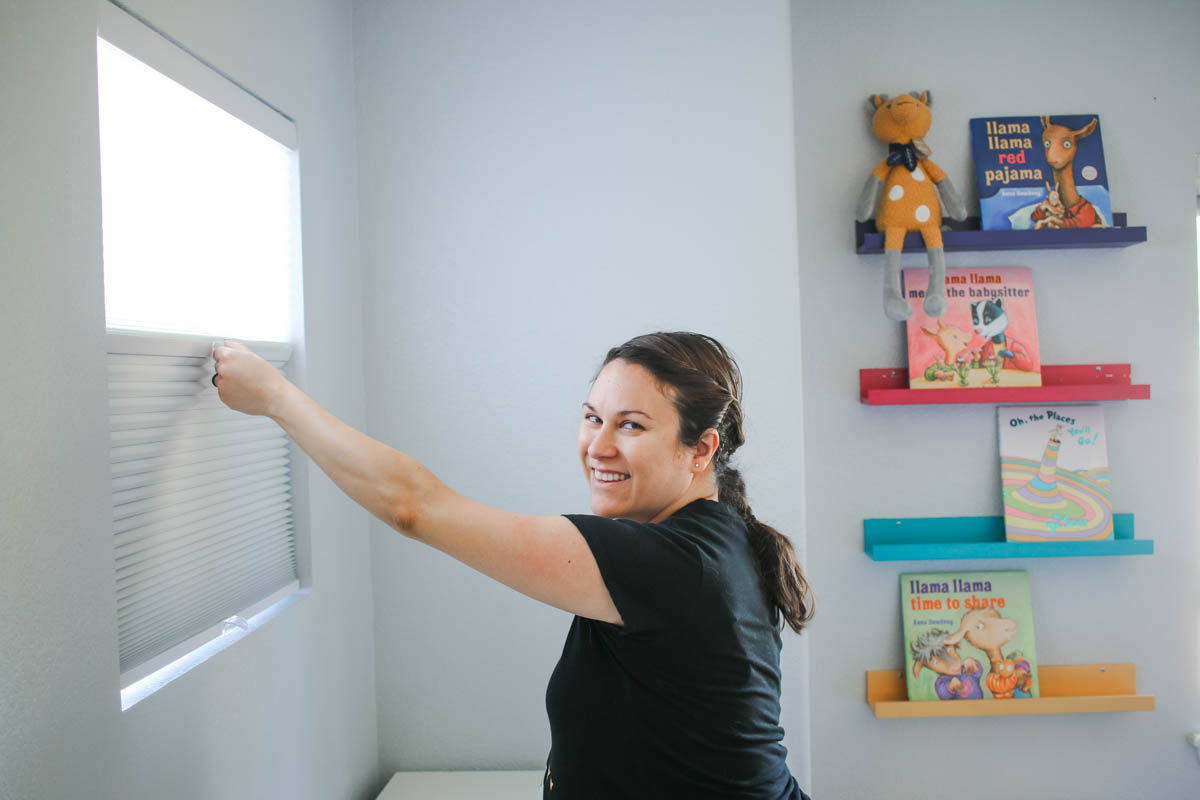
Once she transitions into her room, daylight savings will result in a bright sunset streaming through the windows at approximately bedtime. The shades we selected are multifunctional with the ability to both filter and block light. The top portion of the honeycomb cellular shared is constructed from light filtering fabric and the bottom half features blackout. This makes it easy to transition from naptime with some light streaming into the room to dark bedtime lighting – all without needing to pull a separate shade or curtain across.
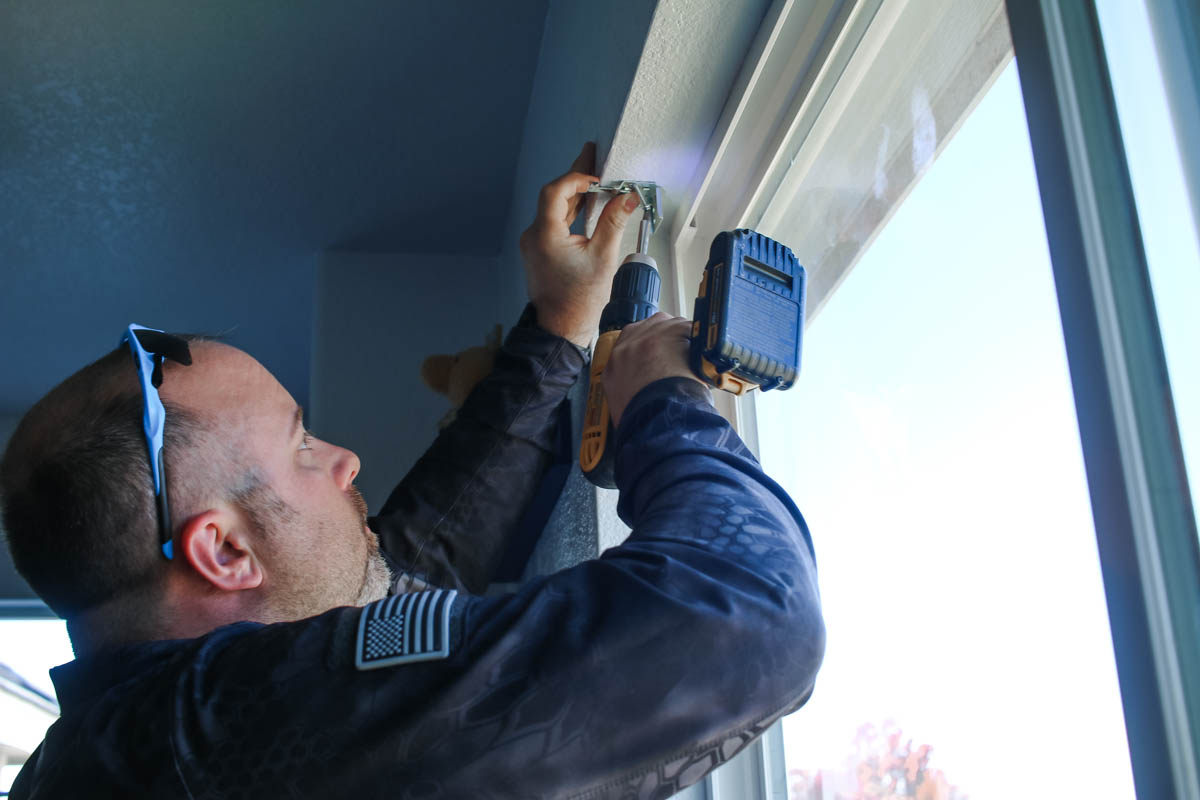
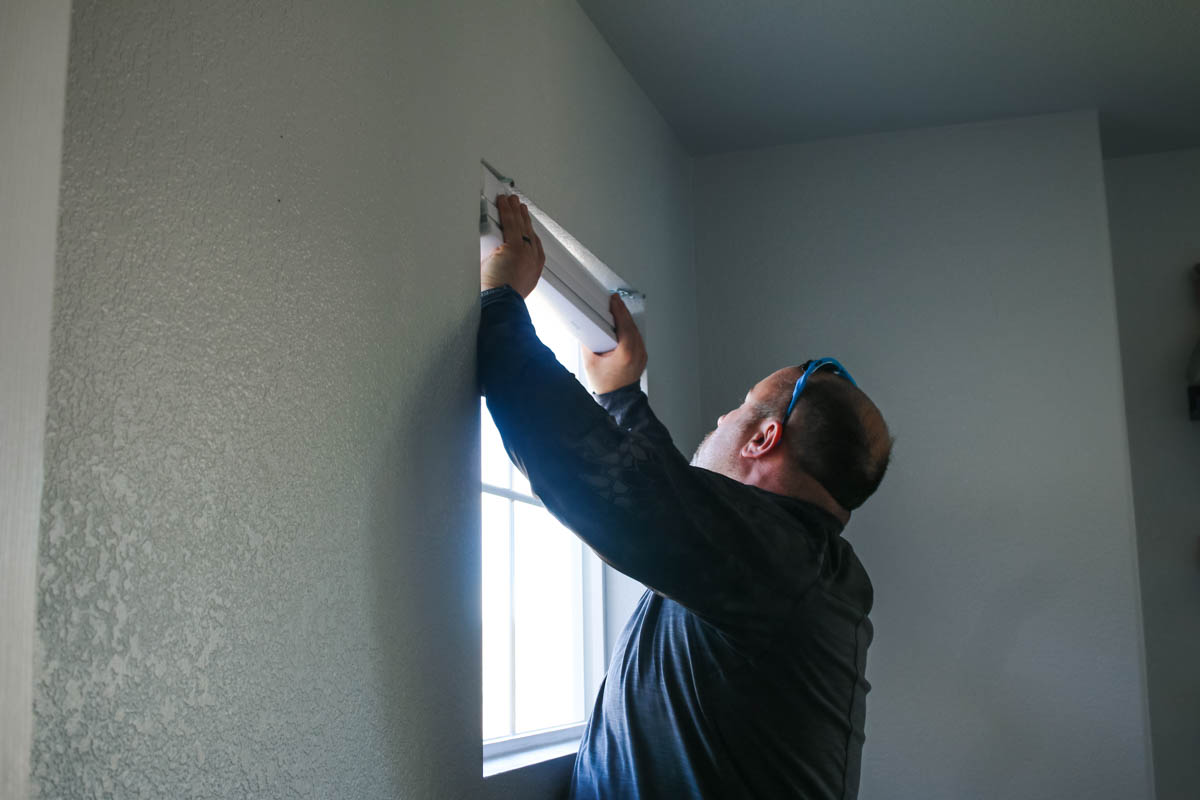
The best part is how easy it was to order and install our new nursery blinds. We started by following Blindster’s instructions for measuring for an inside window mount. They even have a great video that walks you step by step through the process.
<iframe allowtransparency="true" title="Wistia video player" allowFullscreen frameborder="0" scrolling="no" class="wistia_embed" name="wistia_embed" src="https://fast.wistia.net/embed/iframe/6mxno90fsd" width="400" height="225"></iframe>Once we had the measurements ready to go, the Blindster website makes it super easy to select the color, mount style and enter the appropriate sizes. The pricing changes at the top once everything is finalized making it possible to estimate the cost of your nursery blinds without having to talk with a salesperson.
Since most of my nursery planning took place in the evenings after work this was super convenient. I didn’t have to go into a store and could order with just a few clicks of a button.
Once ordered it took a couple of weeks for everything to be custom cut for our room and the nursery blind install was a breeze. The blinds included a few mounts that needed to be attached inside the frame and the rest was clipped up in a snap.
I love that these are a fully cordless for safety and how easy it is to quickly transition from completely light blocking over to daytime shades. Many babies have a hard time setting their circadian rhythm and baby sleep experts recommend keeping light in the room during naptime and evenings transitioning to total darkness for the best sleeping through the night experience.
The best part about these blinds is that the will definitely grow with Taylor and do not need to be changed out later if she decides to update the decor. Investing in a good set of nursery blinds means the room is set up for a toddler, child and even teenager!
Disclaimer: I received a product sample from Blindster to inspire this post. All thoughts and opinions are my own.
One of my favorite things about our house is the backyard and each summer I’ve been adding more elements to make lounging on the porch a daily activity. We have a big stamped patio, which gives plenty of space for trying out new decor and makes spending as much time as I can outside, that much easier.

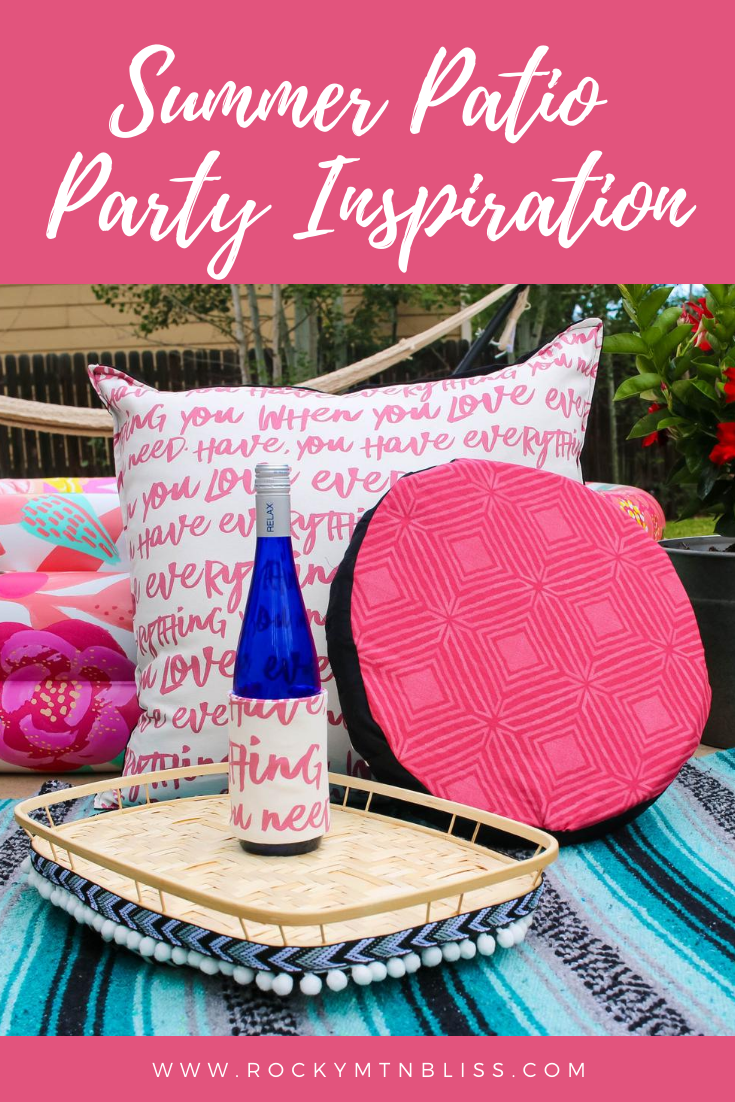
I worked with Fairfield World to update my patio with some fun crafts that are perfect for those new to sewing and I’m excited to be sharing their contest so you can have the chance to update your patio style as well! I’ll be sharing each project individually with step by step instructions over the next few days!
a Rafflecopter giveaway
We have a table and chairs, but most days I like sitting on the edge of the patio to play catch with the dogs. Colorado evenings are perfect for enjoying a summer picnic outside so I wanted to combine those two ideas and create a way to be more comfortable when seated on the patio.
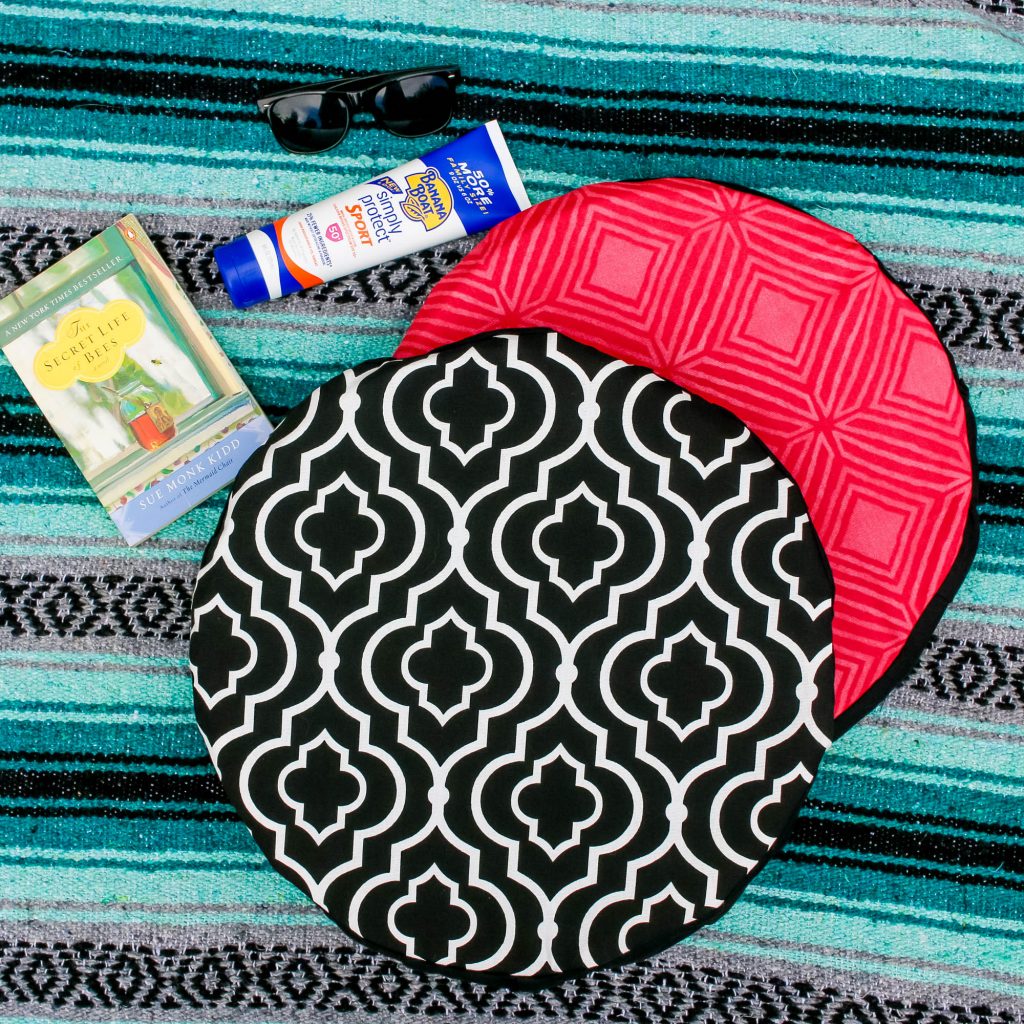
Each seat used two round cushion pads stacked together to create a 2″ tall seat perfect for sitting on the ground.
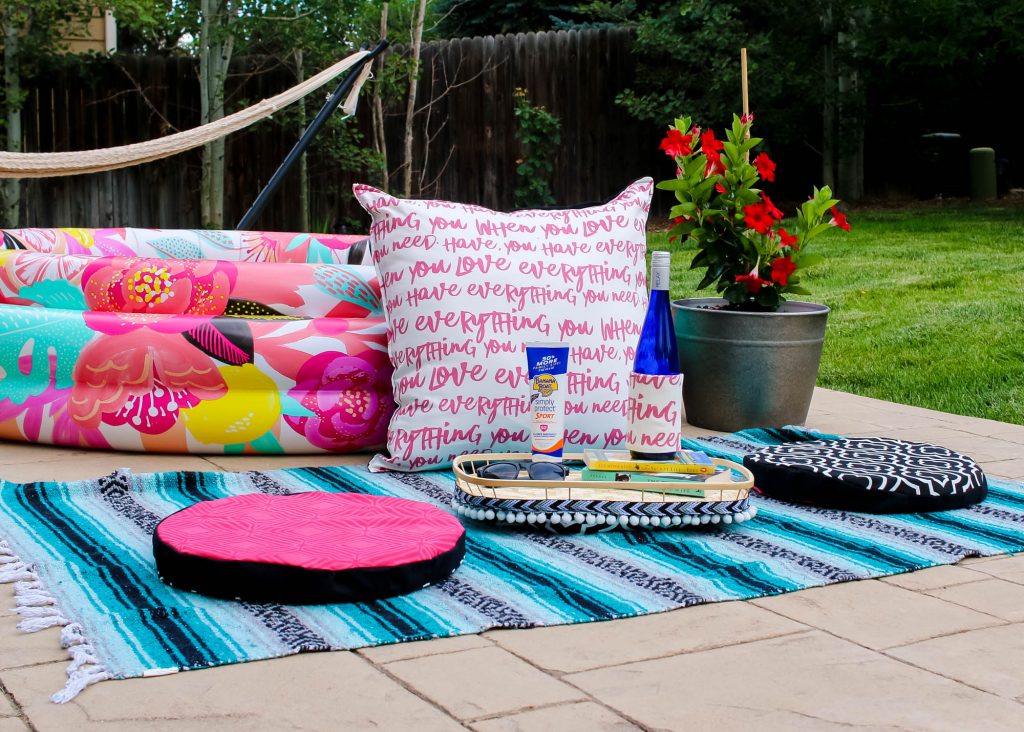
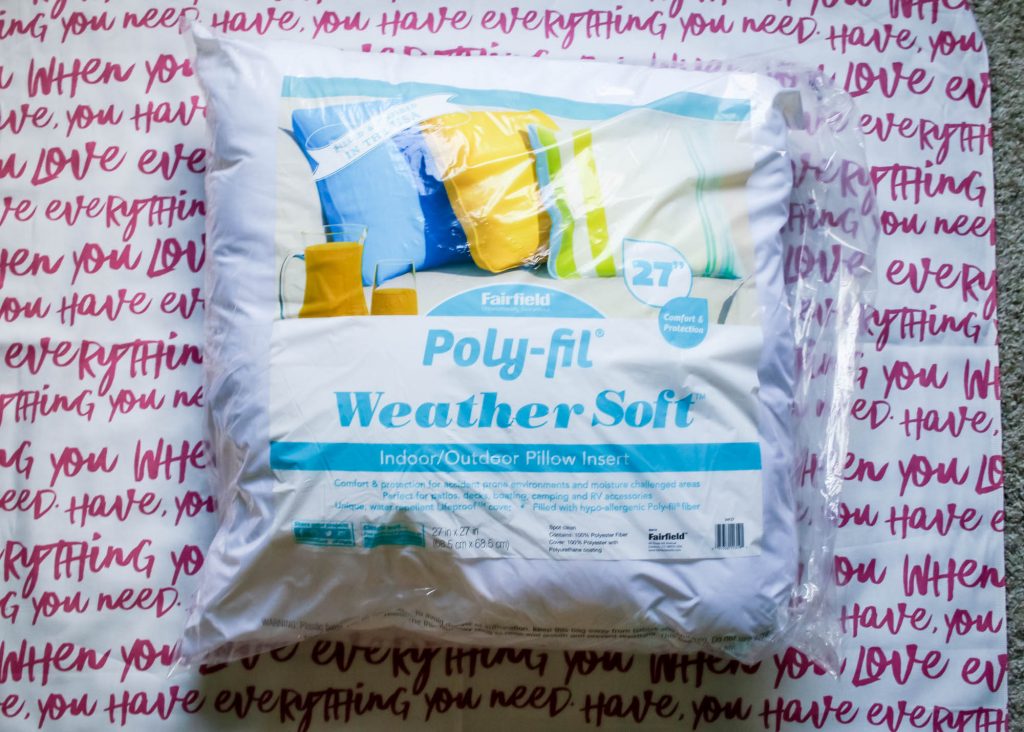
For the big pillow I used a Fairfield World Weather Soft™ . Weather Soft™ pillow inserts are water repellent so if I forget it outside during a Colorado afternoon rainstorm I don’t have to worry about the filling getting musty.
Learn how to make this DIY Outdoor Pillow.
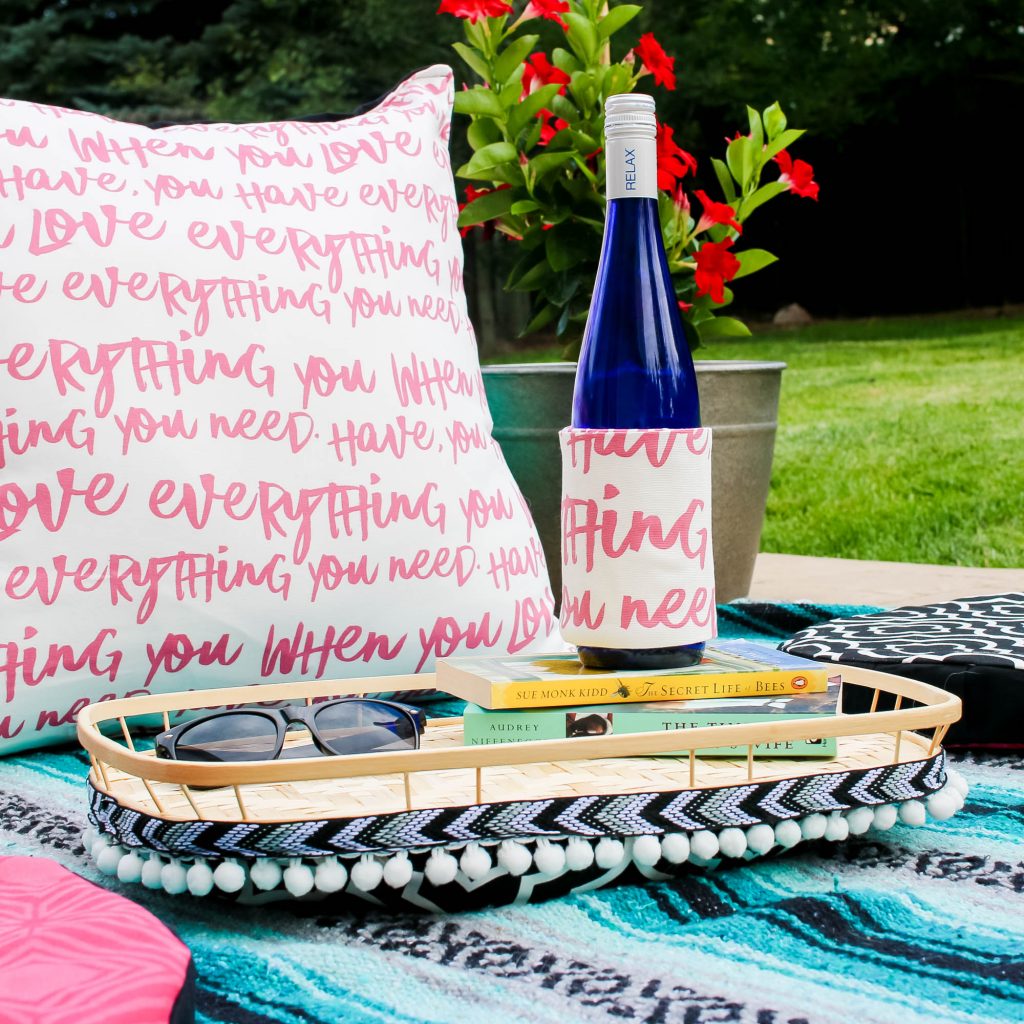
The dining tray is my favorite project from this set! While you don’t ‘need’ a tray to have a patio picnic it’s nice to lift everything off of the ground and the poly beads inside made it self leveling for use on the grass or inside later. This project used 6 lbs of weighted poly beads to fill the bottom.
We are lucky that Colorado isn’t humid, but after living in places that are I learned to LOVE Koozies. I used Solarize Insulating Liner to make this easy Wine Bottle Koozie, perfect for keeping white wine chilled while ‘chilling’. Sorry had to go there.
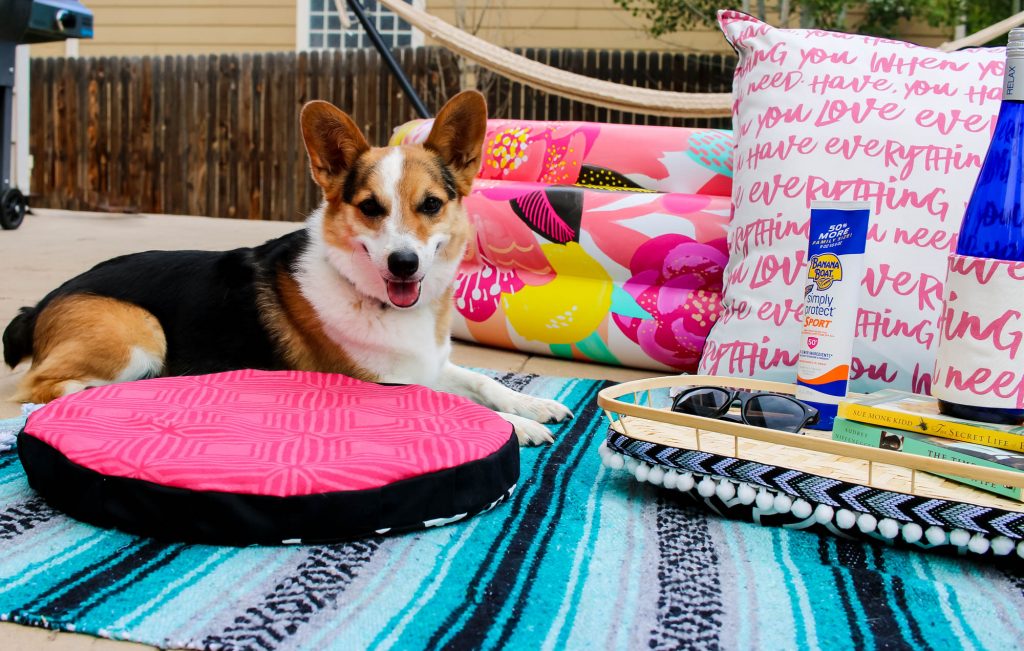
Now that my patio is all bright and comfortable I’m excited to share it with my furry friends, Rogue and Raven. The dogs are loving the cushions!
A few of my favorite bloggers are sharing their ideas for jazzing up your summer patio! Check out all their projects starting on Me and My Inklings and don’t forget to enter to win a gift pack to plan your patio party!
Disclaimer: I was provided with product samples from Fairfield World to inspire this post.
If you are new at sewing this DIY outdoor pillow is the perfect beginning project. I’m obsessed with throw pillows and love that it’s so easy to personalize your decor with fun fabric.
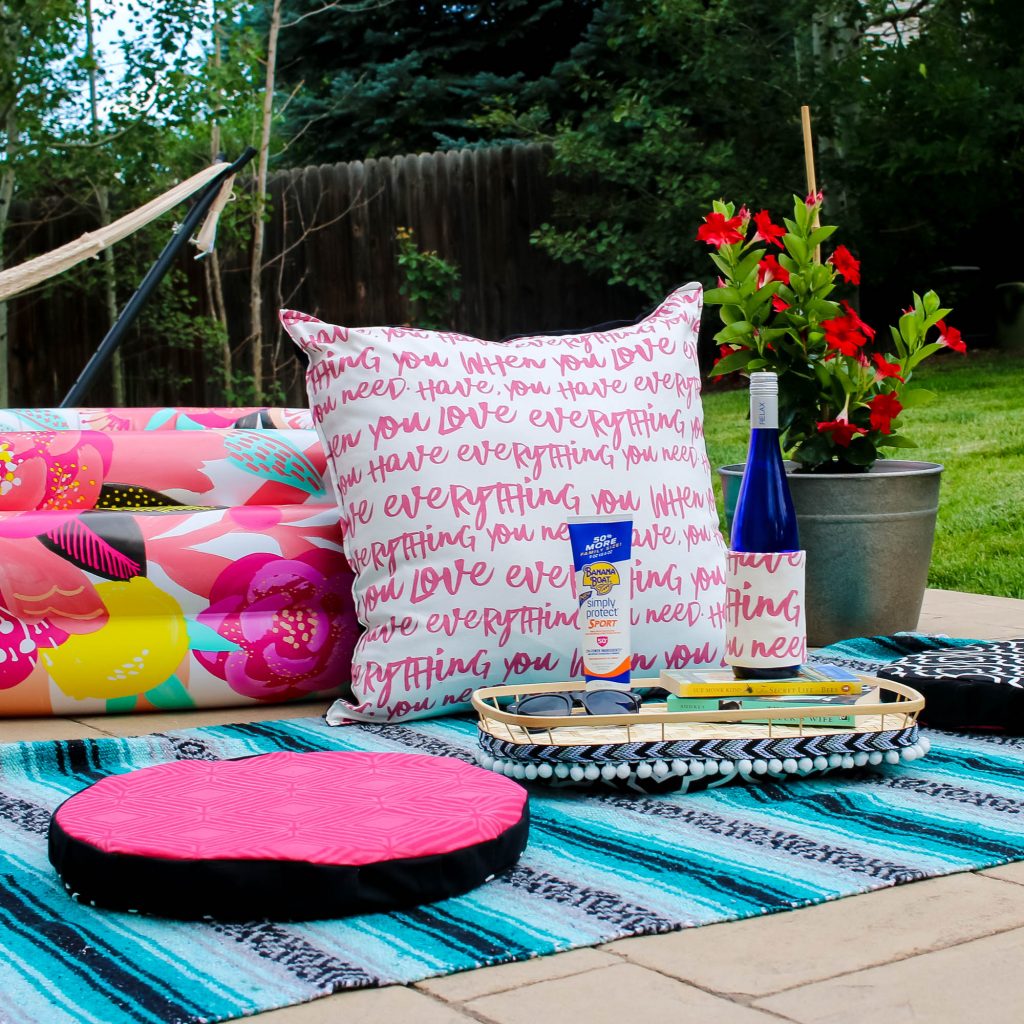
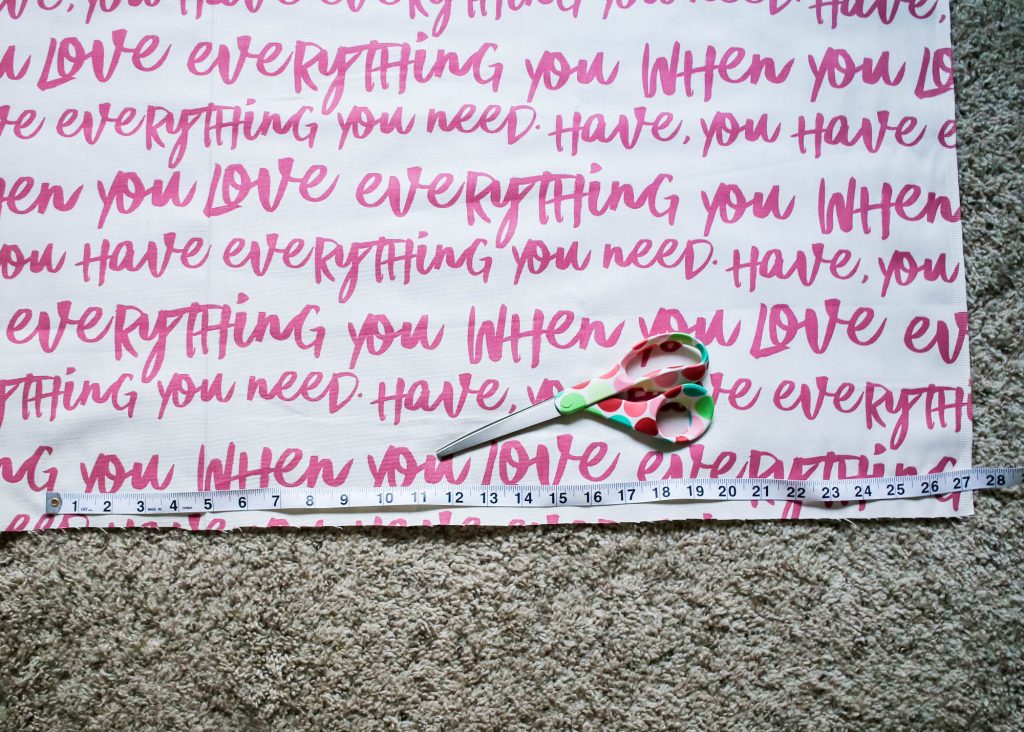
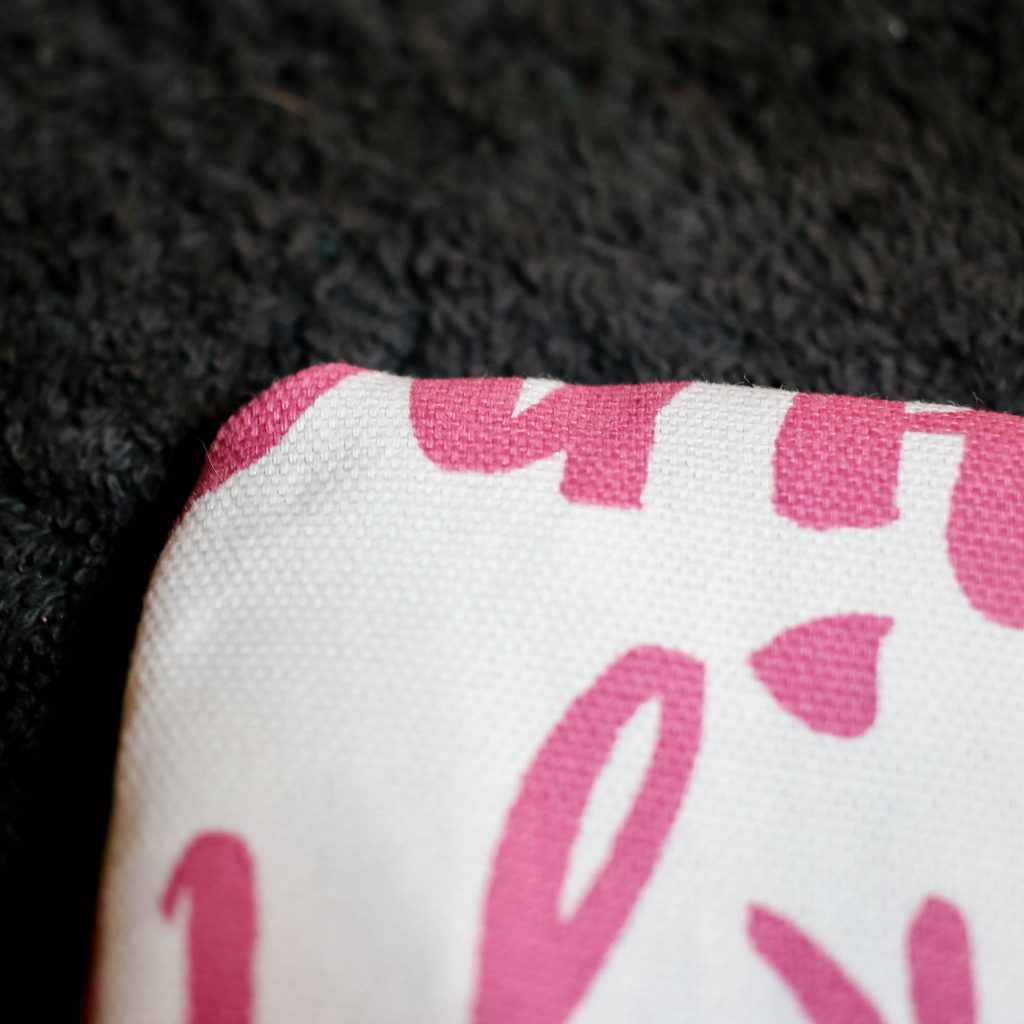
This fun print says ‘when you love everything you need, you love everything you have‘. I chose it because I love how bright it is and that the color really pops against the pool I’ve been lounging in all summer long.
For pillows you really want to use a home decor fabric. A bit more heavy duty these fabrics hold up well for regular use and can still be washed in the washing machine. Home decor fabric usually has a bit of texture as well, giving it more depth then you see in a standard cotton print.
You could easily sew this project by hand but a sewing machine will make sure you have really strong seams.
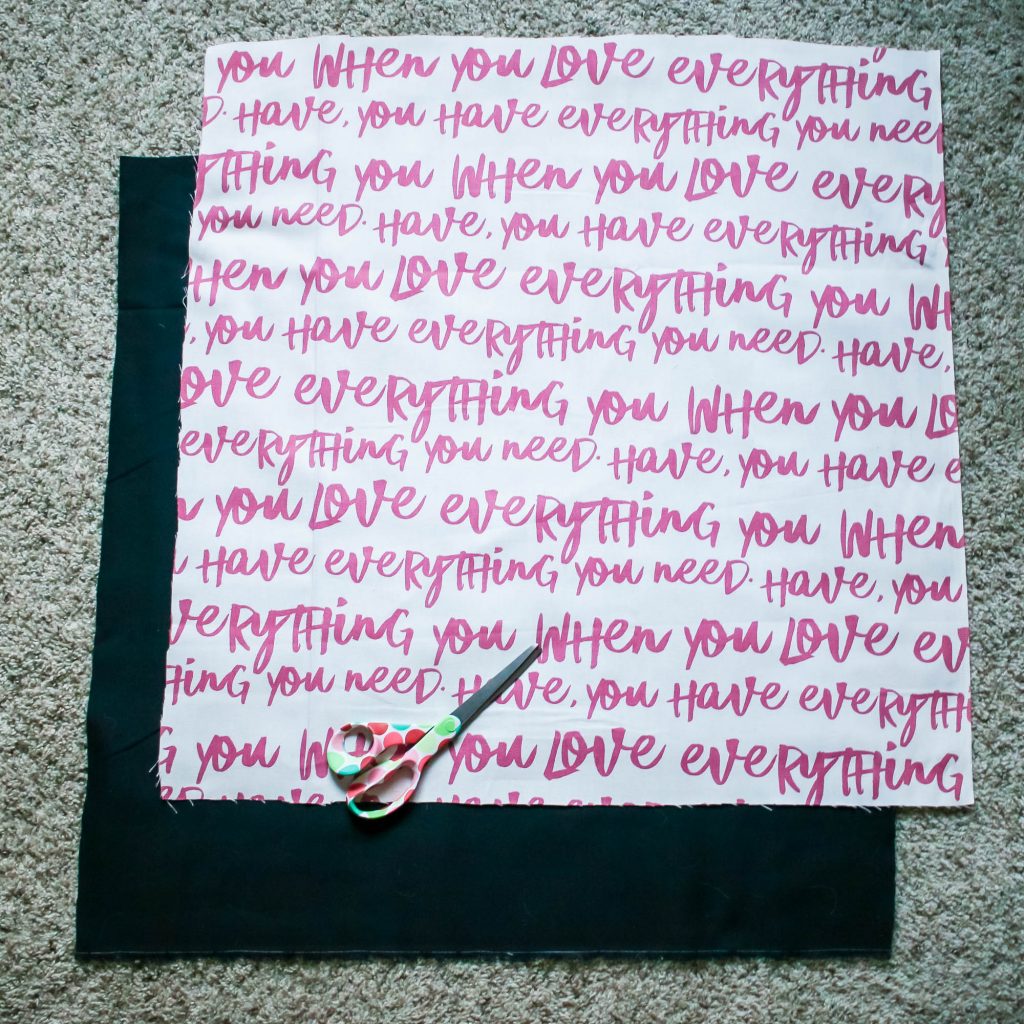
Start out by cutting out the fabric. I have a front side [the write and pink] and a backside [black]. To make sure that the pillow is really fluffy and the case is secure I am cutting out fabric the same size and the filler [in this instance 27″]. I used a Fairfield World Weather Soft™ insert.
Before starting to sew I ironed both sides to take out any seams or creases. Place the fabric right sides facing one another and sew around 3 of the edges with a 1/2 easing.
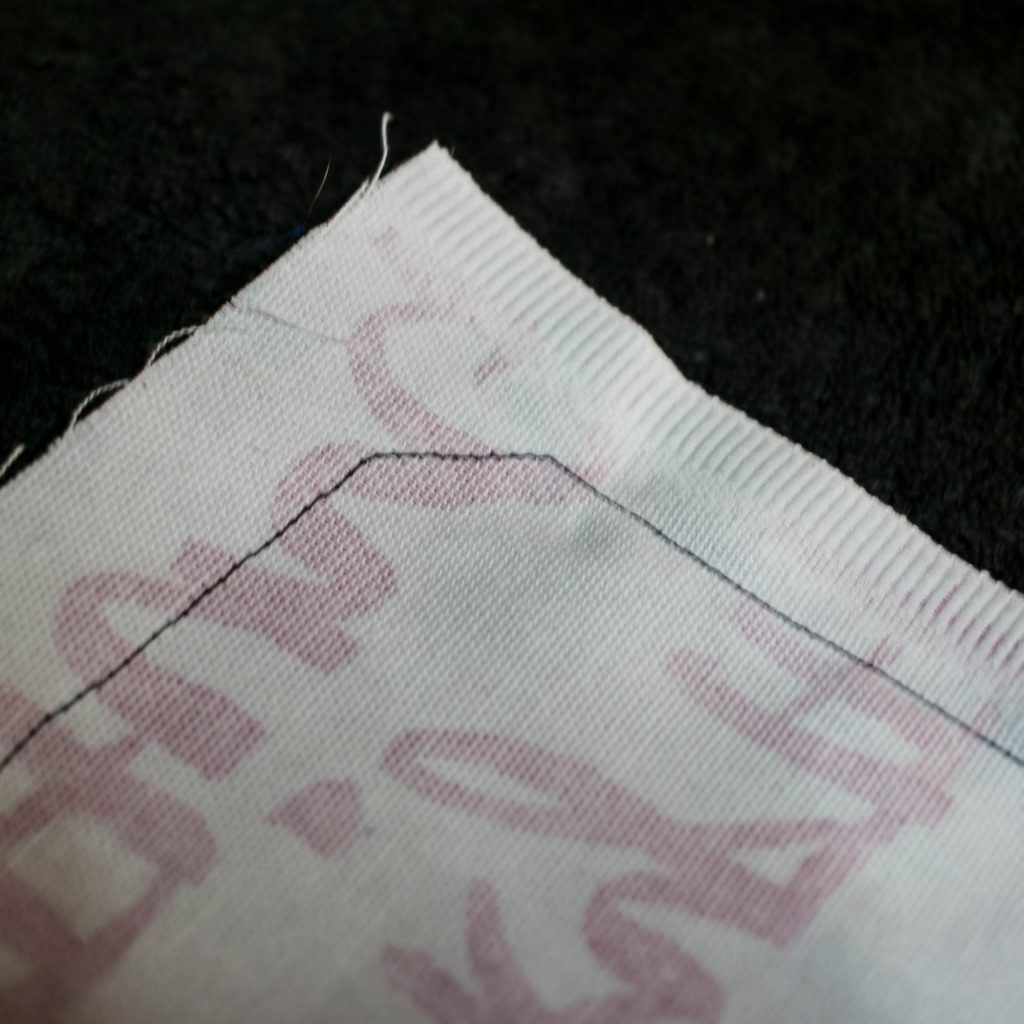
When sewing a pillow it’s important that each corner has a diagonal seam across the edge. I don’t know why, but its a magic trick so when you turn the case right side out the corners are sharp.
On the open edge, fold over the raw material and iron along the side. This is what will ensure a nice finished edge to the project. Place the pillow inside and sew across the open side with a 1/2″ ease. Finish the case by sewing all around the edge to create a nice finished look.
For more fun patio DIY projects head over to the Patio Party post! I am sharing the finished look and you can enter to win a prize pack from Fairfield world.
Disclaimer: This post contains affiliate links.