

I came across a tutorial for home made marshmallows around Christmas time but didn’t get around to actually completing the recipe until last week.
While making your own marshmallows sounds completely strange and unnecessary I can assure you that it was well worth the effort and the resulting product tasted 100X better then store bought options. In addition, I’ve never seen booze enhanced marshmallows at my grocery store – I’m sure there’s a re ason for that.
Delicious, extra boozy, very sticky and wonderful. If you have an hour or two and a craving for sweets you should definitely give this a try.
Bailey’s Marshmallows
Recipe adapted from Confessions of a Foodie Bride.
Ingredients
1/2 cup baileys Irish cream
3 packets unflavored gelatin
1 cup corn syrup
1 ½ cup sugar
½ cup water
Powdered sugar
**Note: You NEED a candy thermometer to make this recipe.**
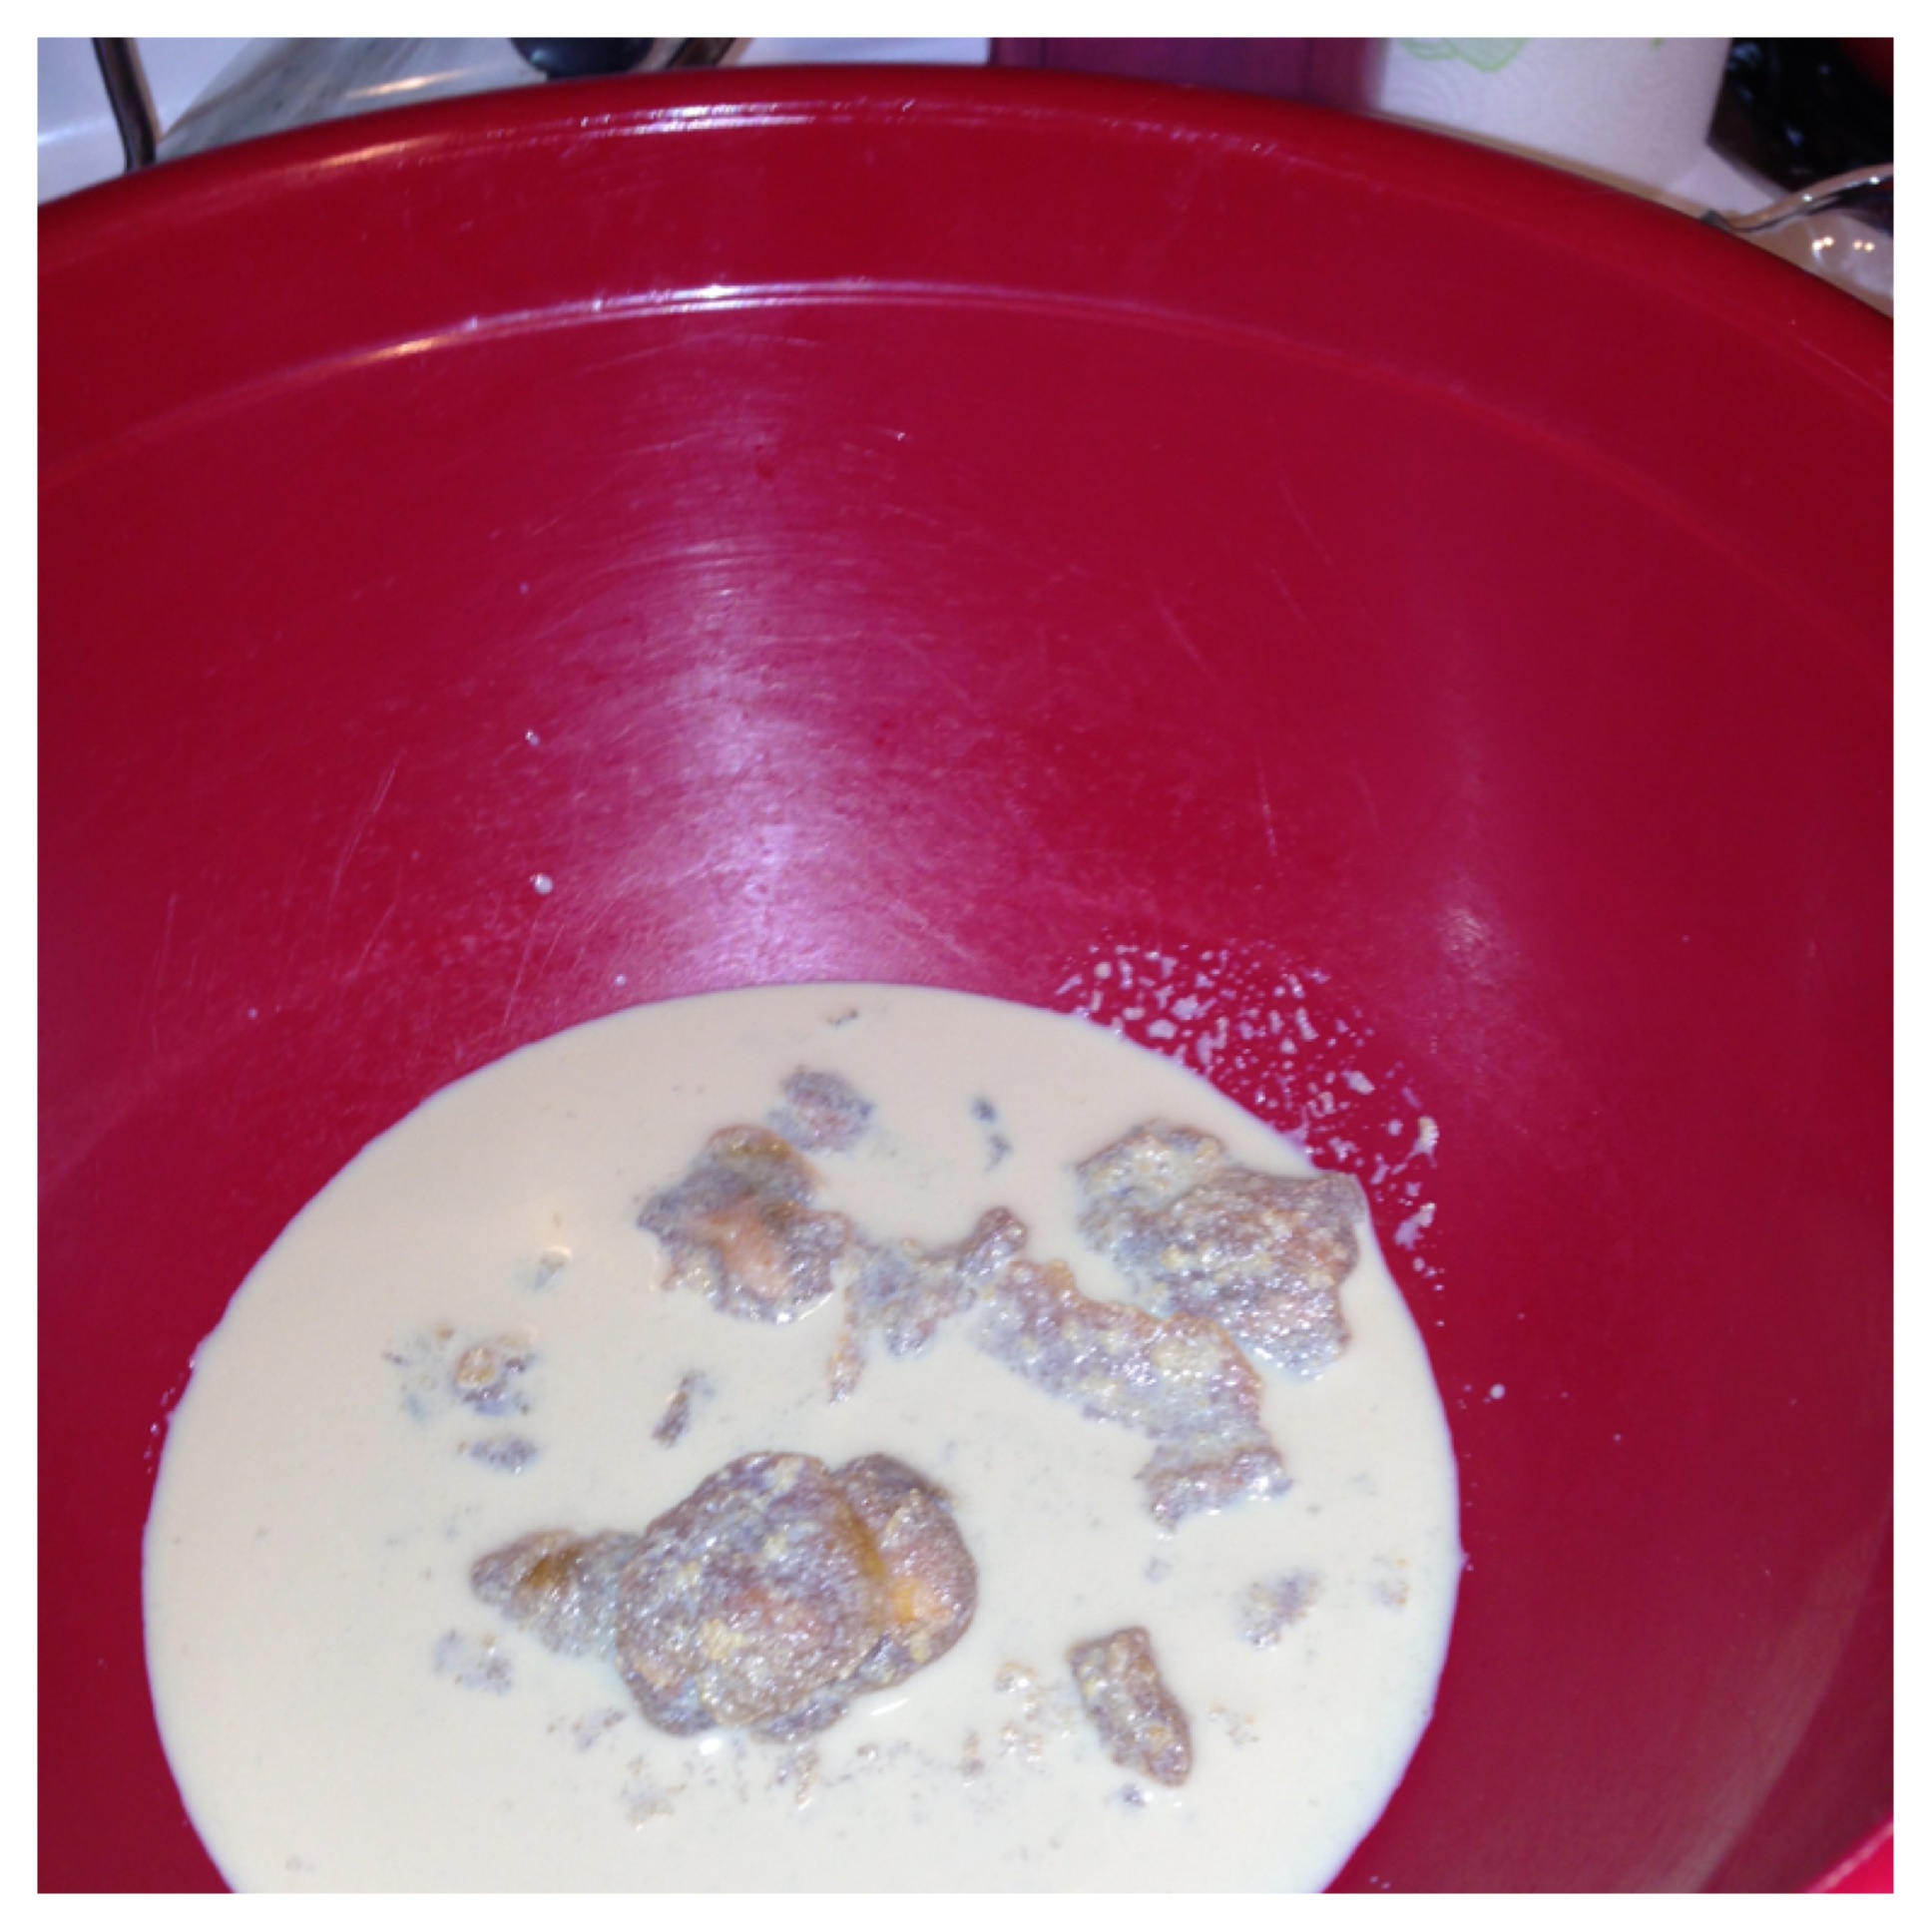
- In a large bowl, combine the Baileys with the packets of gelatin. The recipe I used assured me that the gelatin would absorb. In my rendition it became more of a lumpy hard solid but that did not seem to affect the end result.
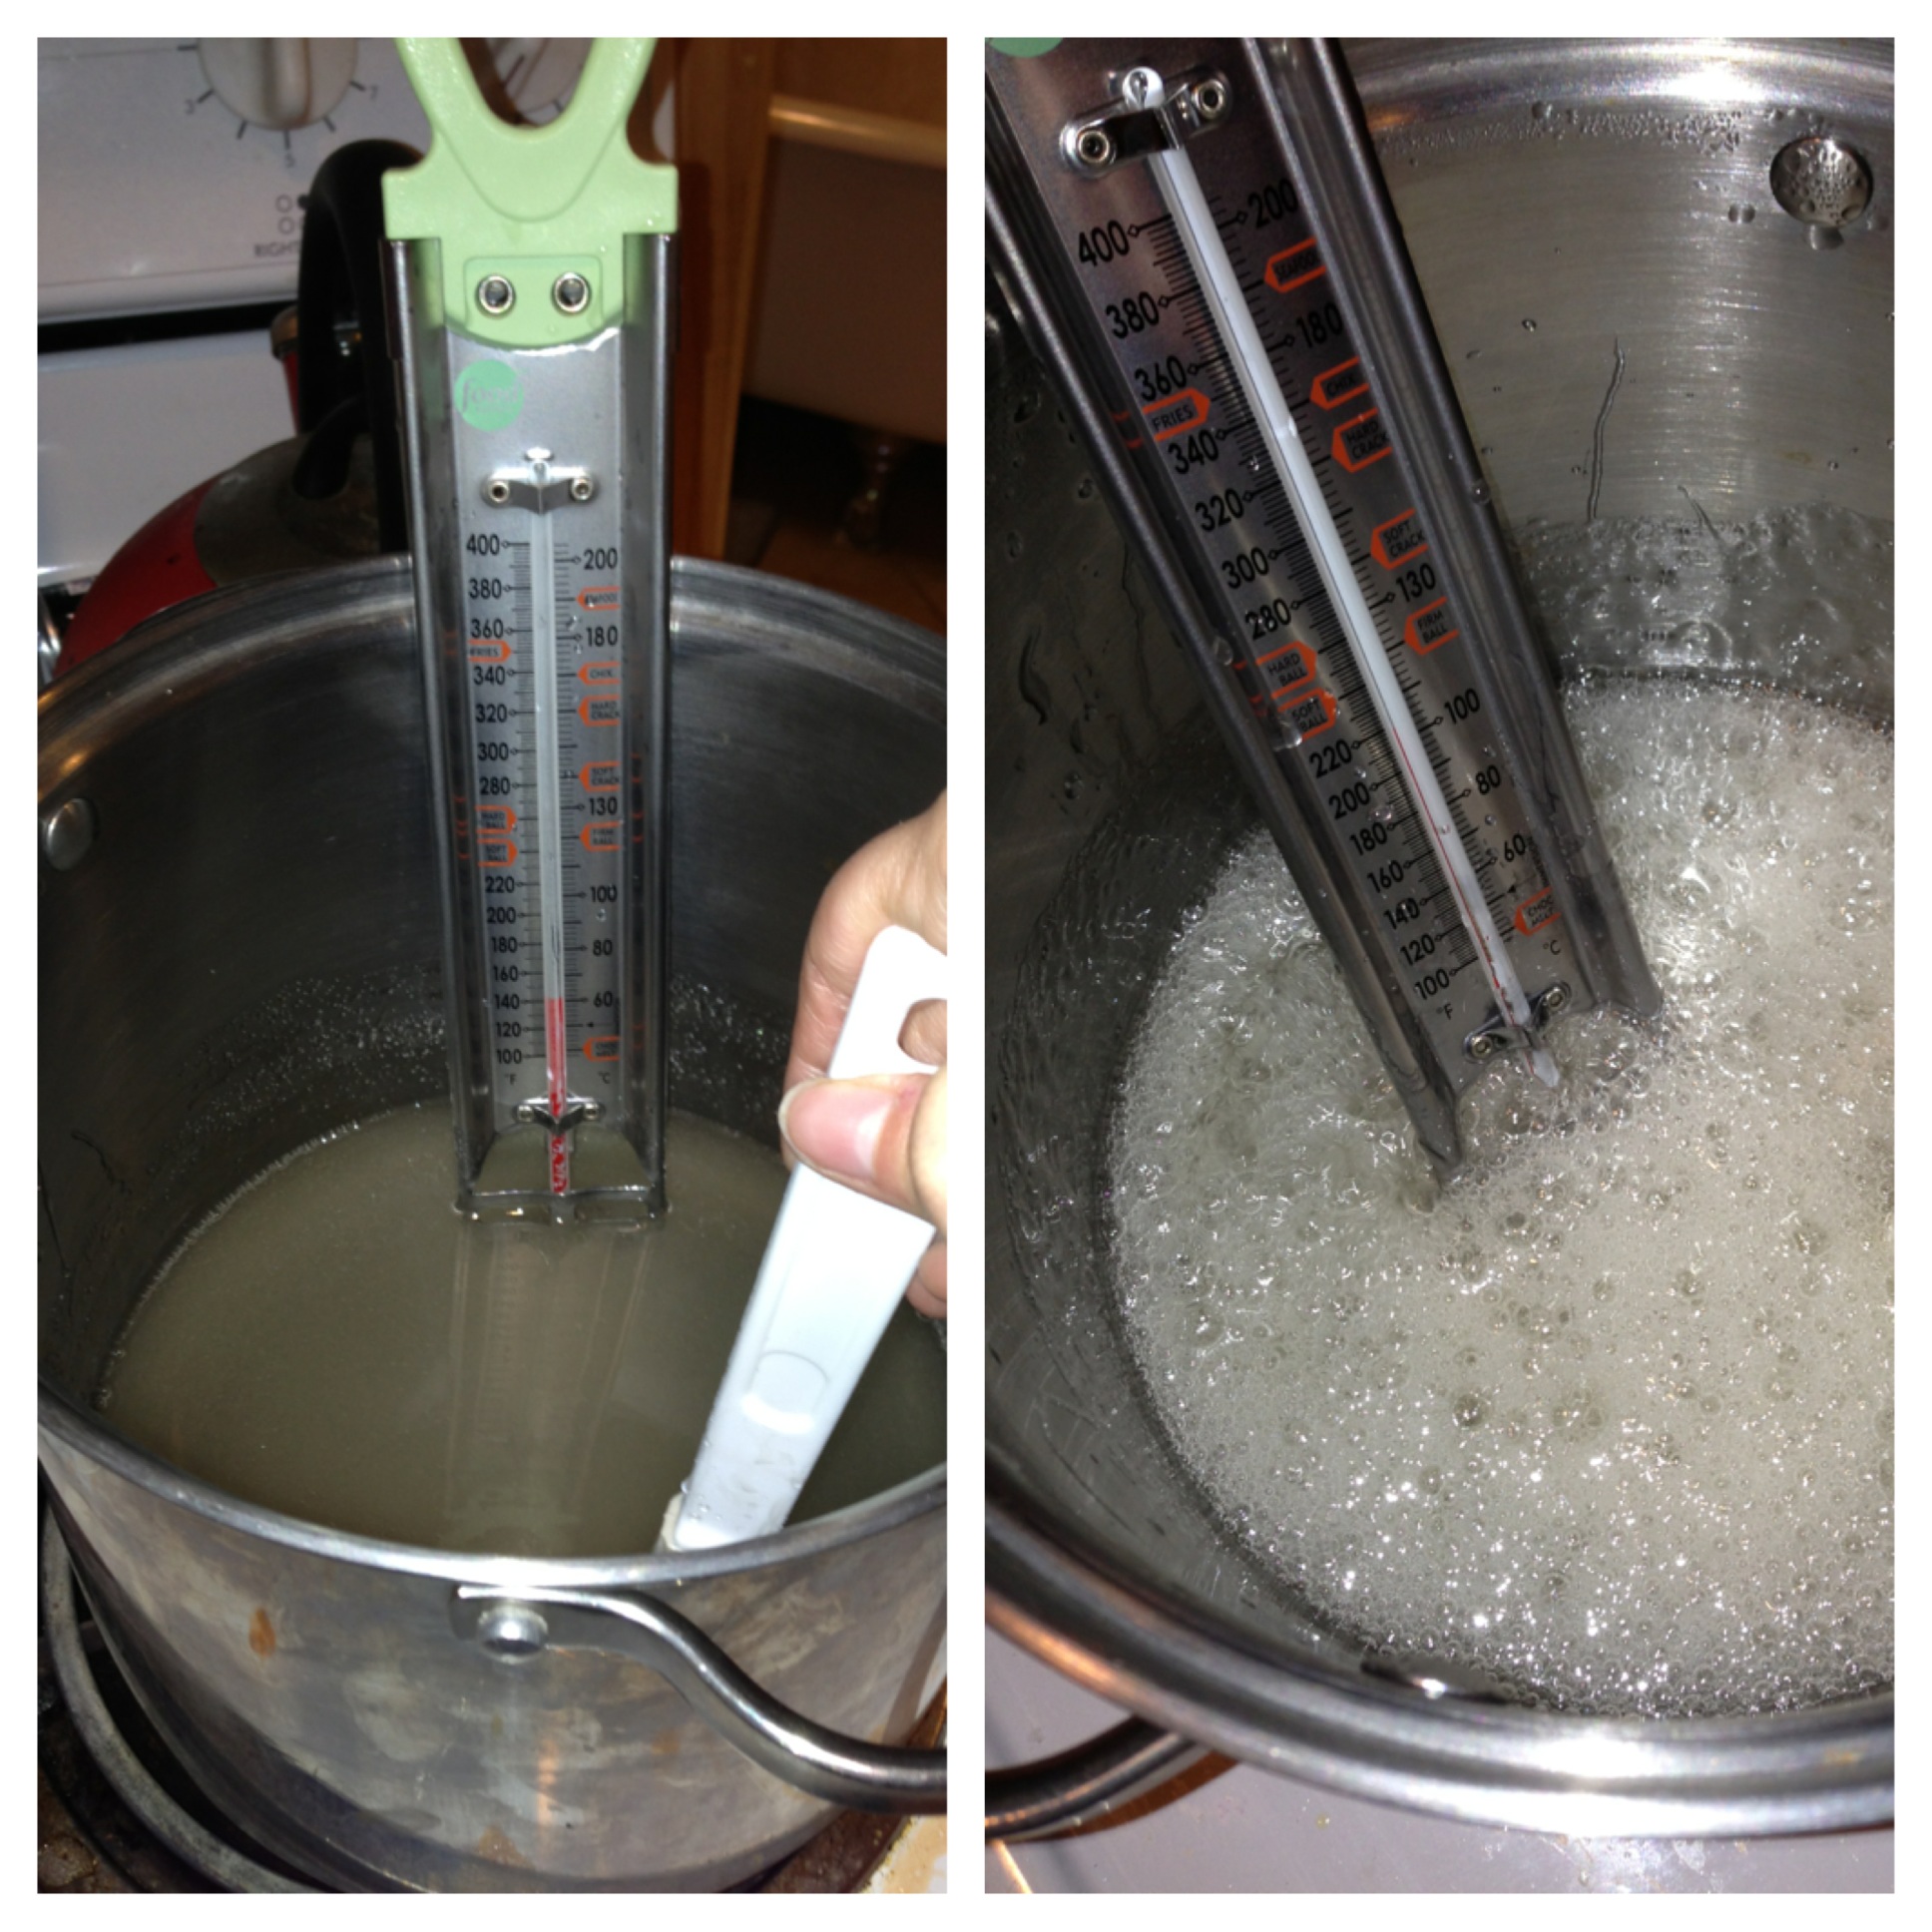
- Combine the sugar, corn syrup, and water in a sauce pan or pot. Mix constantly until the contents reaches 240 degrees or the soft ball stage on your thermometer. This will take forever…. Be aware.
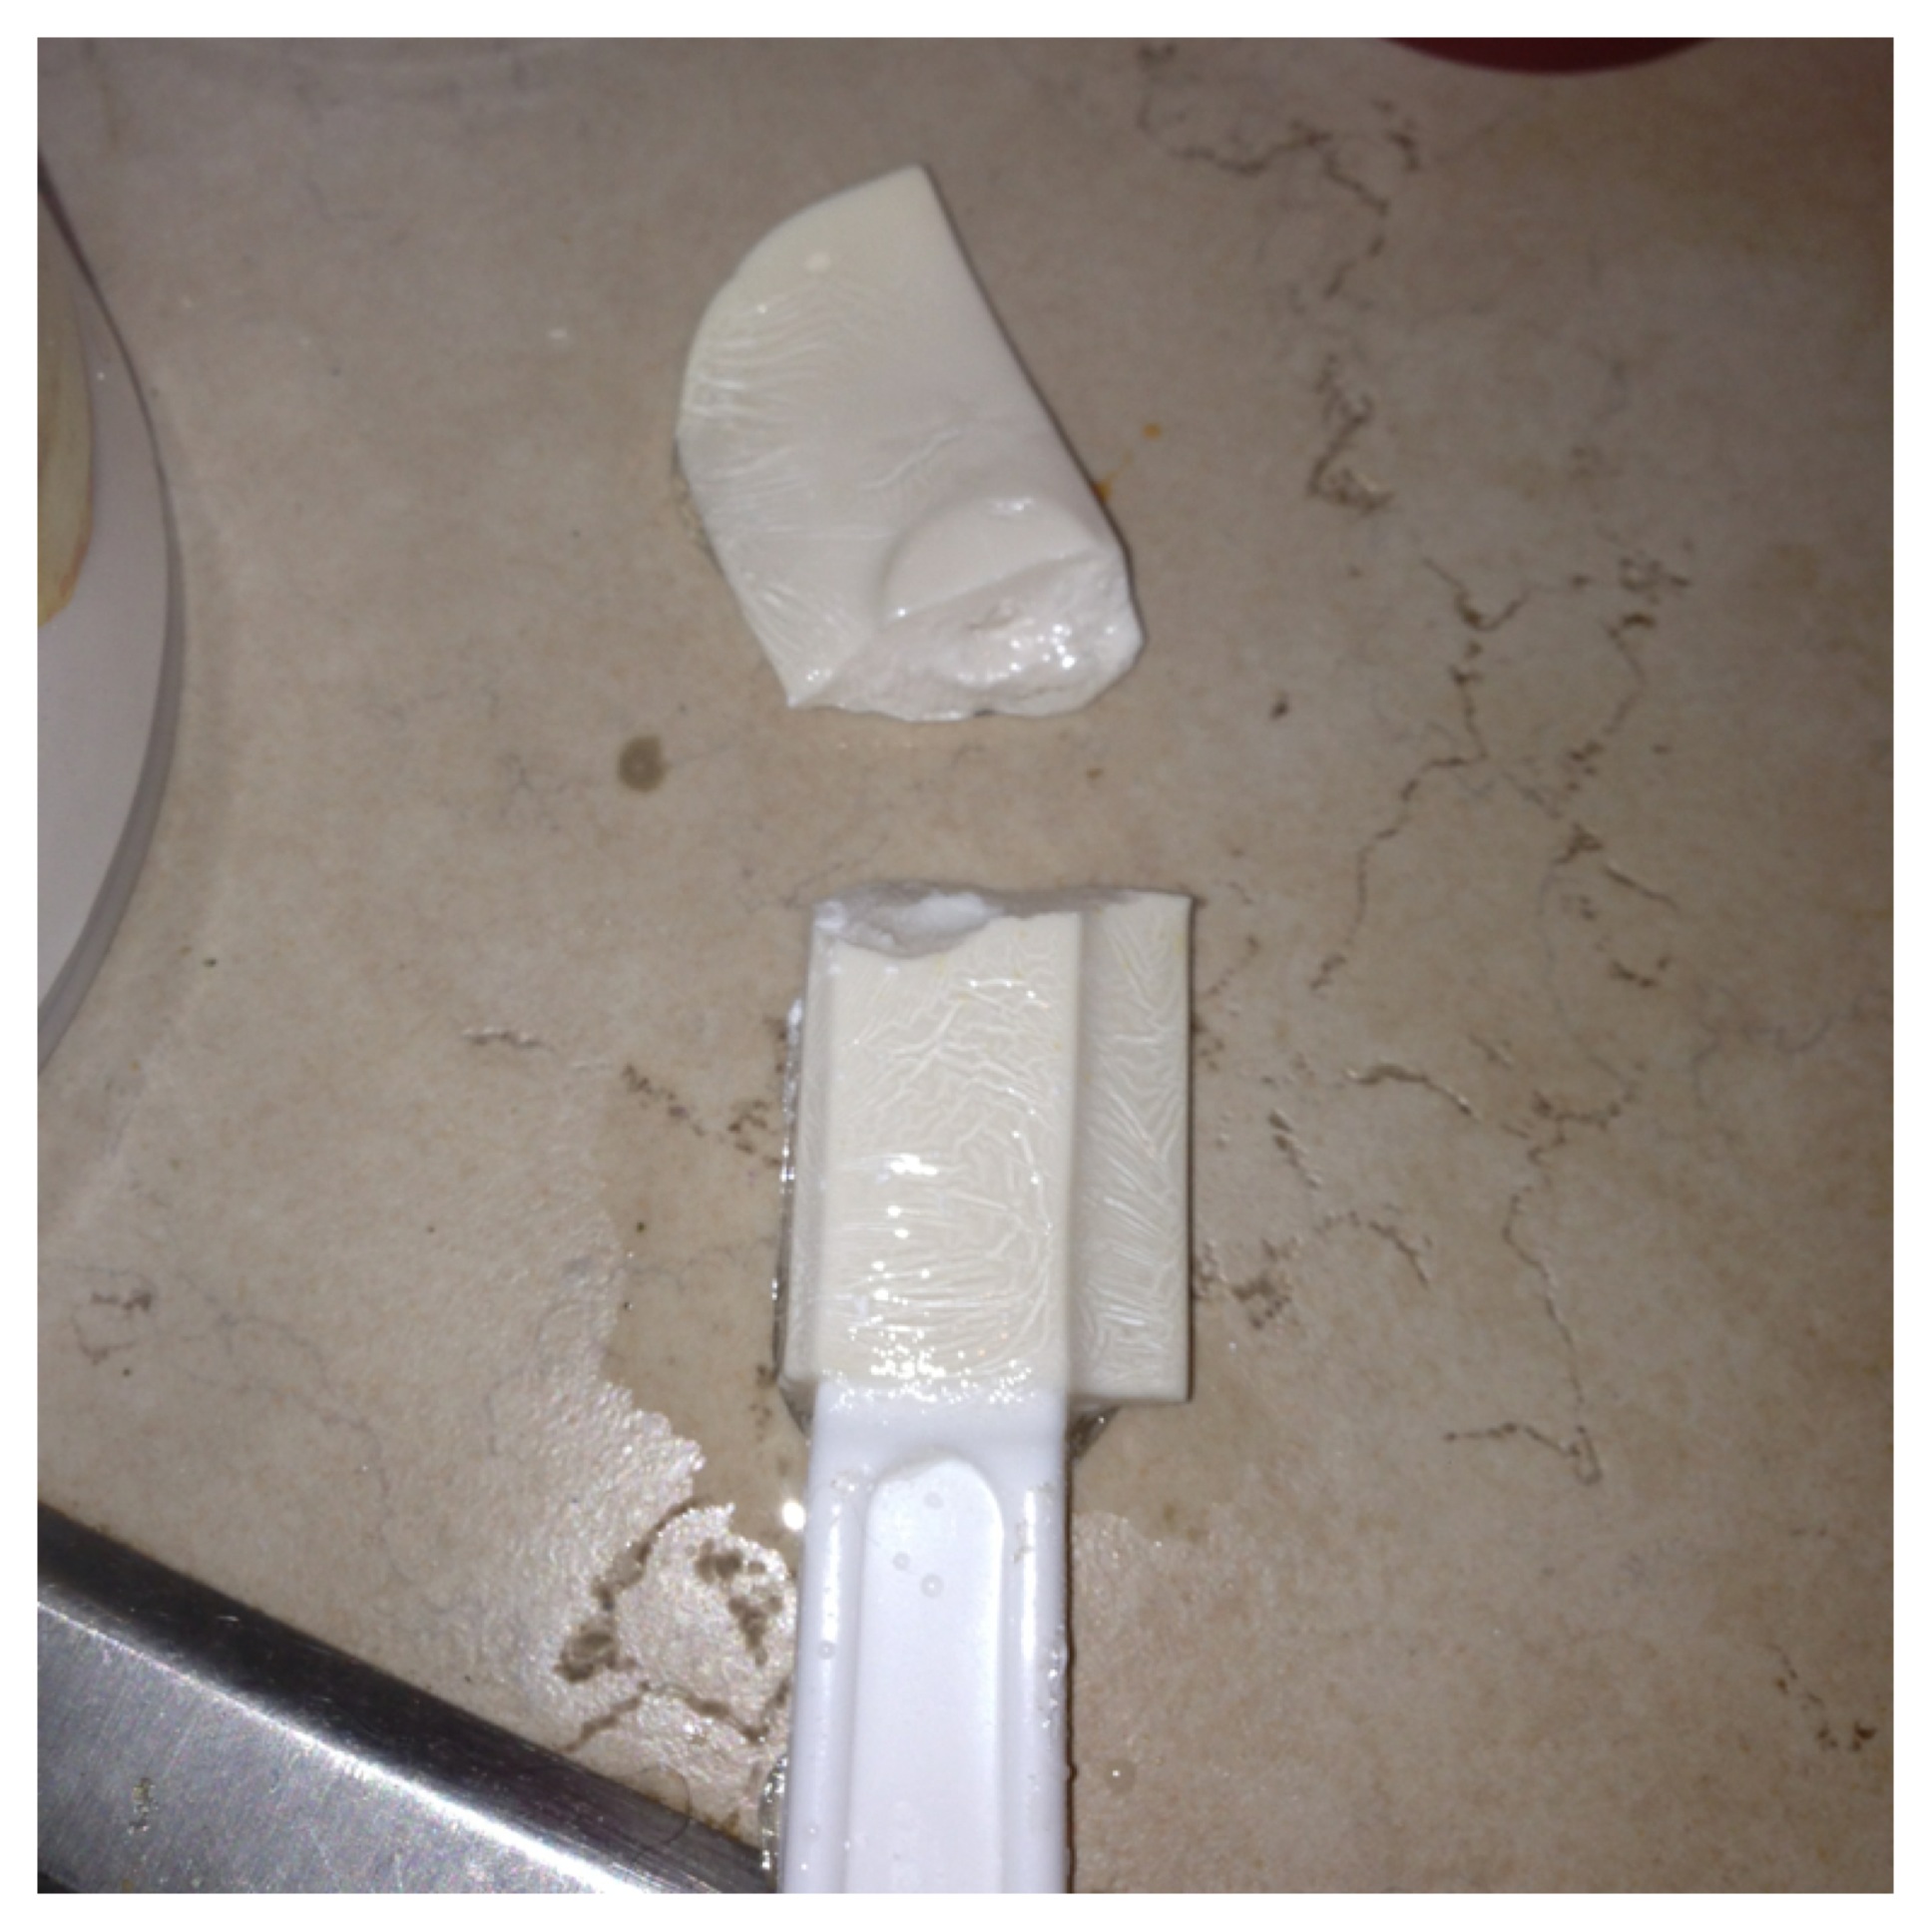
Side note: Use a wooden spoon to stir. I used what I thought was a high temperature spatula and this is what happened.
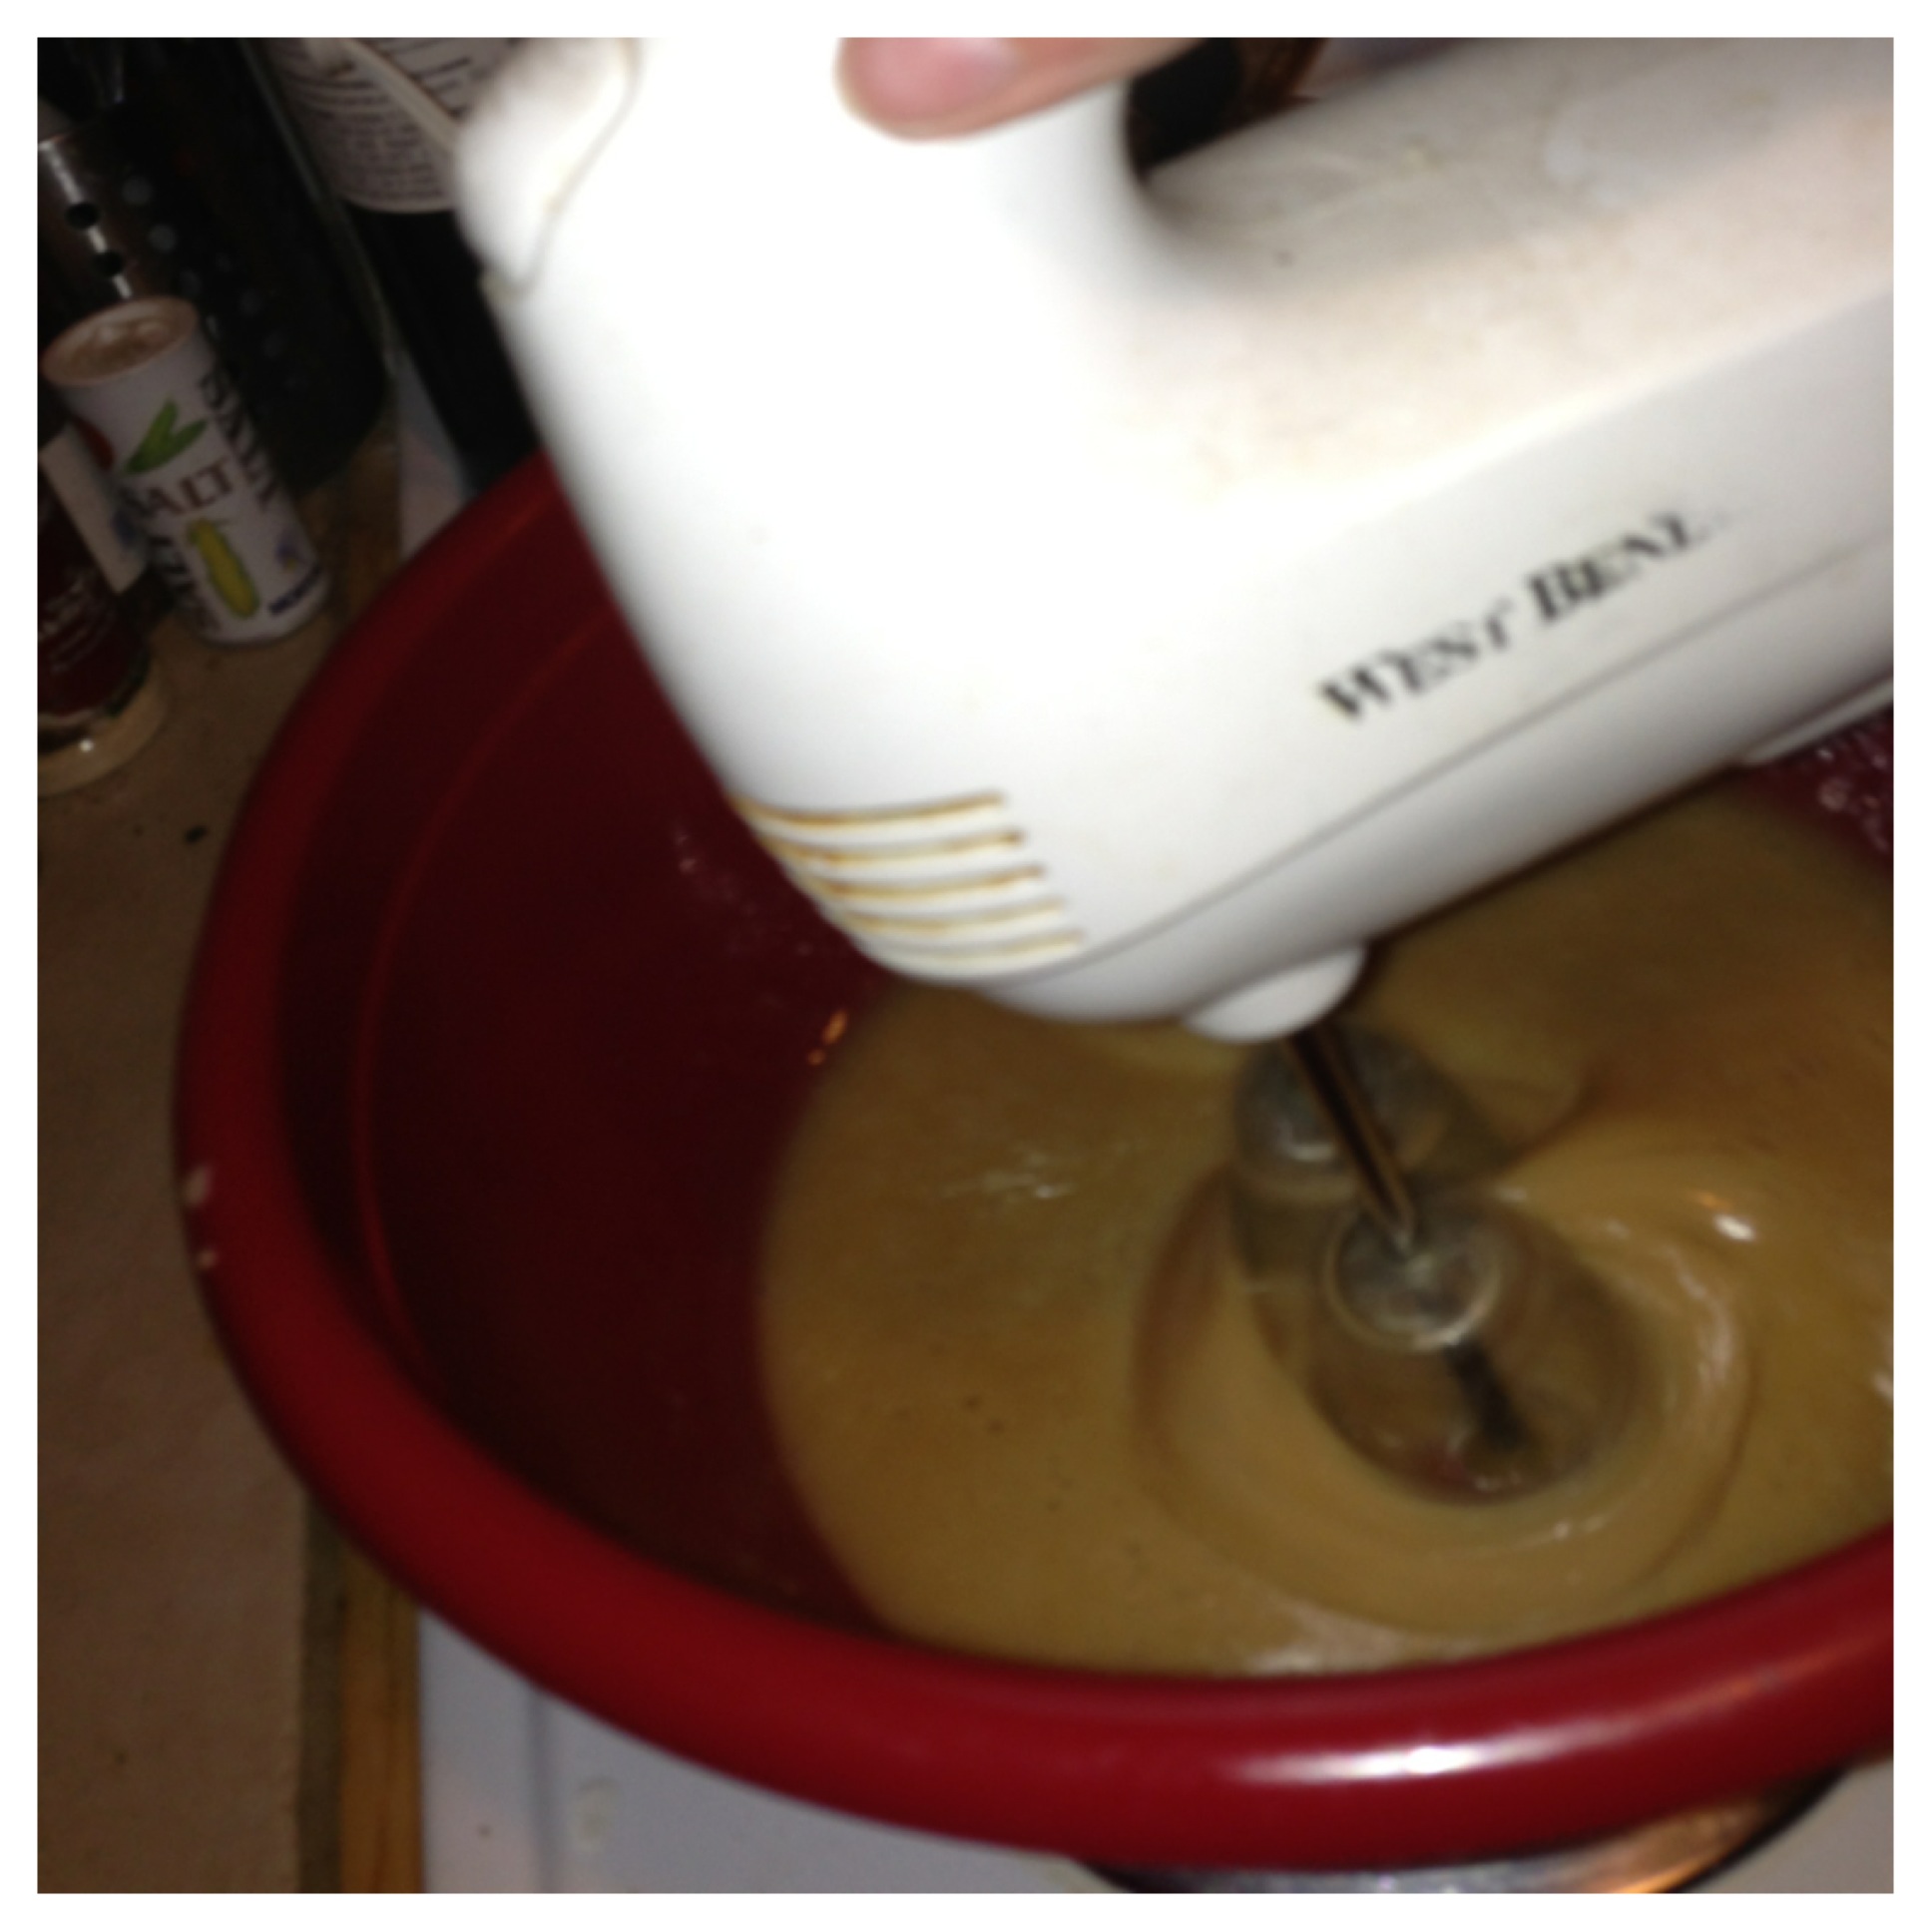
- Once the sugar has reached the necessary temperature, transfer into the bowl with the Baileys. Try not to spill anywhere as this is now molten LAVA and will be difficult to peel off your stove / counter / etc.
- Beat the concoction with a hand mixer for 15 minutes – you will have the consistency of marshmallow fluff.
- Quickly coat a baking dish with baking spray or cooking oil. I used Crisco but that probably wasn’t the best choice as mine left weird oils in my coffee the next day.
- Pour the mixture into the pan and leave to set overnight.
- The next morning or 8 hours later run a knife under hot water and scrape along the edge of the pan to loosen the marshmallows. Flip onto a cutting board.
- Cut into appropriate marshmallow sized pieces using a hot knife.
- Roll each piece in powdered sugar (to avoid sticking) and store in a zip lock bag.
- Make a pot of coffee and enjoy!
While most of my paper communications long been converted to digital messaging I still love receiving packages in my mail box. Enter Dollar Shave Club.
I stumbled across their website after reading about their witty and awesome marketing – see video below – and decided to give the Dollar Shave Club a try. For just a $1 [plus $2 Shipping] you can receive your monthly supply of razor blades direct shipped to your house.
No more shaving with a dull blade for 2 weeks… 3… ok an entire month sometimes before I remember that I needed to pick up blades at the store. They have a few options besides their $1 blade, including a unisex option for just $6 which is what I use. I don’t need more then 2 razor blades a month so I am on the every other month plan.
Its a really awesome service and their witty marketing department makes receiving each months package a lot of fun. I wish there were other services out there with a similar mindset – if you know of any send them my way so I can check it out.
If you want to try out Dollar Shave Club for yourself – sign up with my link & help me earn free razors for life.
[youtube http://www.youtube.com/watch?v=ZUG9qYTJMsI]My opinions are my own and I have not been compensated for my opinion or trying the product.
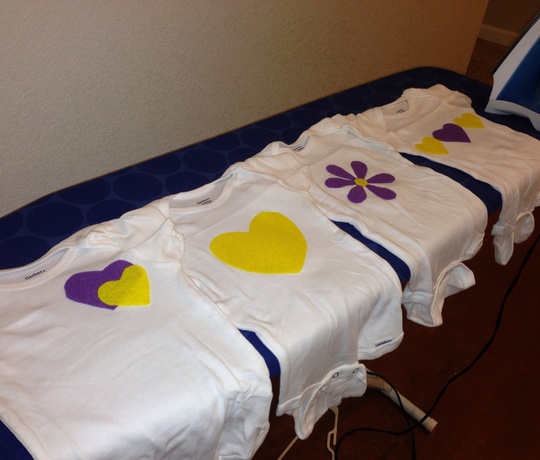
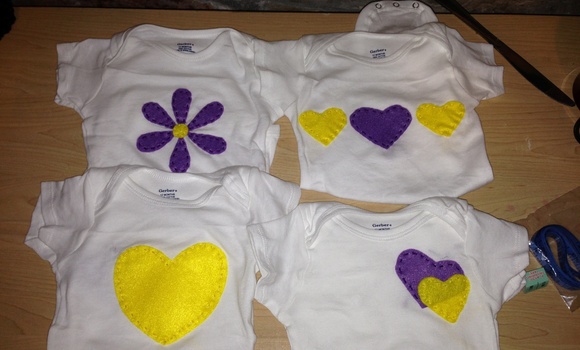
One of my close friends from Americorps recently had her second baby, a beautiful little girl, and I ‘felt’ [punny, right…] it was time to try my hand at appliques.
Supplies
Heat N Bond Fusible Webbing
Embroidery Floss
Craft Felt
Blank Onesies
Step 1: Cut out the designs you wish to applique. I didn’t use a stencil but I probably could have if I wanted to everything to appear uniform.
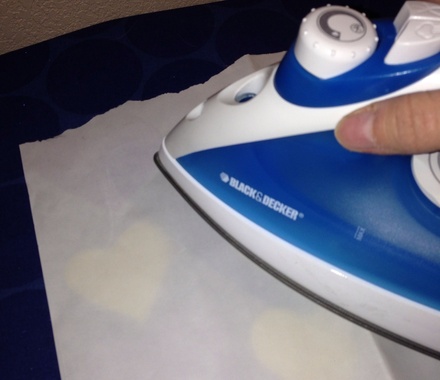
Step 2: Use a paper towel to keep your ironing board clean, otherwise you’ll end up with stick applique good everywhere. Place your felt design face down on the board and lay the applique fusing paper side up against it. This means you are ironing against the paper. I had to re-read the directions several times to process what I was supposed to do.
Step 3: Set your iron on medium and press against the paper for 7-10 seconds.
Step 4: Peel the paper off. You will have a thin sticky applique leftover that sticks off the edge of your felt. Feel free to pull that off. You could probably cut it off but I forgot to bring my scissors into the laundry room and peeling worked just fine.
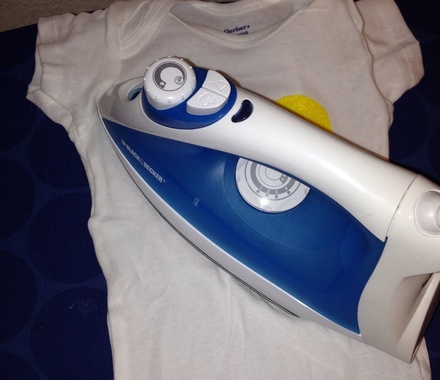
Step 5: Place the felt fusing side down on the onesie or clothing you wish to applique.

Step 6: Press your iron against the felt for 10-30 seconds. You want to make sure that the edges are not sticking up and everything is fused nicely.
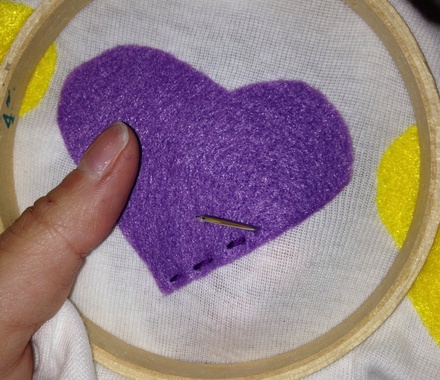
Step 7: Grab an embroidery hoop if you have one, or just thread a needle with the appropriate color floss and stitch around the outside of the felt. I did this by hand but you could use a sewing machine for a more uniform look.
Step 8: Wrap and present to doting parents. 🙂
Welcome to My Bliss