

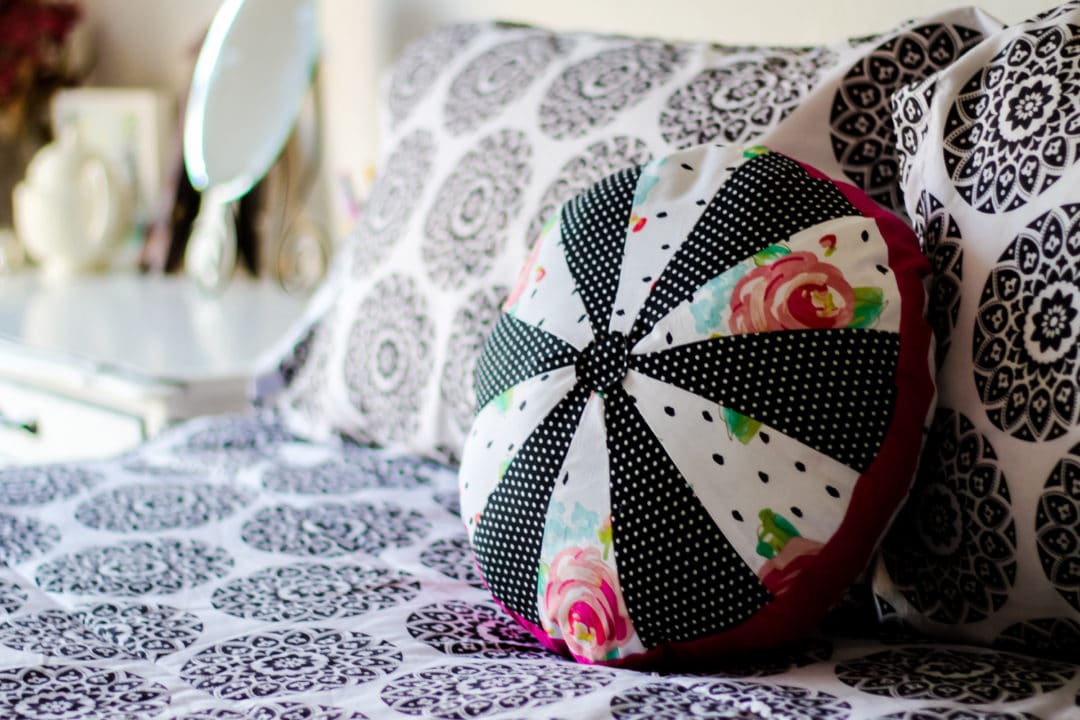
I love love love pillows – much to my husbands dismay – and I was really excited for the chance to try out a small sewing project that would allow me to add another fun throw pillow to my guest bedroom. Dresden Quilts are beautiful but I am not an experienced quilter so taking on more than one dresden plate seemed more be an ambitious than I could finish in a month. A single pillow ended up being the perfect project for me to stretch my sewing skills and learn some quilting basics.
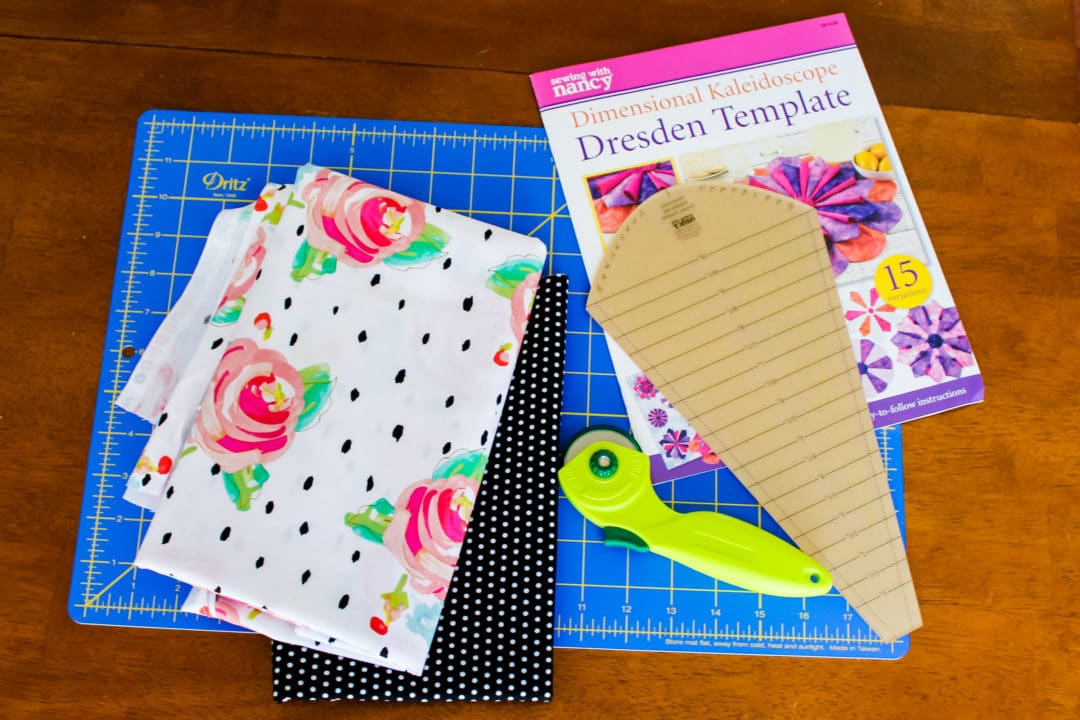
The Dimensional Dresden Template from Nancy’s Notions helped me take on this mini project with little to no quilting experience. In addition, this project calls for 2 fat quarters (or 2 yards of contrasting cotton material), a self healing mat, and a rotary cutter.
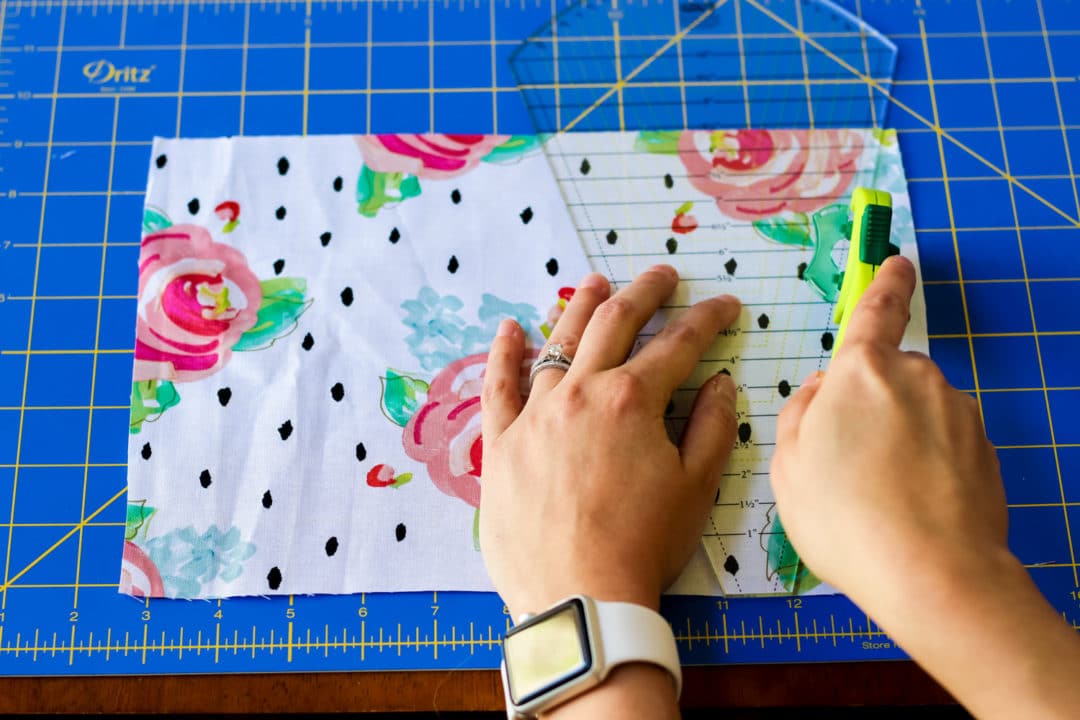
I chose to make 8″ pieces so my first step was cutting 8″ wide rectangles of my chosen fabric. After that, cutting out the dresden pieces is easy. Line up your fabric using the markings on the template to determine where you need to cut. If you were making a traditional dresden and wanted to have scalloped edges after the pieces are cut you would use the yellow markings inside the template to line up the top section and mark out the curved cut.
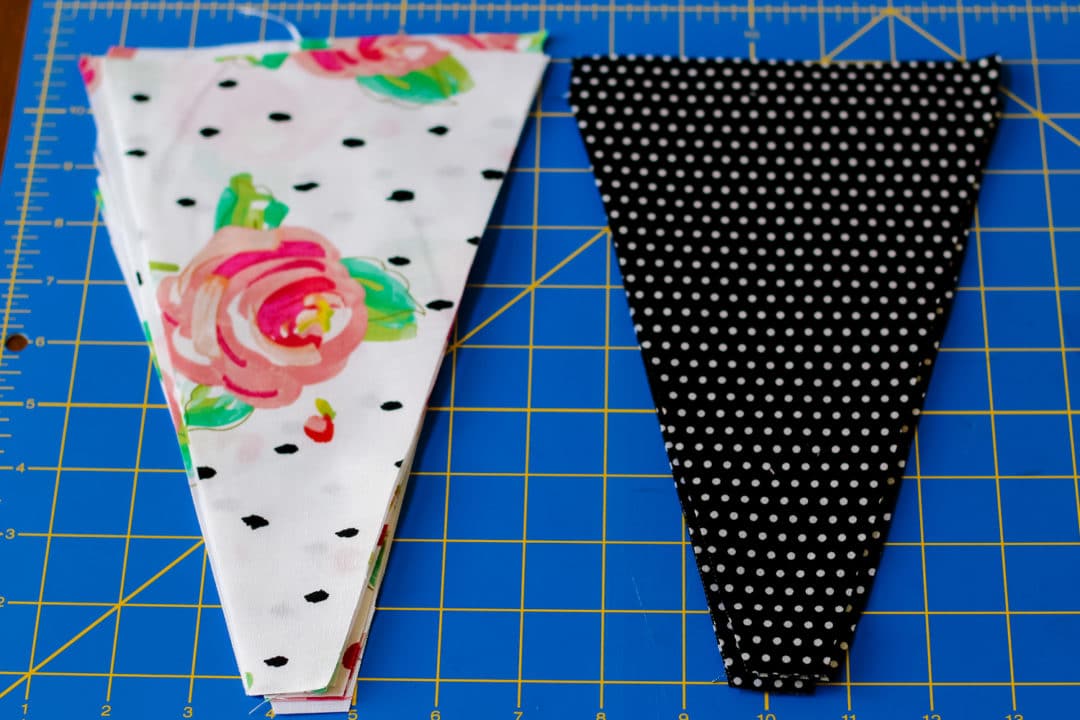
My pattern required six of each fabric. Once everything was cut out, we pinned the pieces together with the wrong sides facing.
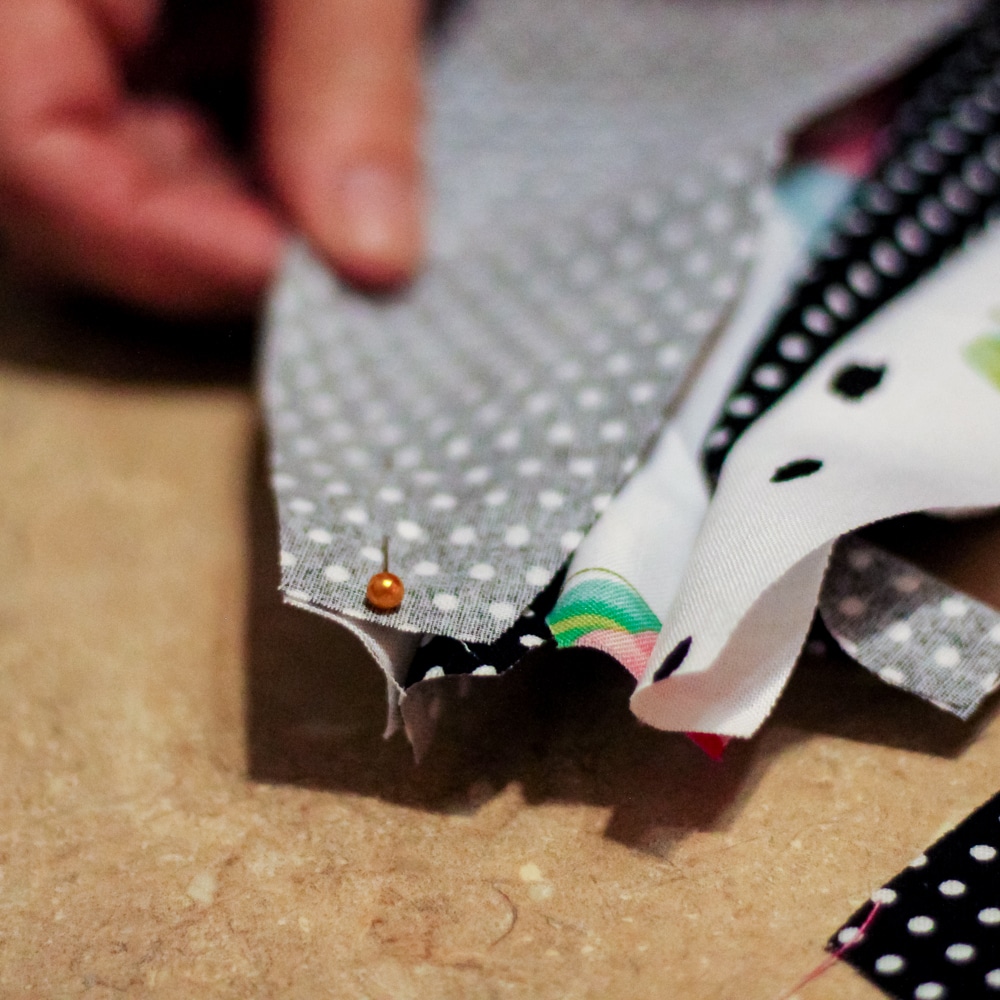
Next step is sewing the seams together. After pinning this should be fairly easy to do, just make sure to remove the pins as you go.


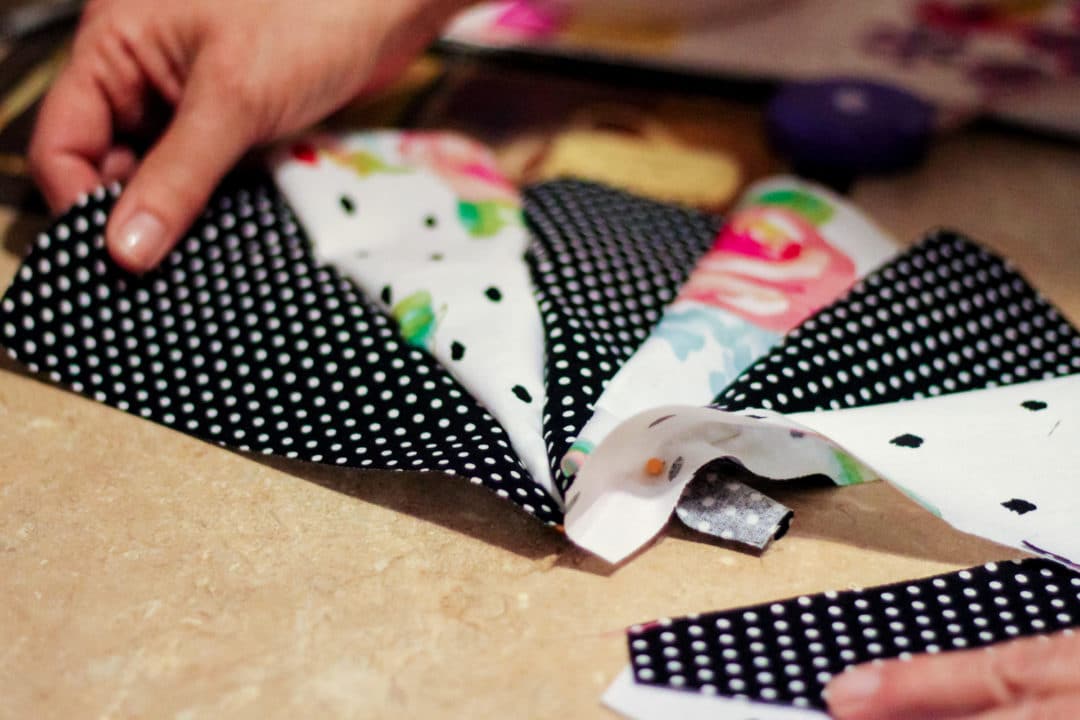
After all the edges are sewn, you should have a circle with a hole in the middle. There are a few ways to fill in the center, but I decided to use a round circle of fabric.
Cut a circle from a piece of cardboard to use as a template and using a needle and thread, sew a wide running stitch around the outside edge. This is called basting.
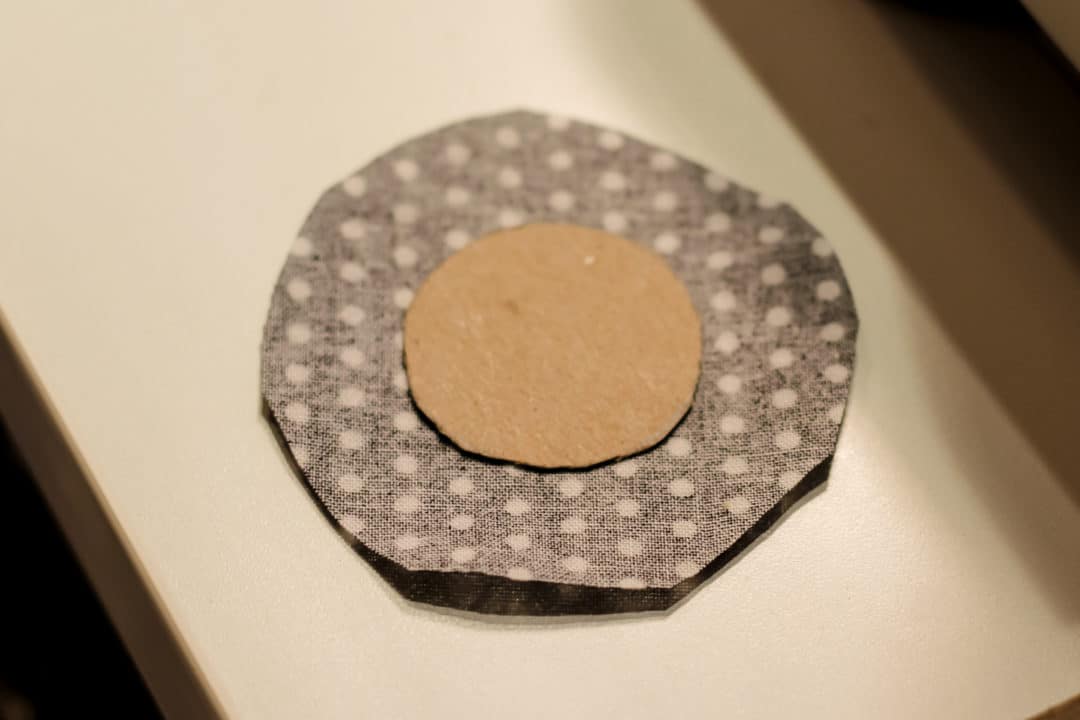

Once you’ve gone all the way around the edge, hold the opposite end of the string and pull tightly. This will bring your circle edges up around the cardboard. Use an iron to press the edges down and remove the cardboard. You should now be able to see where the edge is to sew a circle around the center with your machine. Pin it to your larger pieced circle and sew down.

Use an iron to press all your seams flat. This shows the shape of the pattern and makes it a lot easier to work with.
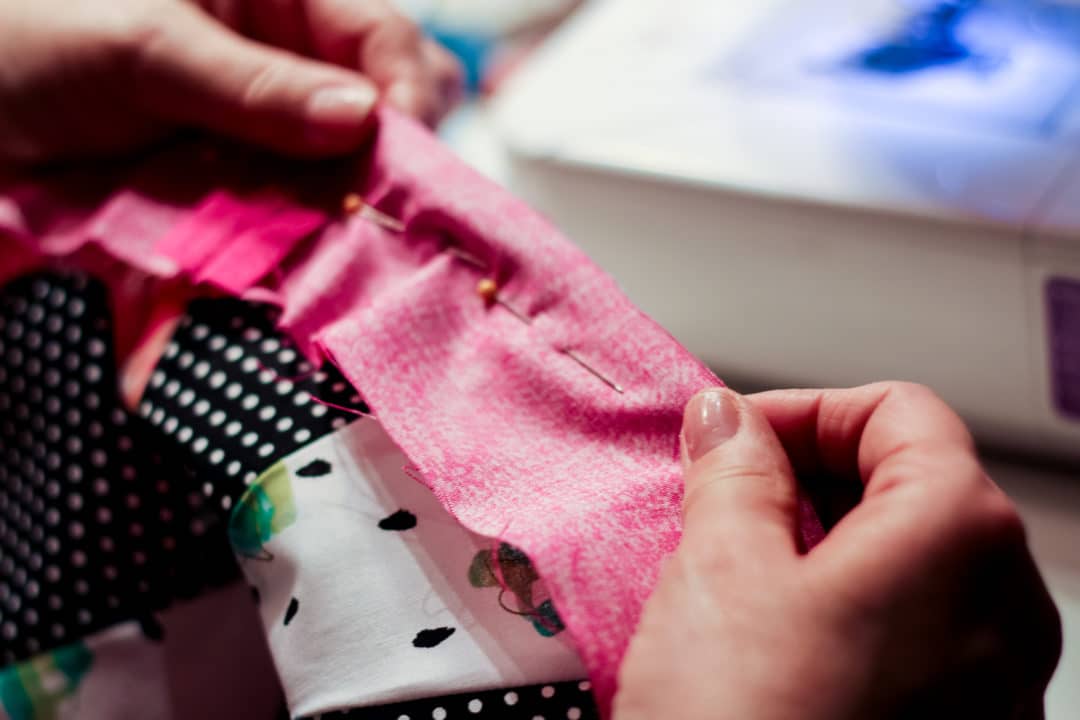
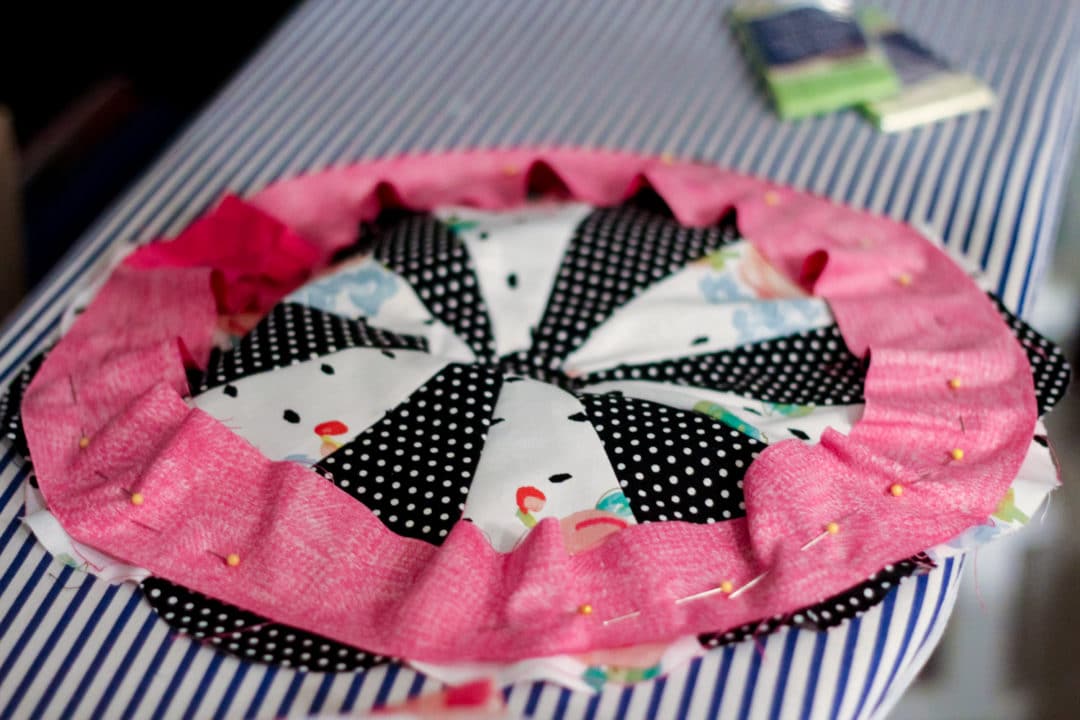
Using a jelly roll cut of fabric, pin a contrasting color all around the outside of your pattern. Jelly Rolls are pre-cut 2.5″ strips. You could also cut your own but starting with something precut makes things easier. This will be the edge of your pillow. Sew around the outside edge and use your pattern as a template to cut a circle of fabric to be the backside of your pillow.
You could create two dresden patterns instead but I figured only one side would be displayed at a time.
Face the right side of the back fabric to the right side of the pattern and use your machine to sew around the edge. Leave 3-4 inches open at the end so you can fill the pillow.
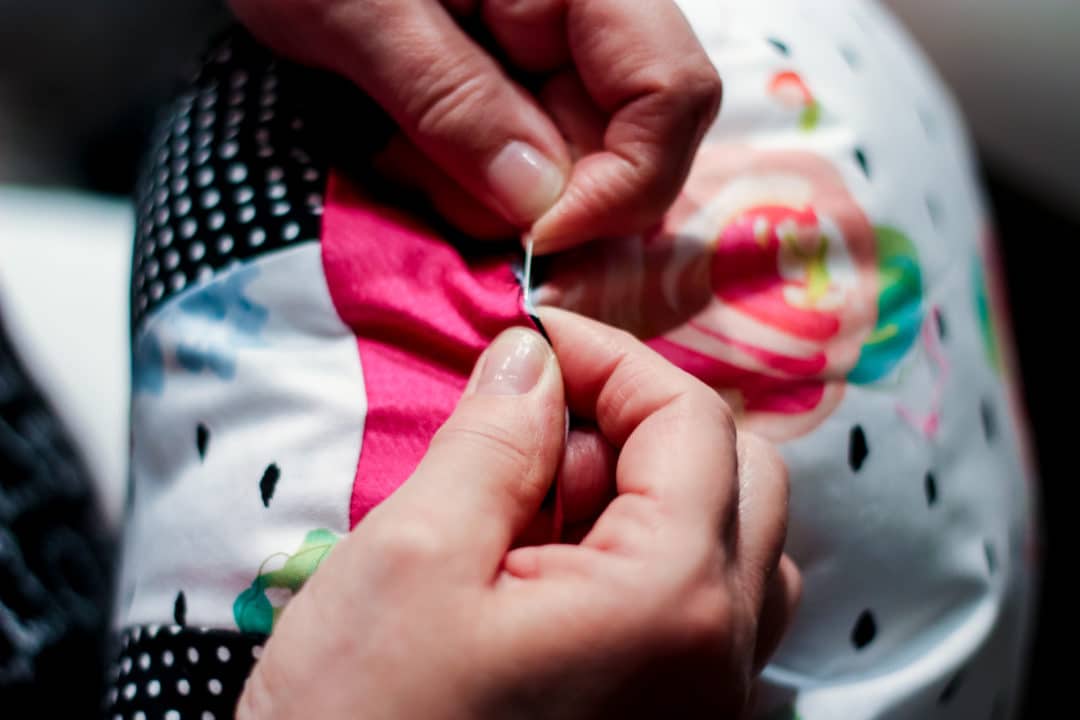
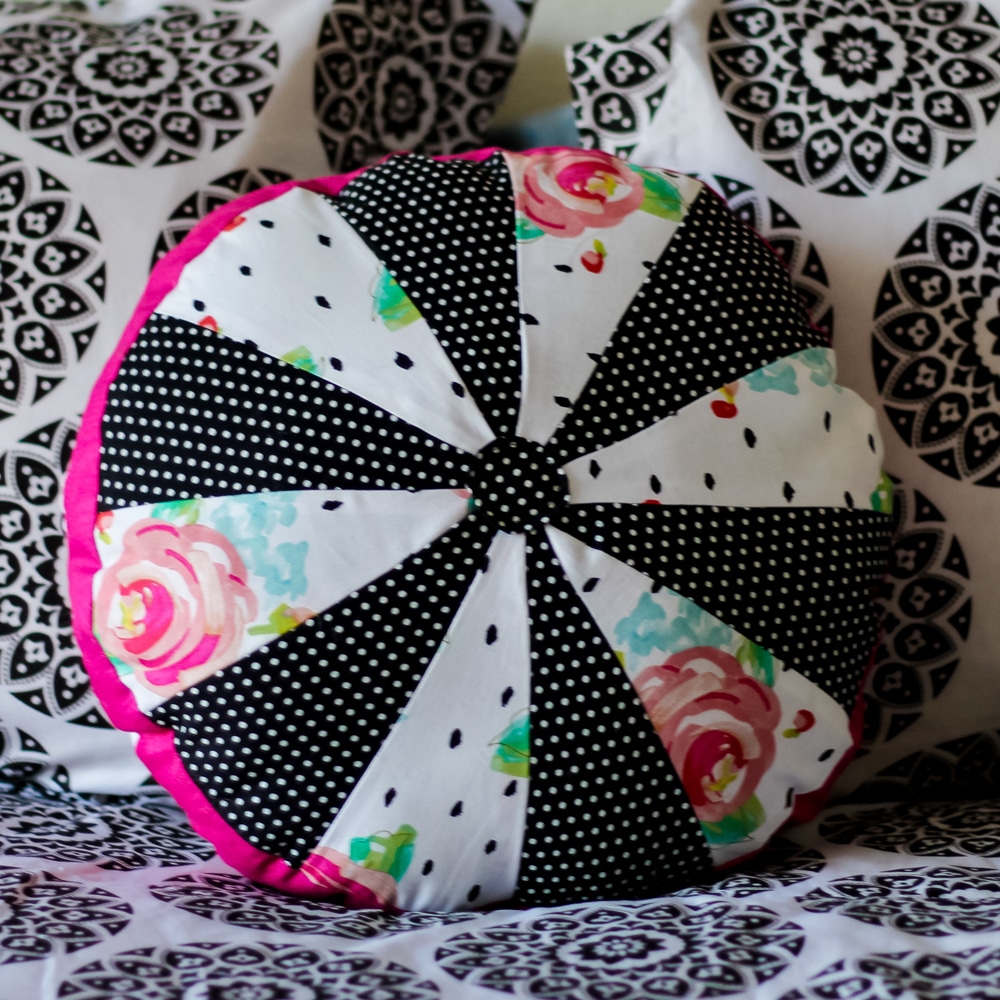
Use a needle and thread to close up the final seam and your finished pillow is ready to display!
If you’d like to make a pillow of your own, or are inspired to try an even larger dresden project, make sure to enter our Spring Party Giveaway! Nancy’s Notions will be sending one lucky reader their Dresden Americana Table Topper kit!
Disclaimer: Prizes have been provided by the party sponsors. All writing and opinions belong to myself or this month’s blog party participants.
What degree slant triangle did you use?


1 Comment