
I love projects that use up scraps and this spring flower box from Sheri at Hazel + Gold Designs is perfect for using up some of the wood scraps you have left over! This is a super easy woodworking project and if you don’t have access to a saw you could even ask the folks at the hardware store to do your cuts for you. Read the full post below and don’t forget to enter our blog party contest for the chance to win a prize from one of our amazing sponsors!

Hello everyone! I am so happy to be a part of this Spring Blog Party! My name is Sheri and I own Hazel + Gold Designs. I’m a maker and DIY-er and love to share my ideas and hopefully help others to realize they can do anything they put their mind to. I’m happy to team up with other bloggers for this fun Spring Craft Blog Party and share some great craft ideas with you!
I have a fun project for you that I think many of you DIY-ers/crafters could build, even if you haven’t done a lot of woodworking. I tried to keep it fairly basic and yet still pretty and functional!
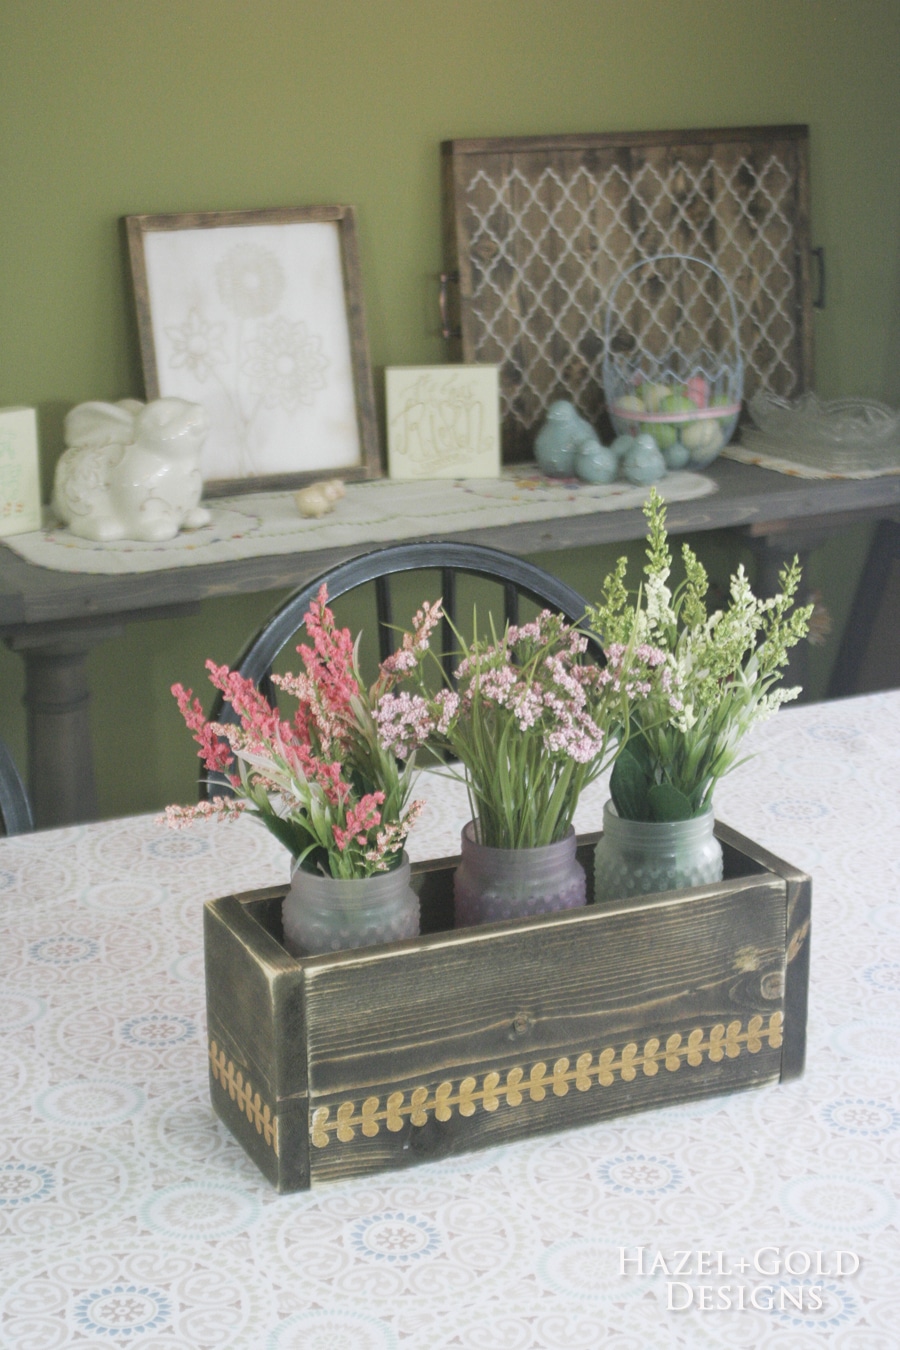
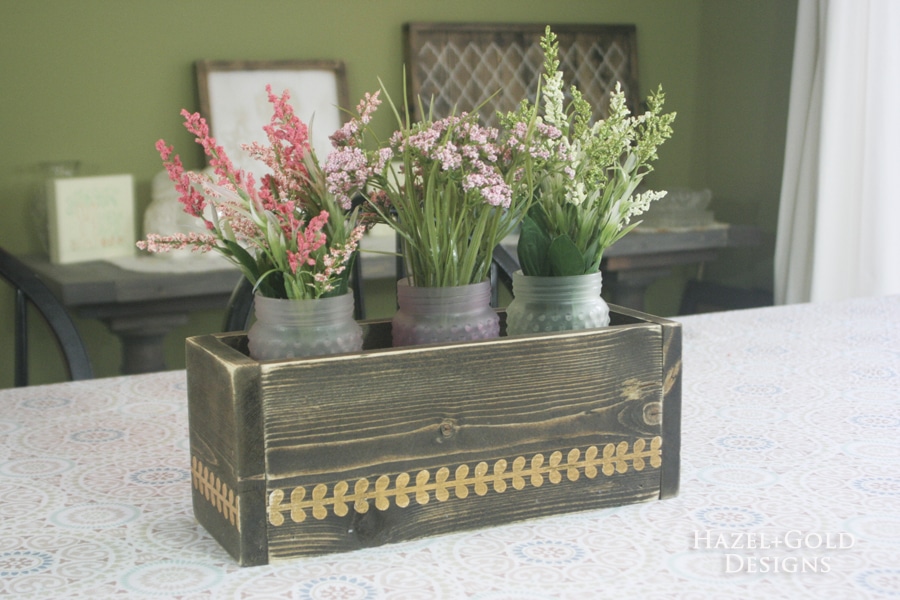
What I love most about spring are all the flowers and the new growth of everything around me. I wanted to bring that feeling into my dining room, so I chose to build a centerpiece holder that I could add some jars and flowers to and that would look cute and rustic. I wanted to do it differently than any others I’ve seen, so I had to walk away from the computer and all the ideas there and just do it my way. Anyway, all the details below; hope you love it!

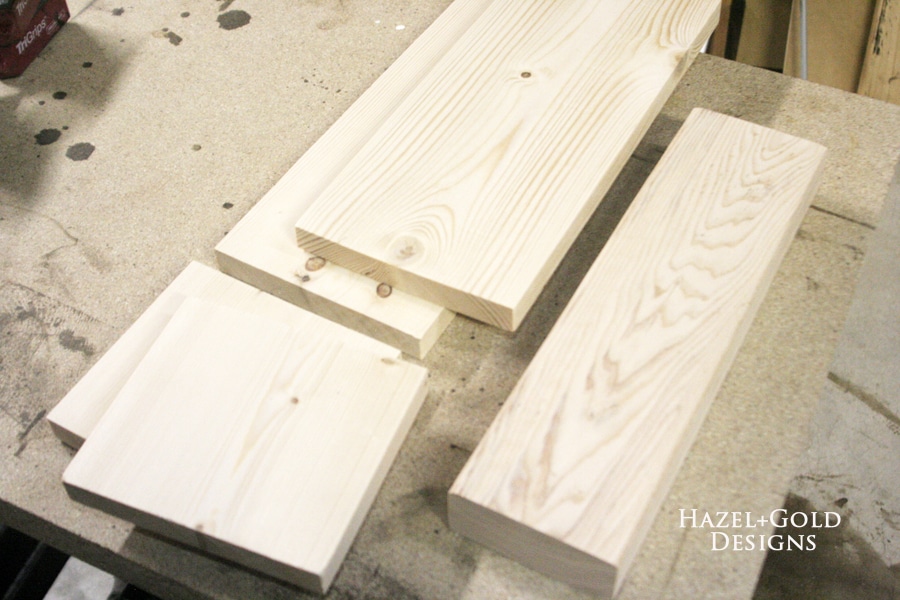
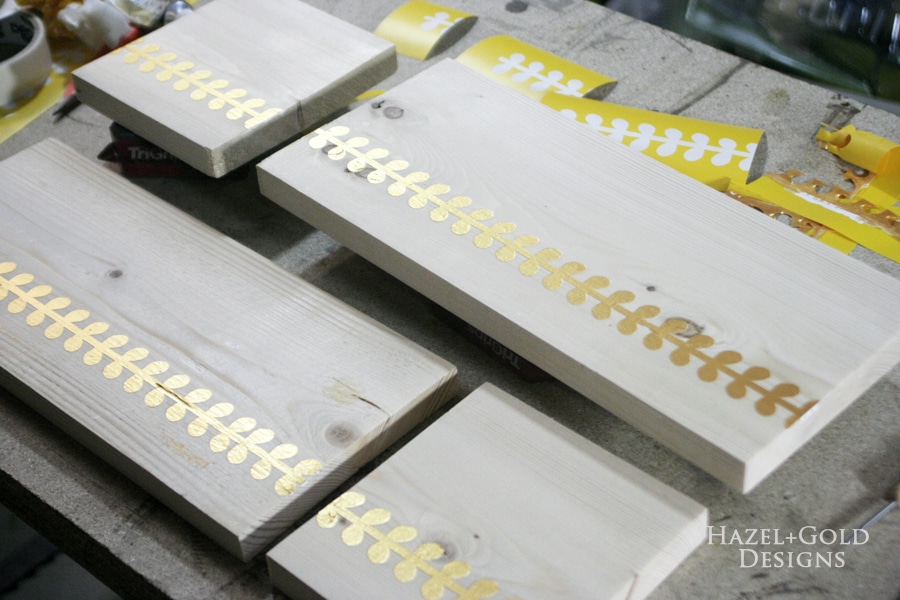
To start out I cut down my boards. For this project I used a lot of scrap wood that I already had in my wood shop. If you’re not a woodworker, it’s possible to get the store to cut your boards to size, or ask a friend who has a saw. I used white wood on this as it is inexpensive and doesn’t need to be fancy wood unless you want it to be. It’ll still look great. I didn’t sand at this point because I will do that later. If your wood is really rough, you may want to do so where you will be painting the design.
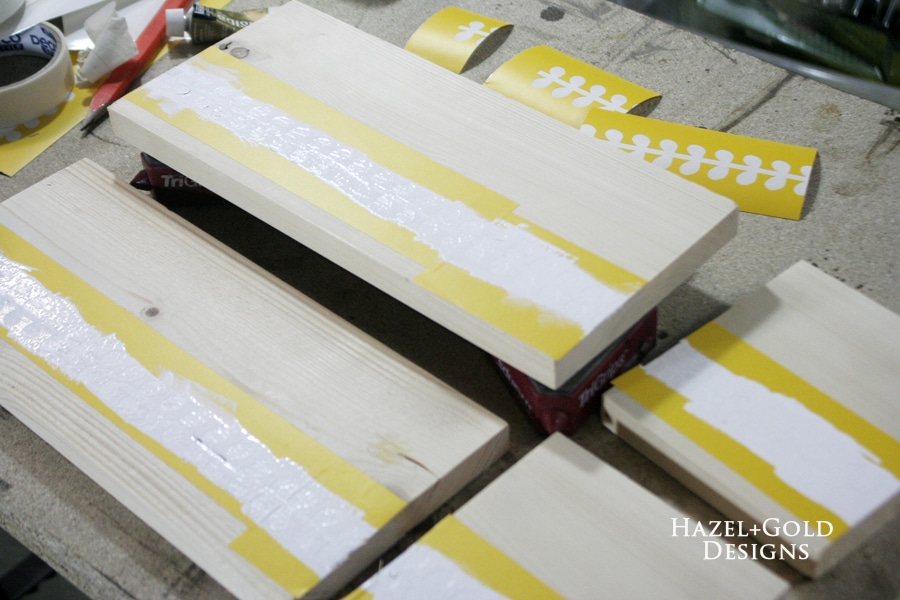
I used my Cricut Explore Air™ 2 machine to cut my vinyl stencils. They actually had a great design in their shape library, so I just used that and cut out enough to do the whole project. Again I just used scrap vinyl I had in my supplies.
After the stencils were all cut out, I applied them to the wood. A few tricks here: I didn’t want to waste my transfer paper, so I just used some masking tape. It’s a bit sticker than transfer tape, so it can be difficult, but it worked okay for me. It keeps the vinyl where it needs to be, I just had to be more careful when removing so that it wouldn’t pull the vinyl up with it. Once the vinyl is on, always go over it with a scraper and some point to push it down and help it adhere fully to the wood. When painting the first layer be sure to use a stippling technique, not wiping the paint on, so that it reduces the chance of seeping under the vinyl. Finally, I chose to do the white under the gold. Gold can be somewhat transparent and this helped it to stick out from the wood much better than without the white and having the gold soak into the wood.
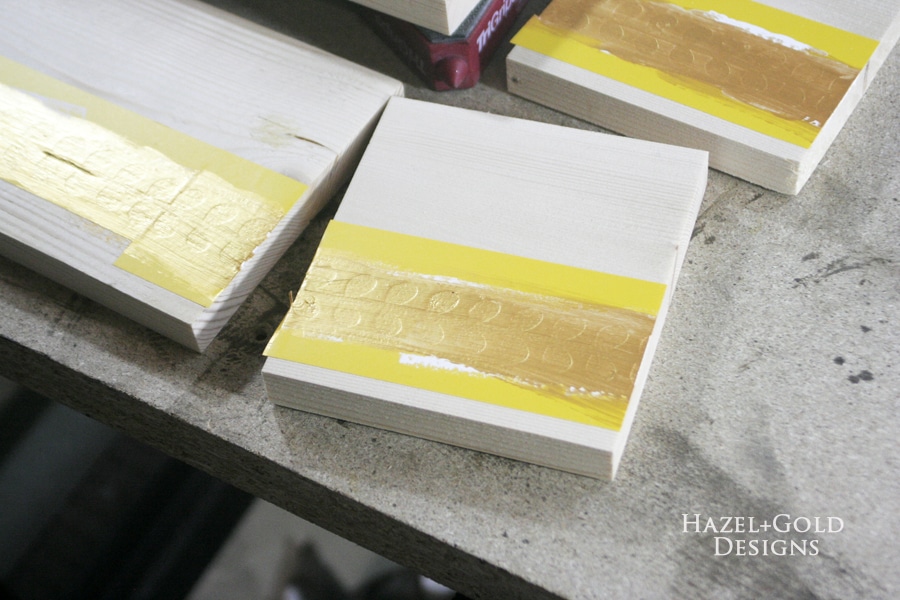
Once the paint has dried, go ahead and remove the stencil, peeling it up carefully. Be sure that it is not pulling up the paint. I had no problems with this at all, but it depends on what type of paint you use.
Next, I stained the wood. I always use a rag for this application, because I can soak one side of the rag with stain and wipe it on, then use the cleaner side of the rag to wipe off the excess stain. Be sure to wipe it completely off the painted area so that the gold still shines through. Stain all the boards completely. Let dry overnight if possible. At least 8 hours.
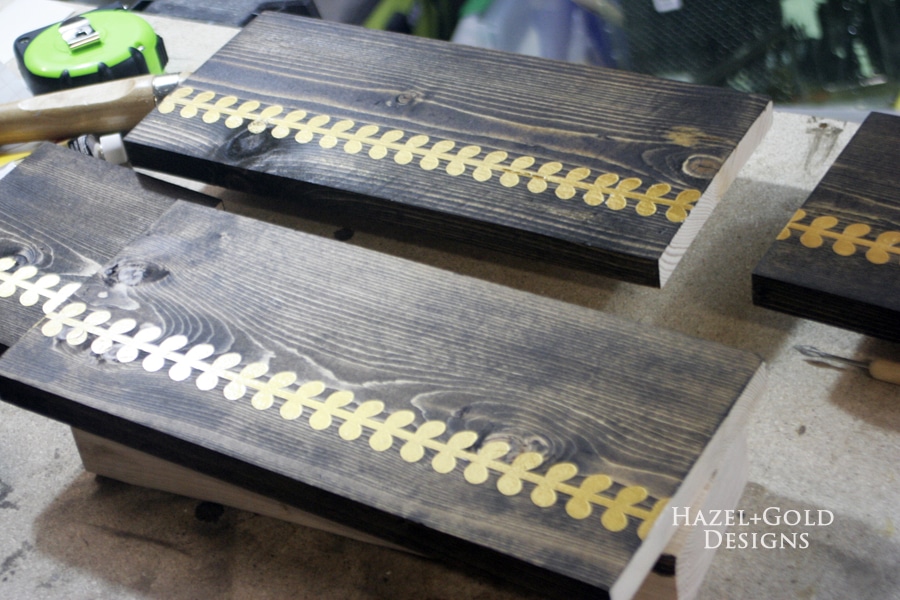
To distress the edges I just used my orbital sander. It has a speed setting, so I always lower that in order to control more easily how much it sands off at once. I go around all the edges and corners, then quickly and very lightly sand over the entire face of the wood. I’m not sure what expert distressers do, but this works fine for me.
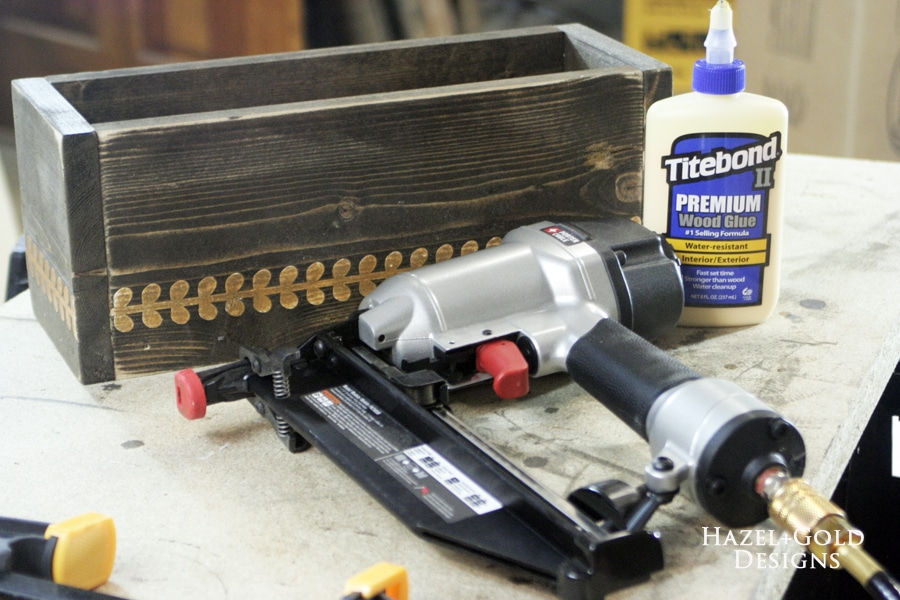
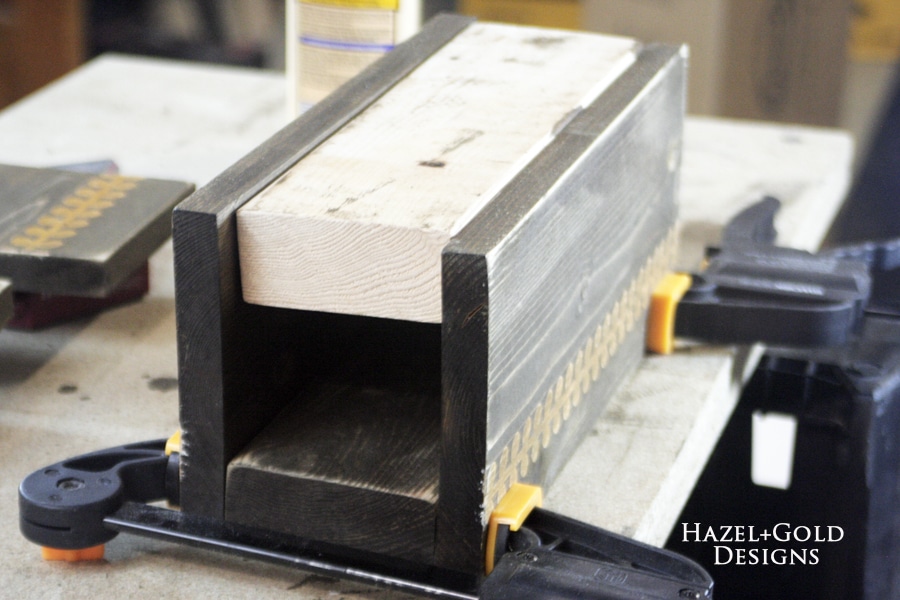
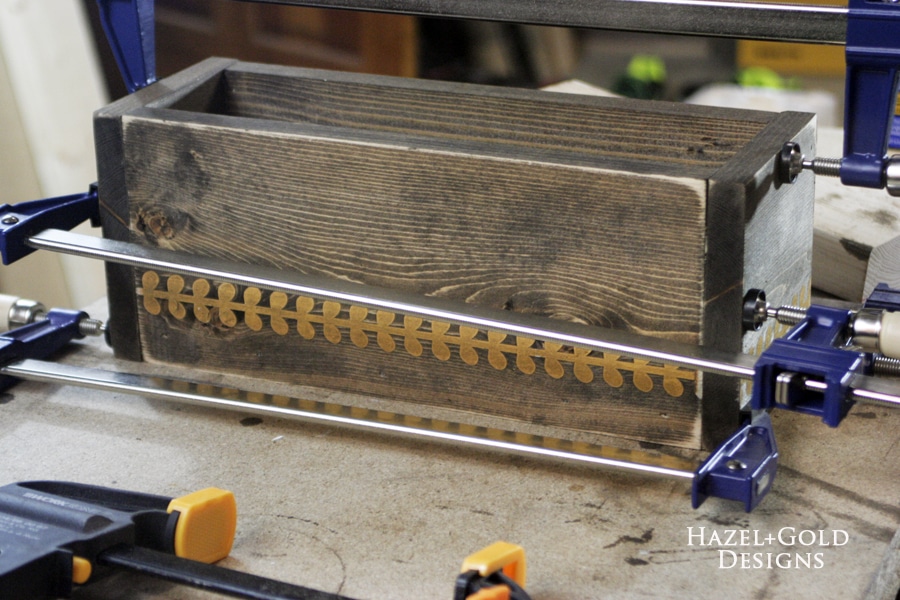
Now it’s time to put the box together. I always use wood glue and finish nails for these types of things. There isn’t ever going to be a lot of pressure on the box or weight, so glue and nails (finish or brad) will hold it together just fine. If you’re a woodworker you can use any type of joinery, but again, I was trying to keep this basic for the rest of us. Anyway, I glue and clamp them, then add a couple nails to help hold it together. I usually let it dry awhile then remove the clamps and nail more if needed.
I actually didn’t do a shiny finish on this box, though you could. I want it to get more naturally distressed whether by use or by exposure (sits in sunny room, may put it outside) so I didn’t add a poly. If you want to, my favorite is polycrylic. It is water-based and comes in different sheens and I just love how easy it is to use and how well it works.
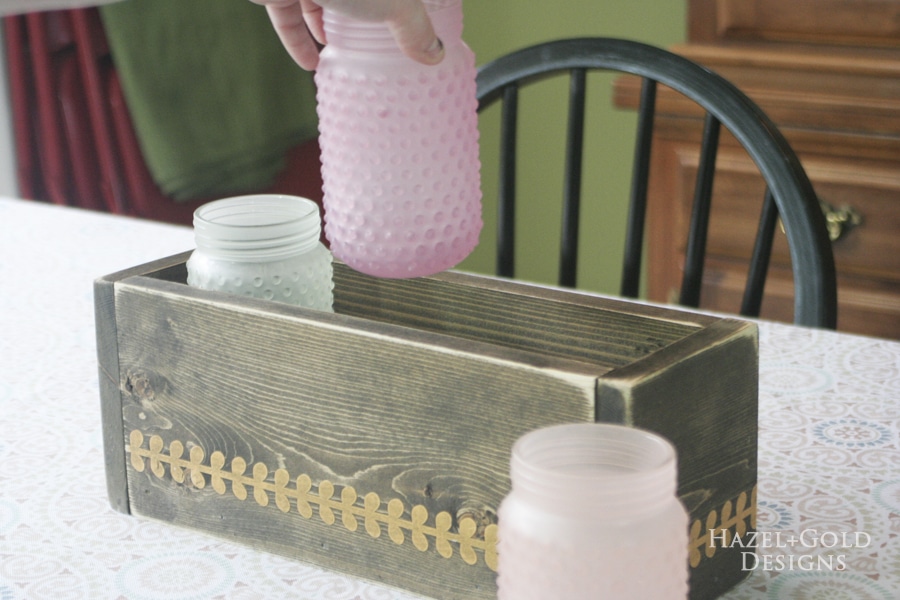
Alright, the box is finished! Finally, add your jars and flowers or whatever else you are putting inside your box and ENJOY! I just love mine.
Hope you like this project! Please share photos if you make one of your own! Have a happy springtime and remember to enjoy the flowers and sunshine amidst the rain.
Thanks friends!
You can find more of my projects on my blog at Hazel+Gold Designs! (For example tutorials on the art piece and serving tray seen against the wall in the finish photos, and even that gray console table!)
Find me on social media too, I’d love to interact with you there!
Thanks again for reading! Have a happy spring!
–Sheri
Disclaimer: Contest prizes are provided by sponsors. All writing and opinions belong to myself or the post contributors. This post contains affiliate links. Purchasing any items through those links will help support the production of this blog.