
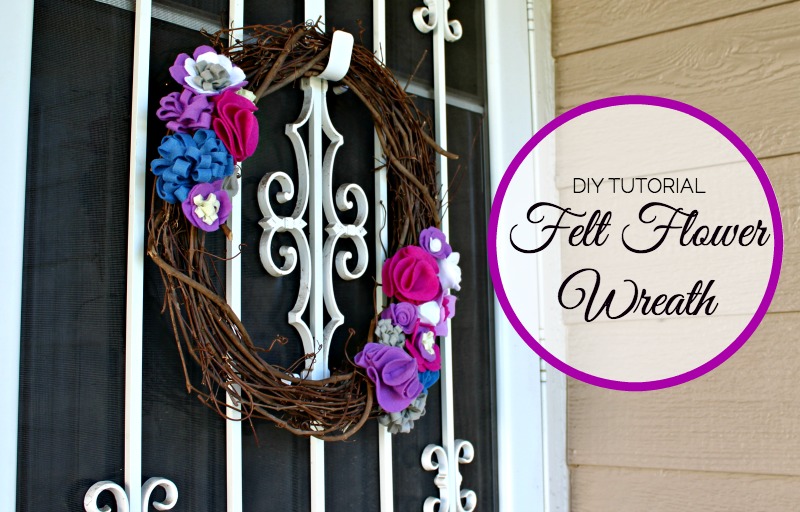
Today I’ll show you the remaining two flower types to wrap up your felt flower wreath. I love how bright and vibrant this wreath looks on my front door and I can’t wait to see what colors you choose for your project.
If you are just joining us now, you may want to hop back a couple of posts to see how to make Rosettes and Carnations as well. Today’s tutorial will cover roses and mums before showing you how to put all the pieces together into a finished Felt Flower Wreath for the perfect addition to your summer decor.
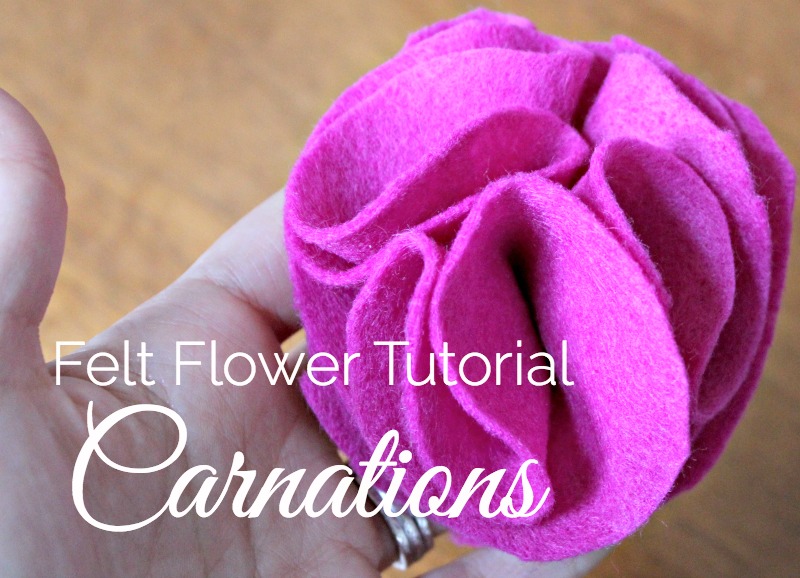
This felt carnation tutorial is part 2 of the wreath I’ve been working on for my front door. Full of color, felt flowers are perfect to add a bit of brightness to your door as the summer months begin. Part 1 covers how to make a Felt Rosette and today we’ll be adding to another flower to your arsenal – a carnation!
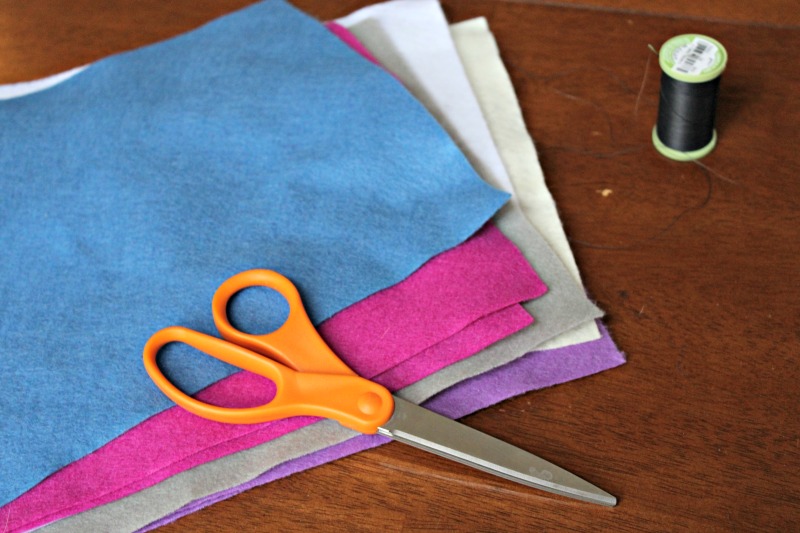
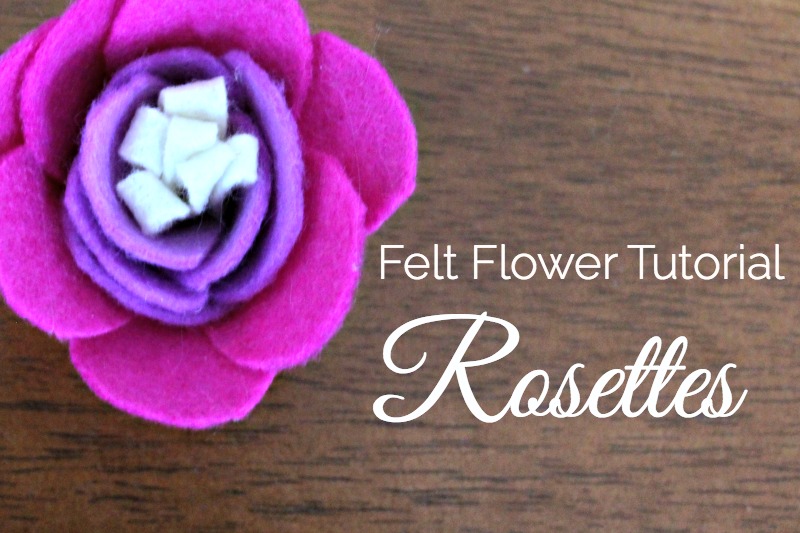
I recently came across a beautiful spring wreath made completely of felt flowers and I knew I wanted to make one for my home. Each flower is unique and making a full set is needed to create the finished look I am shooting for. I’ll be breaking this tutorial up into a couple parts to make it easier for you to follow along. This first flower is not quite a rose, so we’ll be calling it a rosette instead.

Ready to ring in the New Year in style? I’ve put together a quick tutorial on the Denver Style Magazine Blog [sadly no longer a website as for 1/2021] for how you can make your own designer look-alike champagne glasses in time for the big night!
How will you be celebrating the start of 2016?