

Disclaimer: I received a Philips Hue Starter Kit as inspiration for this post. All opinions and writing are my own.
In our old neighborhood we lived directly under a street lamp. As a result our porch and house was always well lit.
We’ve been in our current house just over two years and with COVID keeping us home more, we are finally getting around to updating things around the house that really bug us, like how dark it is outside at night. Our neighborhood faces a semi-rural farm area, so outside of the handful of street lamps, it’s really dark.
Beyond simply being able to see outside, outdoor lighting is a good deterrent for crime. Lights make the entire street safer, and make it easier for home security camera’s to pick up anyone suspicious in the neighborhood. With Drew’s work schedule, being home alone is more of a rule than an exception, and adding small things that help me feel safe is important.
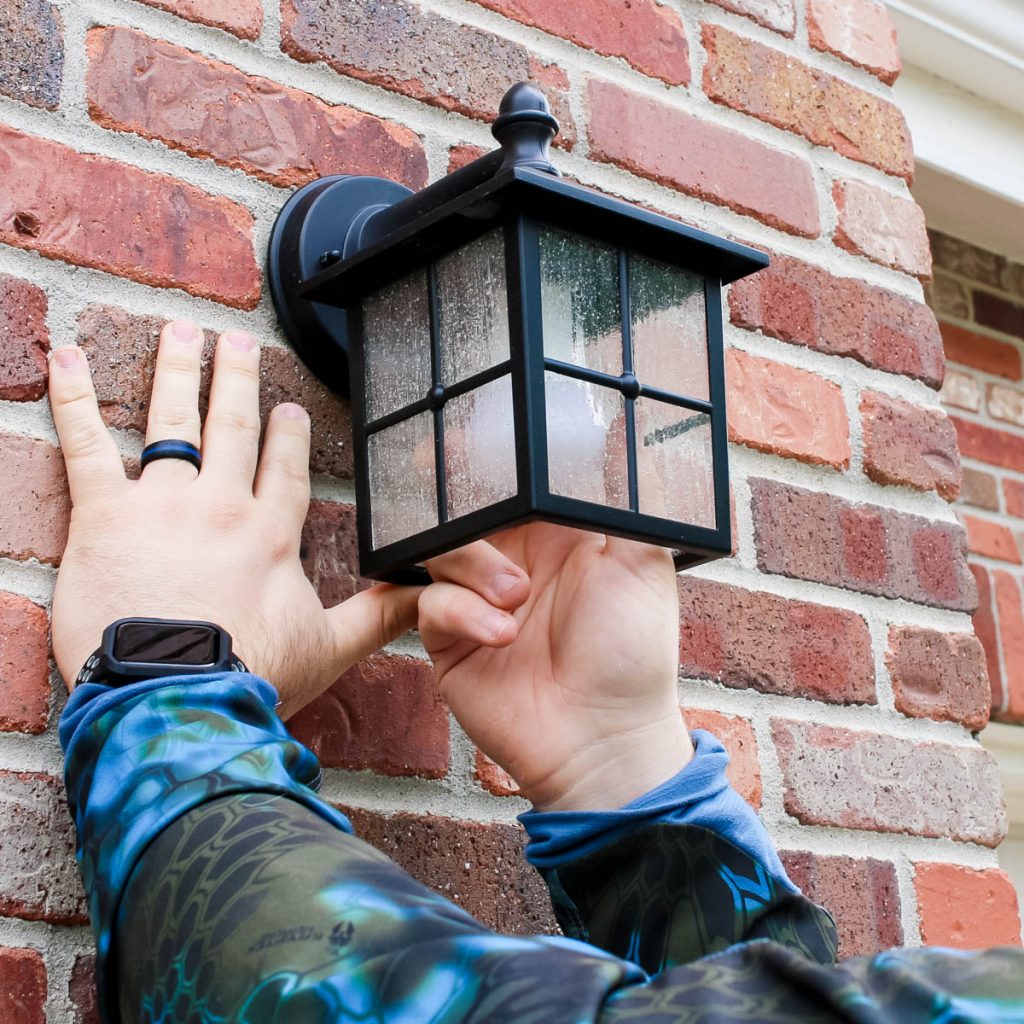
My solution up until now has been to just leave the lights on all the time. I’d turn them off in the morning, but that requires remembering to TURN OFF THE LIGHTS. After replacing the old fixtures to update the look, the next step to really improving the lighting situation was finding the perfect smart lights.
When I found Philips Hue, I knew it was the perfect solution to all of my problems. To get rolling quickly, I tried out the Philips Hue Starter Kit which included the Hue Bridge and 4 lights that go from both warm to cool white. Note: The bulbs included in the starter kit are not outdoor rated, but because our lights are protected from the weather I feel comfortable using them outside.
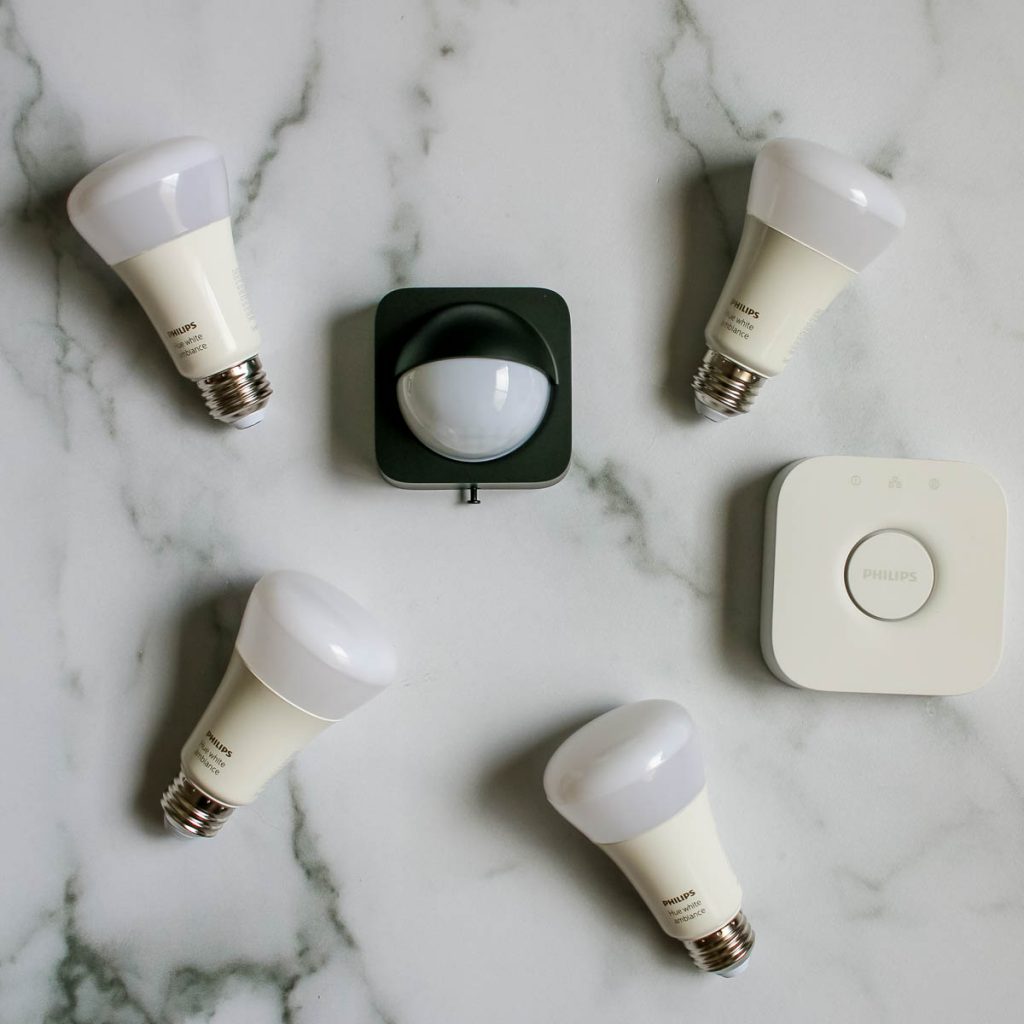
Without the requirement to purchase a subscription, Philip’s Hue uses the compact Hue Bridge to connect up to 50 lights and power the entire home all from my mobile phone. The Hue Bridge was super easy to set up, just plug into power and internet and we were in business.
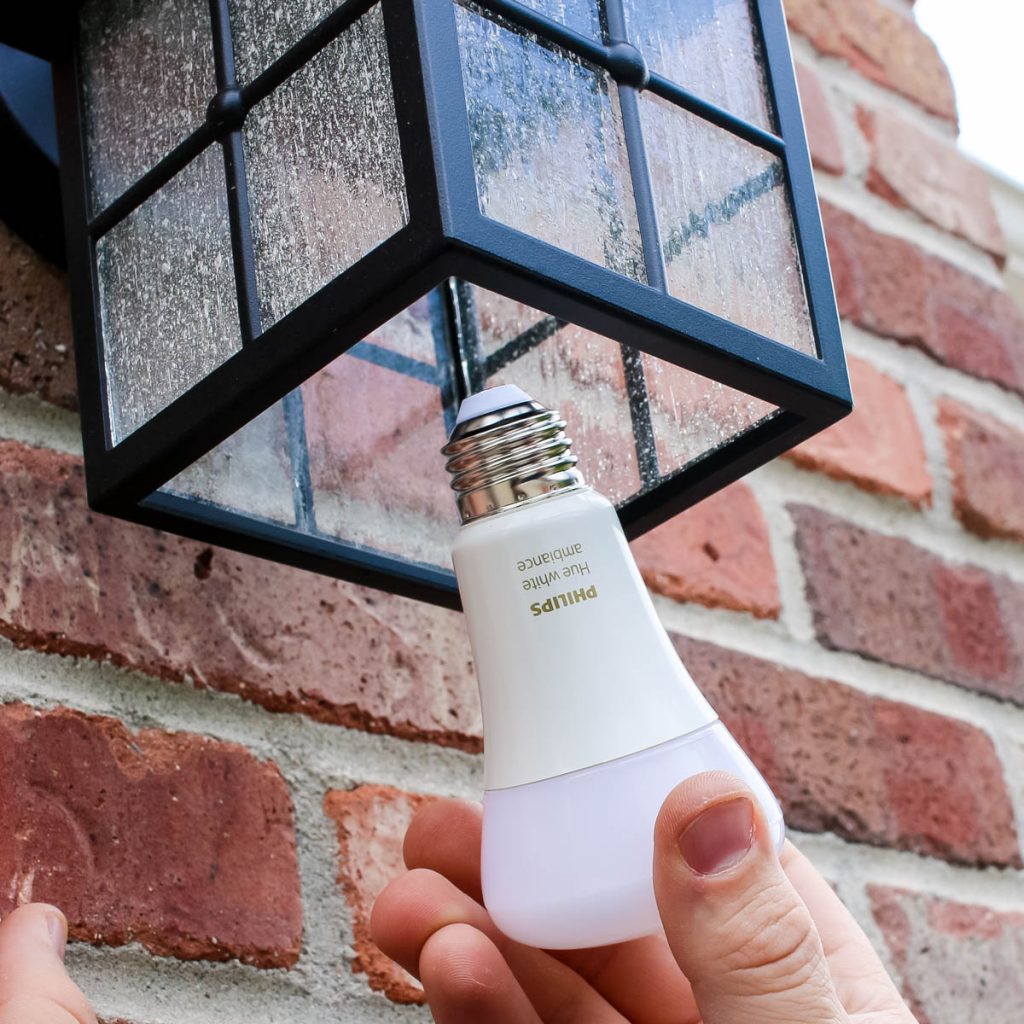
Once plugged in the next step is switching out the regular build for Philips Hue Smart lights. It really is that simple and took only a couple of minutes to change out the entire front of the house. There was no need to scan a code or try and get each bulb to connect to internet individually. Once powered on the smart lights automatically pick up the Hue connection and appear on the phone app.

I couldn’t of asked for an easier project.
The way our lights are powered, one switch controls both the light on the front door, and the three lights on the garage. Before adding the Hue Bulbs if you wanted any lights on, they all needed to be on at once. Through the Hue App I was able to program the two areas separately allowing the door light to remain illuminated from sunset to sunrise, and keeping the garage lights off.
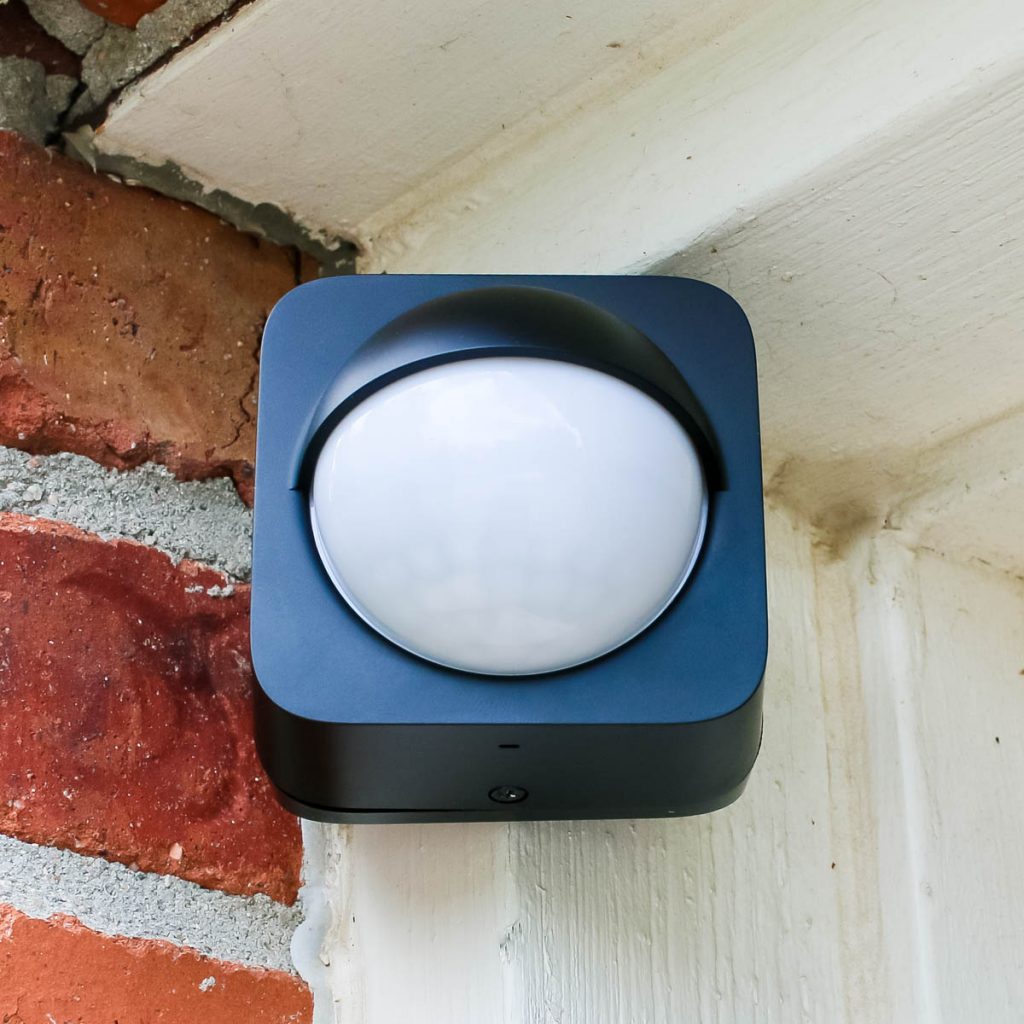
Our front door is set back on the side of the garage, so if anyone comes up to the front of the house from the driveway, we don’t know until they are almost at the door. Since the plan was to have the smart lights on the garage off most of the time, adding a Dusk-to-Dawn Outdoor Motion Sensor provides an additional level of security. If someone happens to walk up towards our door, the lights will automatically flip on and make it appear that we noticed them and changed the switch from inside. We could even trigger another set of lights inside, giving us additional peace of mind.

When we are allowed to travel again I’m looking forward to being able to control the entire smart lighting system from my phone. We can even add interior lights that turn on and off no matter where we are in the world [or just switching off lights without getting up from bed].
Learn about Ring’s First Responder Discount in my post on Summer Home Safety

I’ve been looking for an easy way to freshen up our powder room and a DIY Mirror Frame from Frame My Mirror® was the perfect solution. Like most of the country, we’ve been under stay at home orders since March so home improvement has become the best way to keep busy.
When we were house hunting a downstairs powder room for guests was one of my must haves. Being able to keep a specific room always clean for visitors means less overall house work for me.

Our home was one of the models for the neighborhood, so we’ve lucked out with a lot of the added features you don’t see in every house in the neighborhood. With fun upgrades, the previous owners had not felt the need to change out much from the original builder grade materials. Now that the house is nearly 20 years old, those builder grade items look dated, especially the bathrooms.
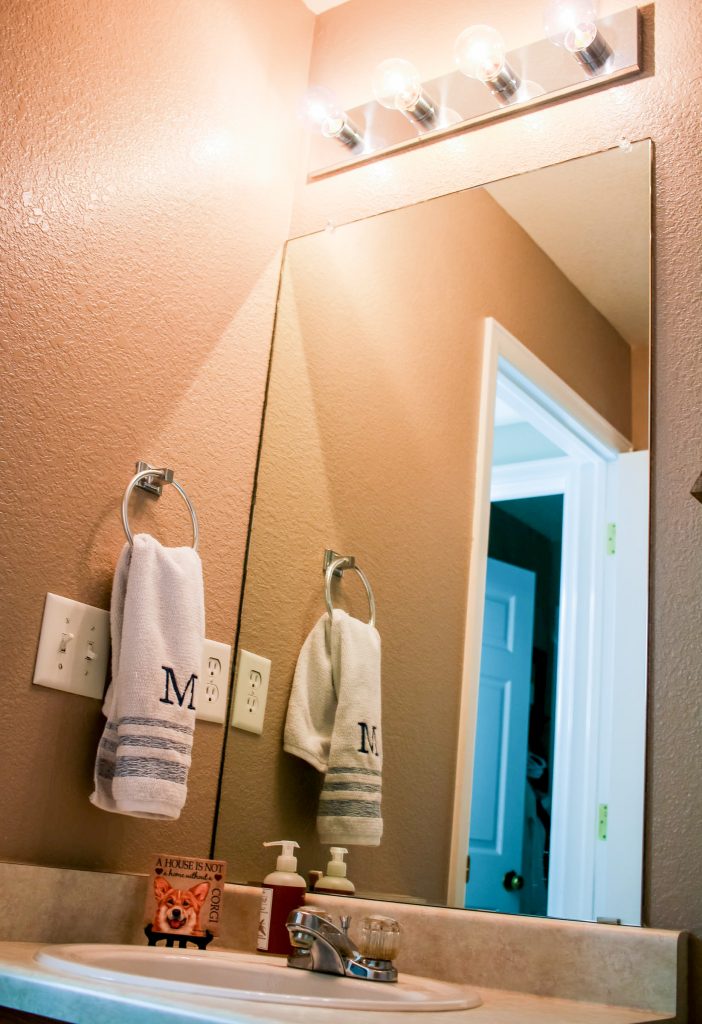
Plain oak cabinets, low quality lighting and a standard mirror means that the entire room is pretty much a blank slate. I might paint the vanity down the road, but I wanted to start off with a quick and easy DIY Mirror Frame to brighted up the room and add a modern feel.
Instead of buying specialty tools that I’d never use again to cut down molding I decided to use Add a Frame® from Frame My Mirror®. Add a Frame® comes custom cut and quickly assembles to create a professional and polished look on any mirror.
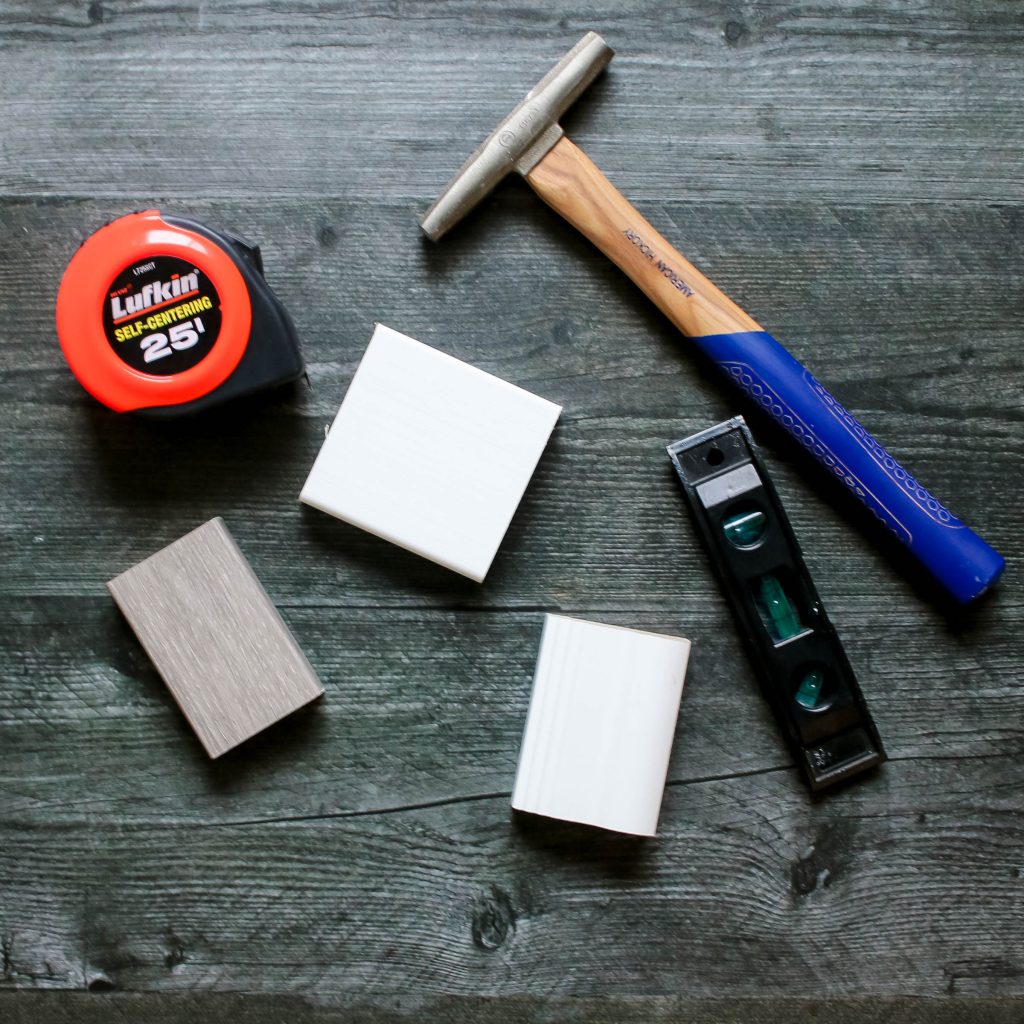
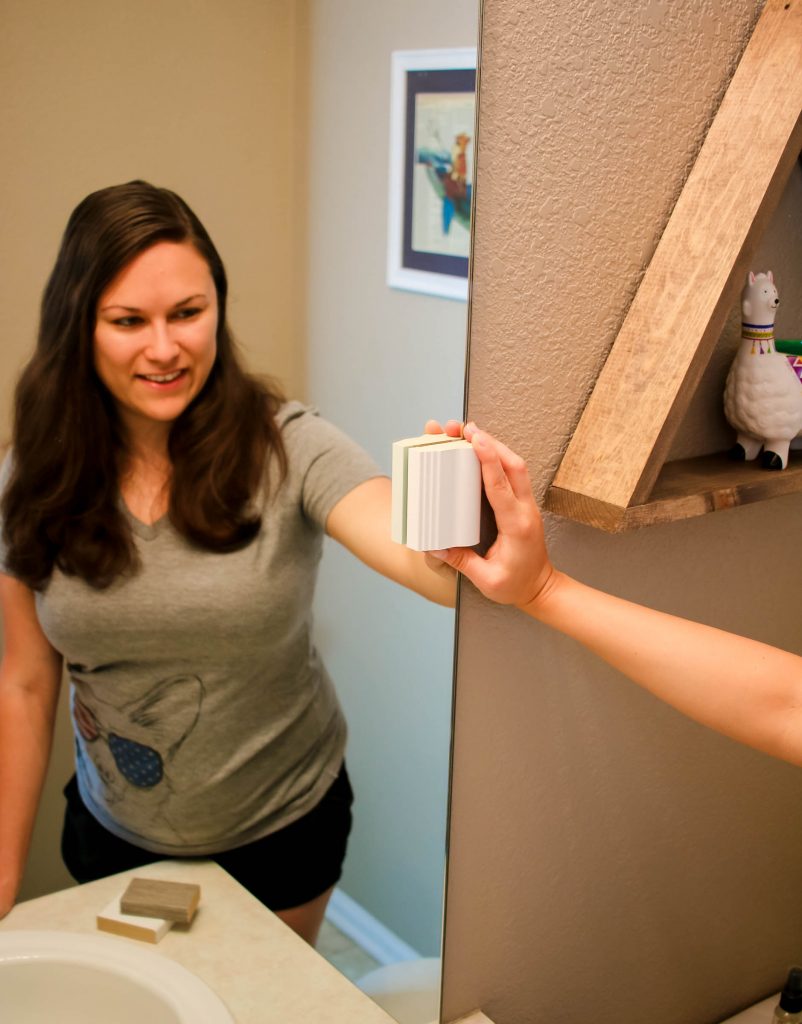
The first step was ordering samples to decide what finish I wanted my frame to have. I recently added a mountain shelf above the toilet, so I wanted something that would compliment that look. Each sample is a $1 and the shipping is free.
I ended up ordering samples of the Weston (Driftwood Textured), Upton (Rustic White), Carson Reverse (White). Once the samples arrived I decided that the Carson Reverse (White) was the best fit, with a good contrast against the existing bathroom shelf.
To order the finished frame I needed to carefully measure the existing frame and input the measurements to the Add a Frame® order system. During the ordering process you have indicate how far the mirror is from other objects [walls and lights] and notate if you have plastic clips or flush latches that affix the mirror to the wall.

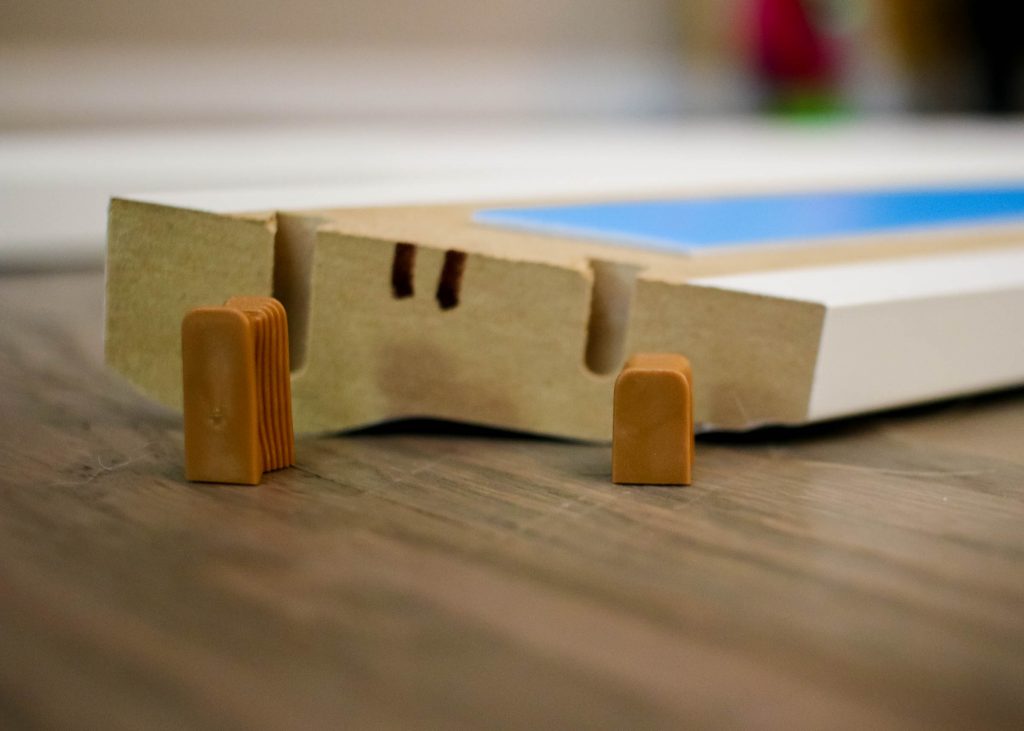
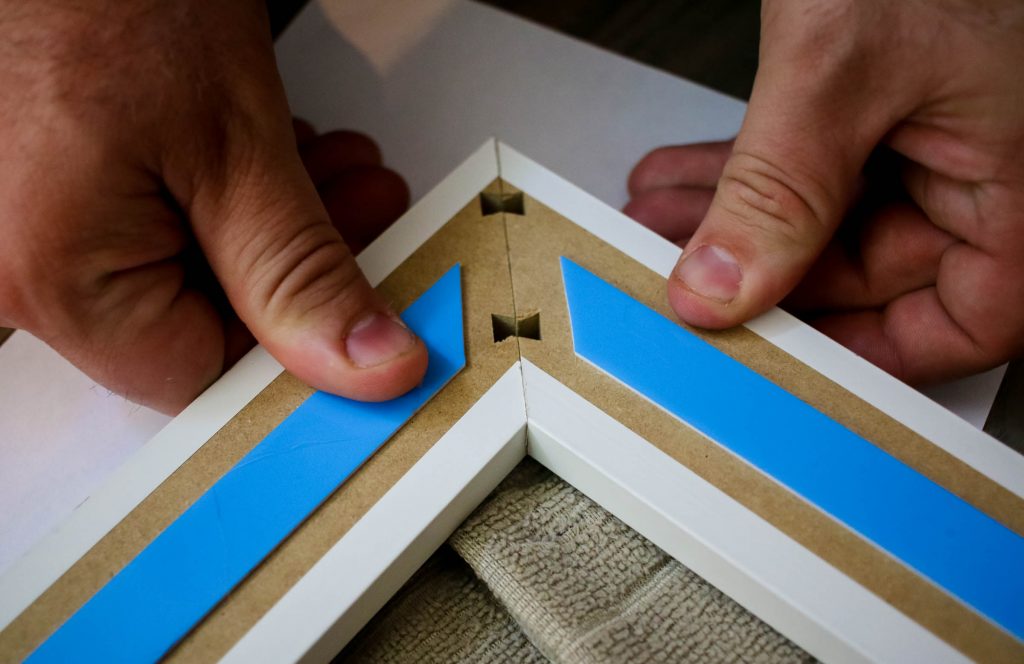
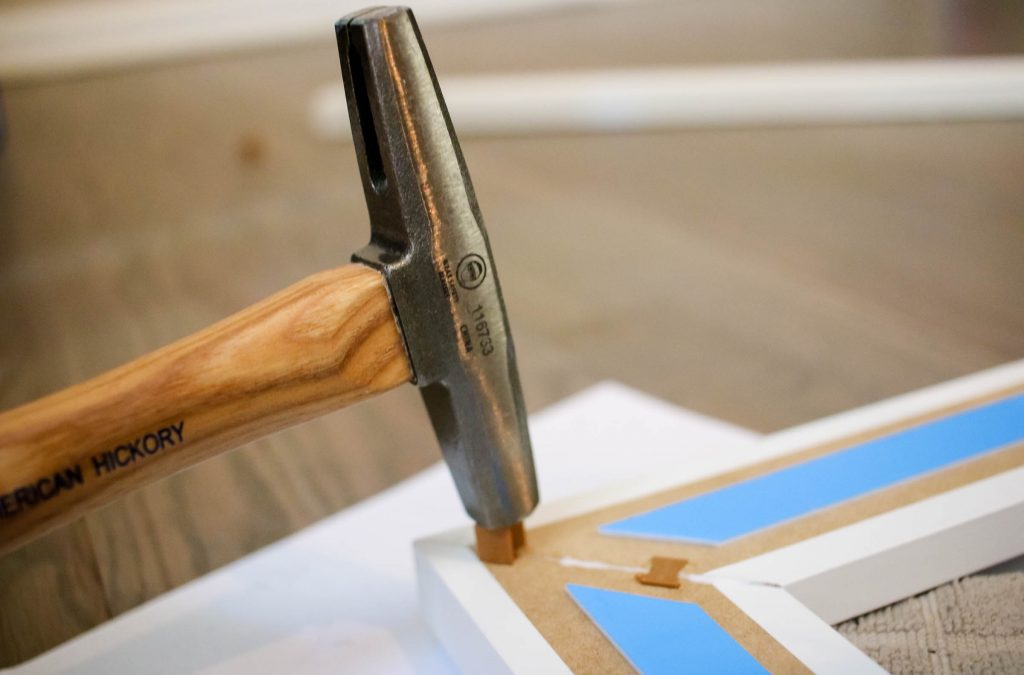

Shipping was quick [and free] and I was ready to put my DIY mirror frame together! Each piece arrives pre-cut with beveled pegs to lock the pieces together. The kit included everything necessary to assemble the frame, including wood glue. Assembly took around 15 minutes and recommended dry time for the glue was 3 hours.
While I waited for the glue to set, I prepped my mirror. The original installers decided to place this mirror flush against the wall, which was both off-center and blocking an existing outlet. Since we were already going to swap out the plastic mirror clips for flush ones I moved the mirror over a few inches to the right and painted the wall to match the rest of the room. Once the paint was dry, I cleaned the mirror good with alcohol so the new frame would easily attach.
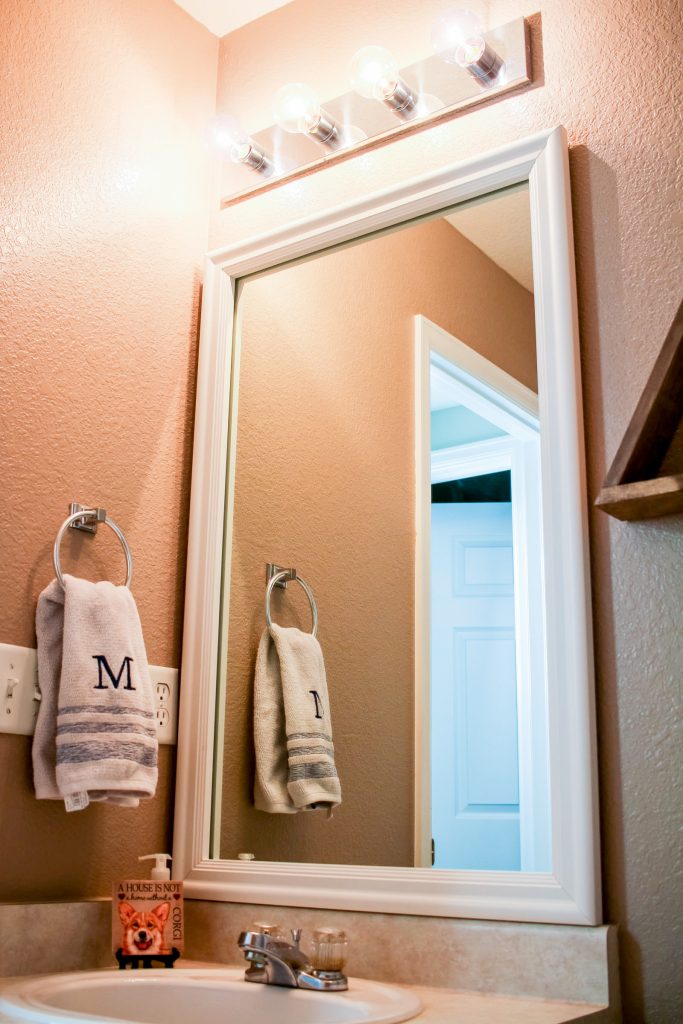
Once the glue had fully set it was time to install the mirror. The final step was removing the backing from the adhesive strip and affixing it to the mirror. We used a level to double check everything was aligned properly before firmly pressing the new frame up the to mirror.

Outside of readjusting and painting the wall, the total time spent creating the DIY Mirror Frame was approximately 30 minutes. This was a super quick and easy home improvement project that made a huge difference in the style of this powder room!

Disclaimer: I received a product sample from Frame My Mirror® to facilitate this post. All photography and thoughts are my own.
Over the last few month’s I’ve been working on lowering the amount of single use items in my life, being more thoughtful about the food and vitamins I consume, and paying attention to the chemicals in my skincare. Its shocking when we realize how many ‘bad’ things we do everyday, from using 15 plastic bags in a single trip to the store, to using a face cream that’s completely full of chemicals.
With the world slowing its pace due to the COVID-19 pandemic, we are seeing how big a difference a little less pollution can make. Everything from dolphins in the canals in Italy, to enjoying smog free views of the Rocky Mountains in Colorado. Small changes today can help build habits that will positively impact our world when we are all back to the busy pace we were used to before.

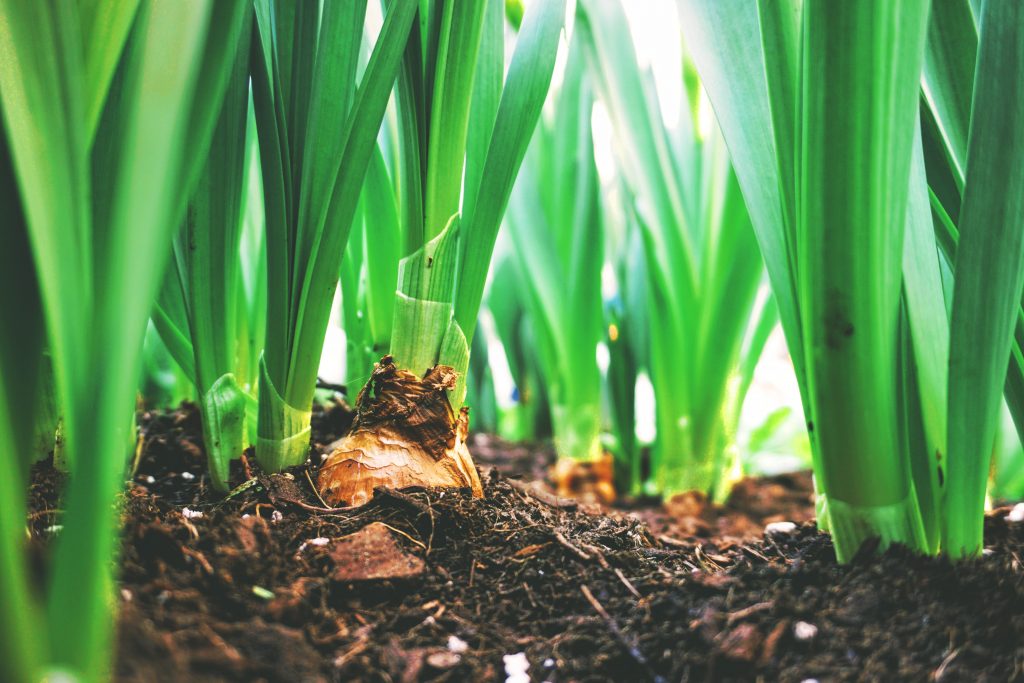
Fresh produce is where I found I feel like I regularly overuse plastic bags. One huge bag for a single head of lettuce or a handful of onions. Typically I would try to combine as many items into a single bag as possible and let the checker sort them out during weighing but that always felt like things were being touched more times then they need to be.
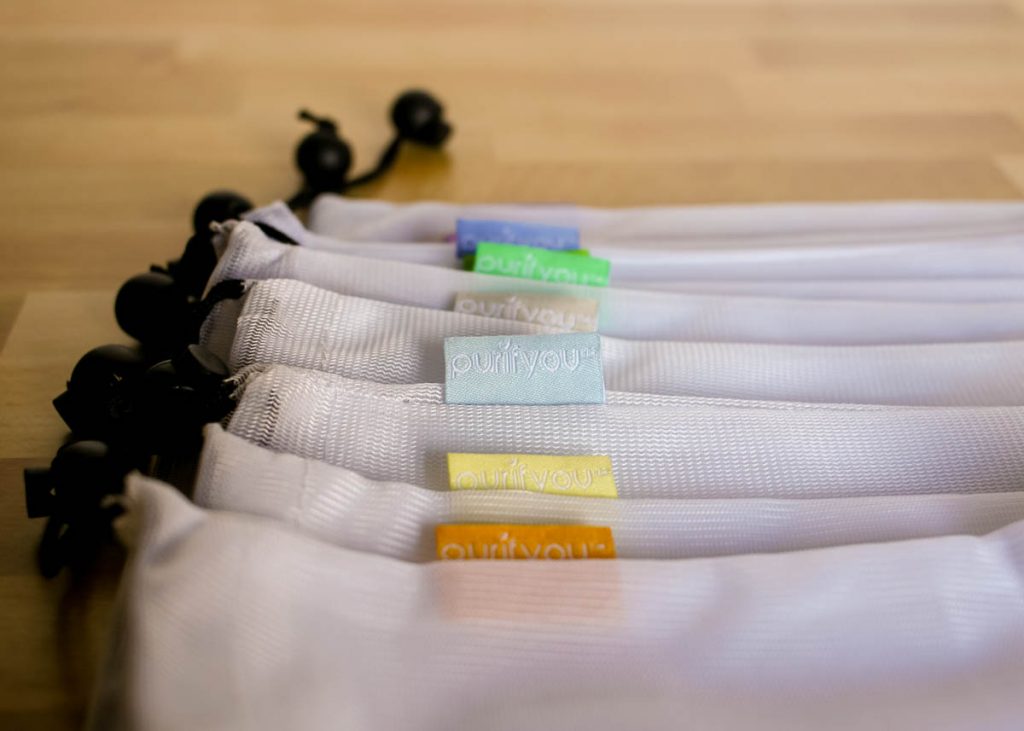
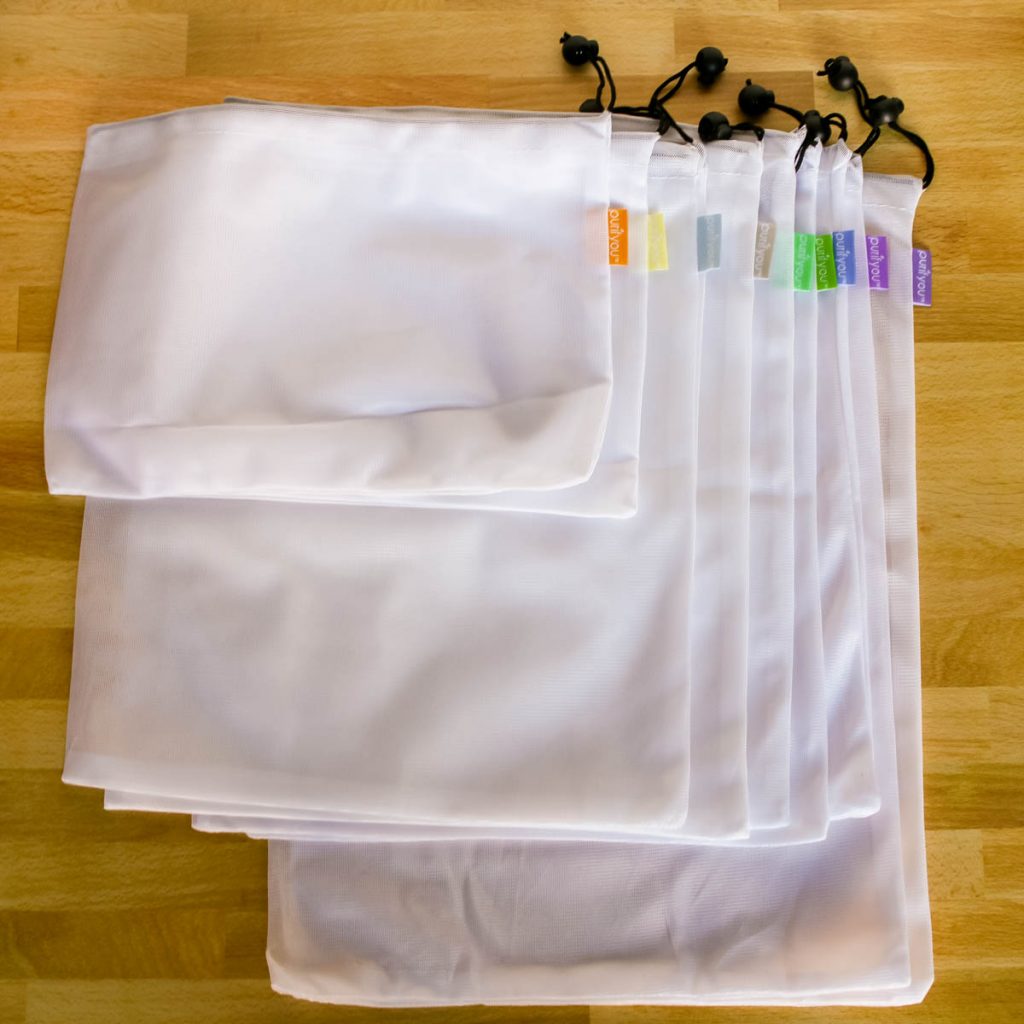
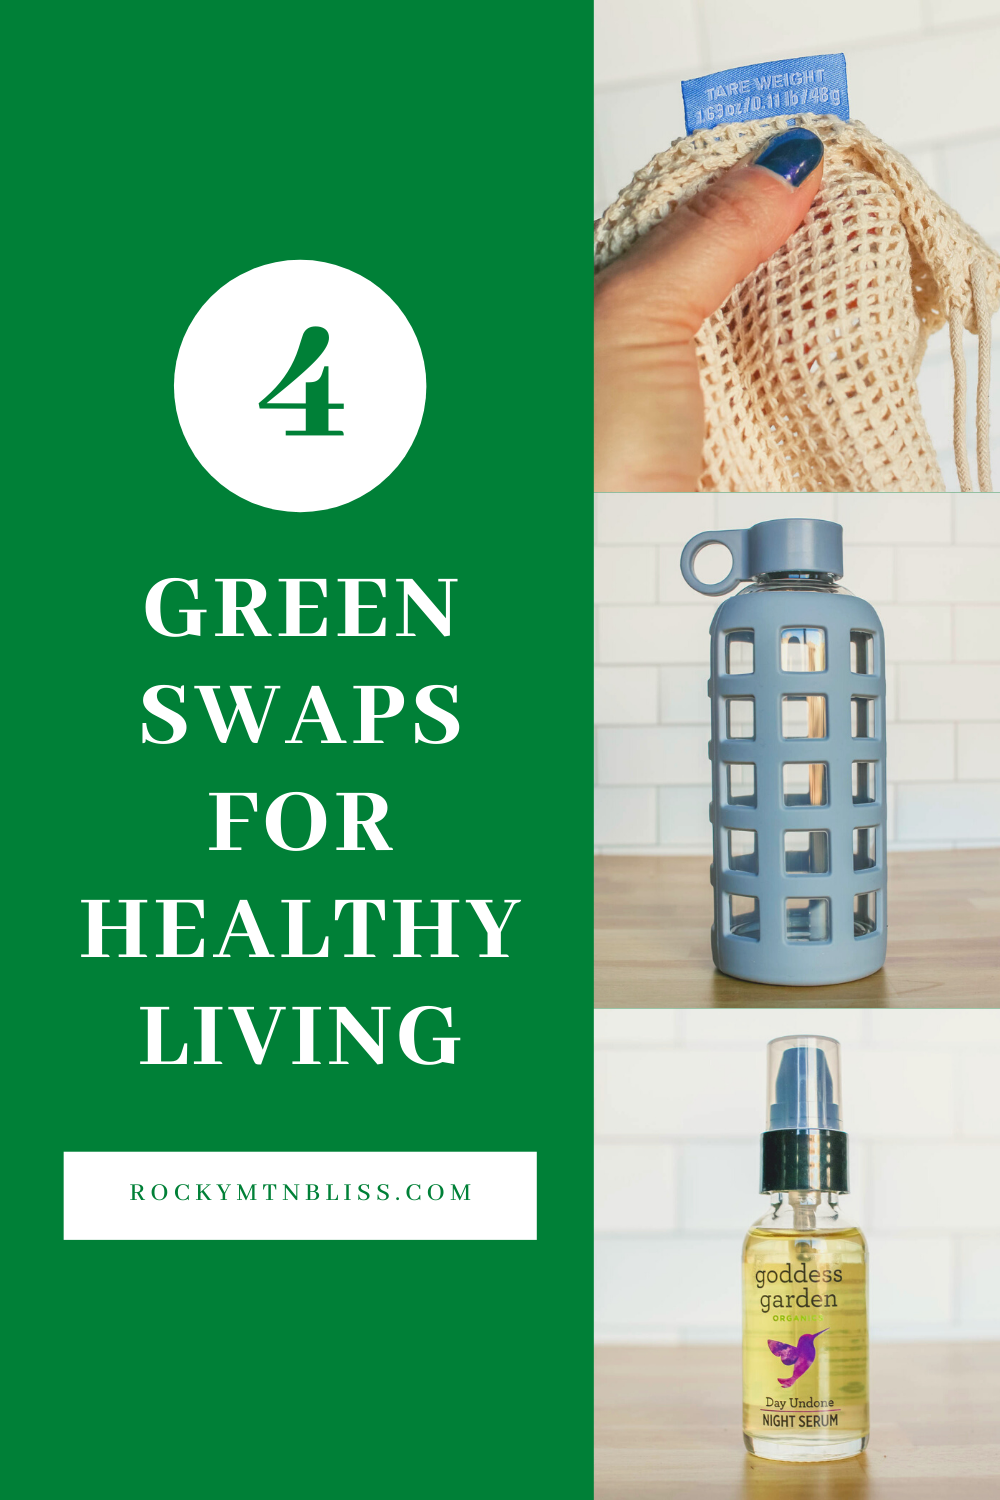
Reusable Mesh Produce Bags from Purifyou are my new go to. Completely BPA Free and using a fine mesh they work perfectly for both produce and bulk items like rice or seeds. Each set includes several of each size, allowing you to select the right bag for the items you are purchasing.
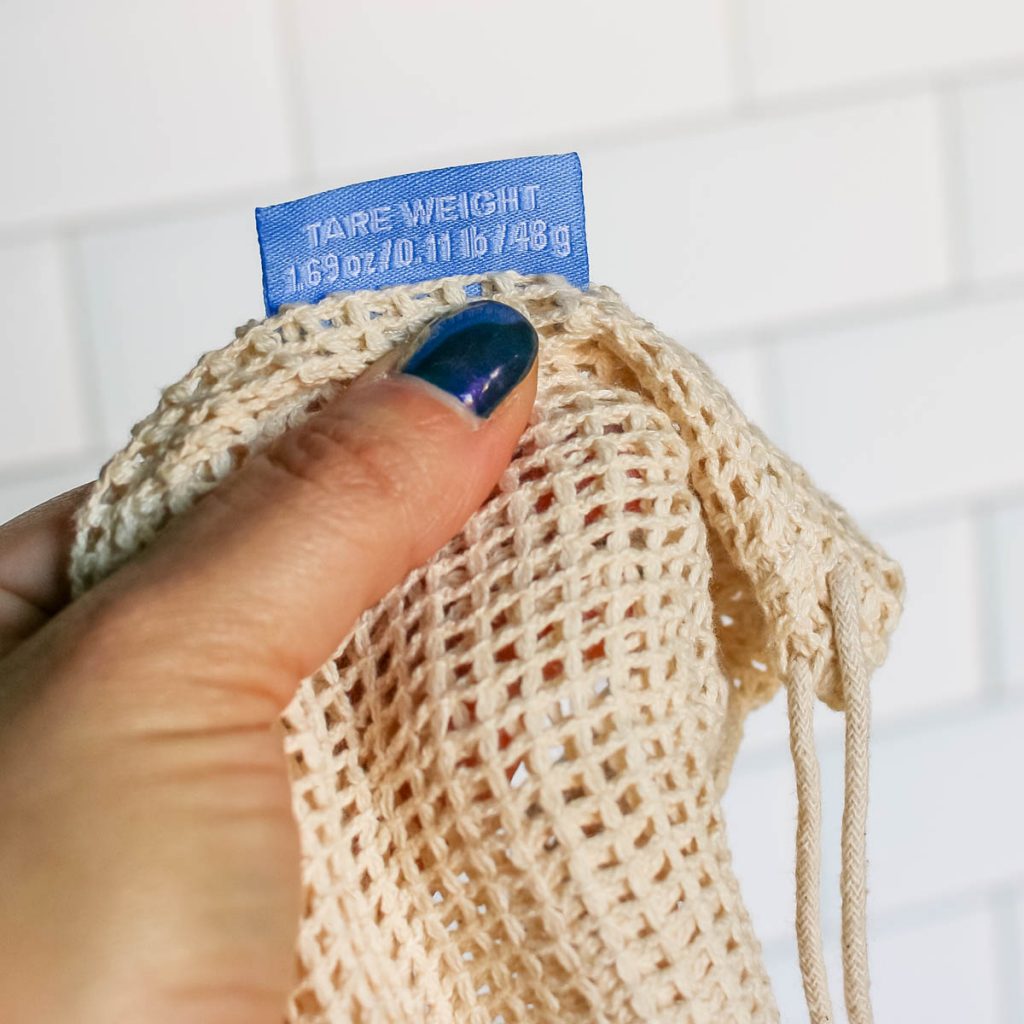
Each bag includes tare weights so the cashiers can easily remove your bag before processing the weight of the items. A full set includes 9 bags so you won’t have to worry about running out on even a big trip to the store.
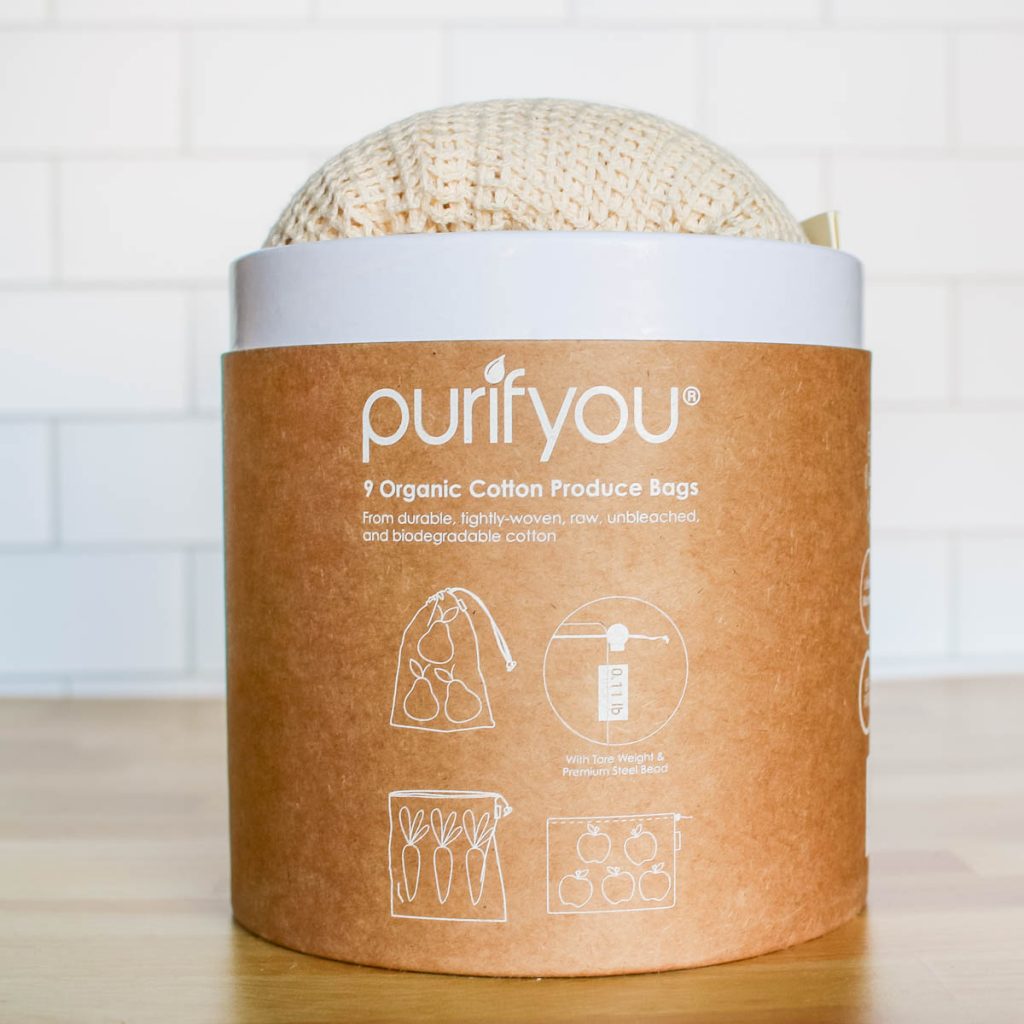
Mesh Produce Bags | Organic Cotton Produce Bags
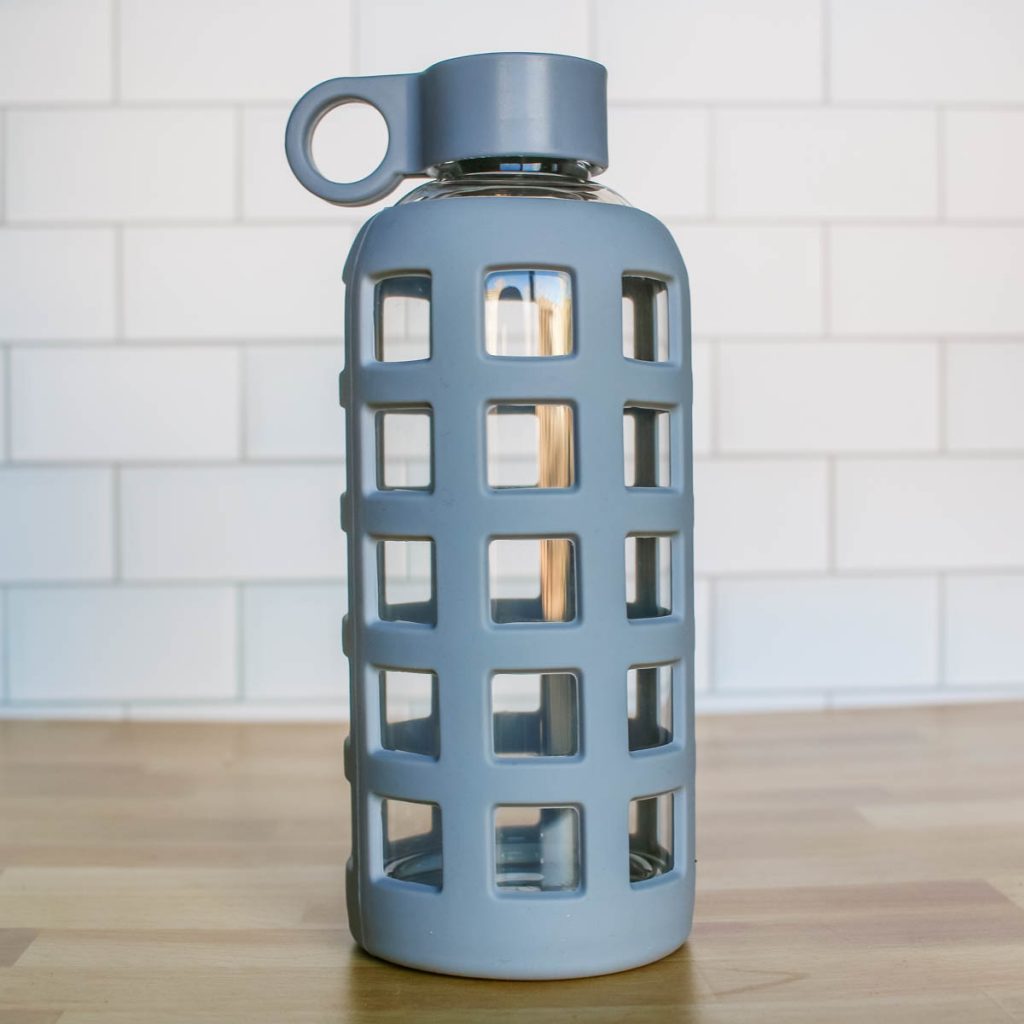
I drink a lot of water throughout the day so I’ve always keep a water bottle at my desk. My new office has a flavored sparkling water machine [Like La Croix on tap] and I’ve discovered that even if wash out a plastic bottle after using it still has a weird floral taste for the next few days. Purifyou’s glass bottle is my favorite new work accessory. It’s easy to use a single bottle for everything from tea to water without needing to do a heavy cleaning in between beverages.
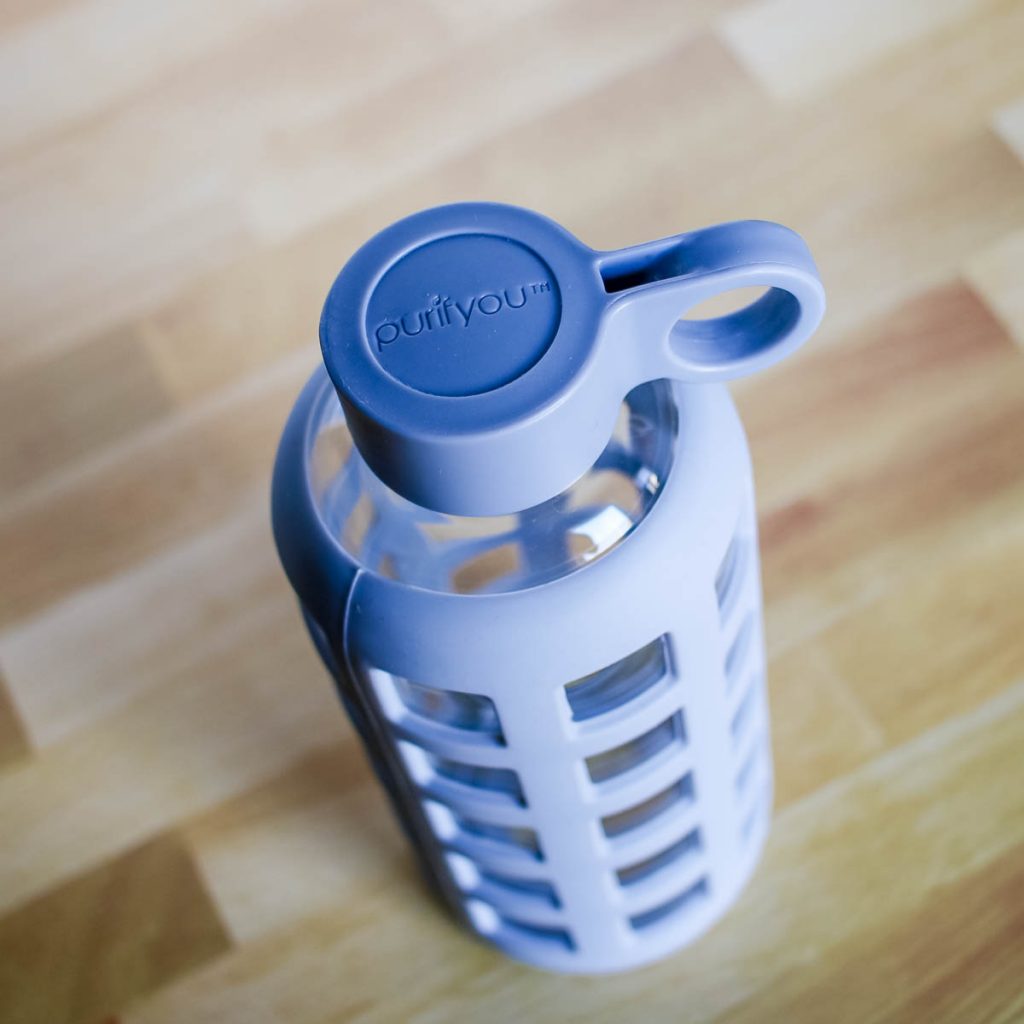
A silicone sleeve exterior means that even when my hands are full I don’t have to worry about dropping it on the hard floor and provided extra insulation for keeping drinks hot or cold. A stainless steel lid keeps ‘funk’ from building up in the cap and keeps the bottle 100% leak-proof
Developing good skincare habits is important, and in Colorado locking in moisture is a daily ritual. Your since is the largest organ in your body and up to 60% of what you apply to your skin is absorbed into the bloodstream. With that in mind, high quality and healthy skincare is a priority.
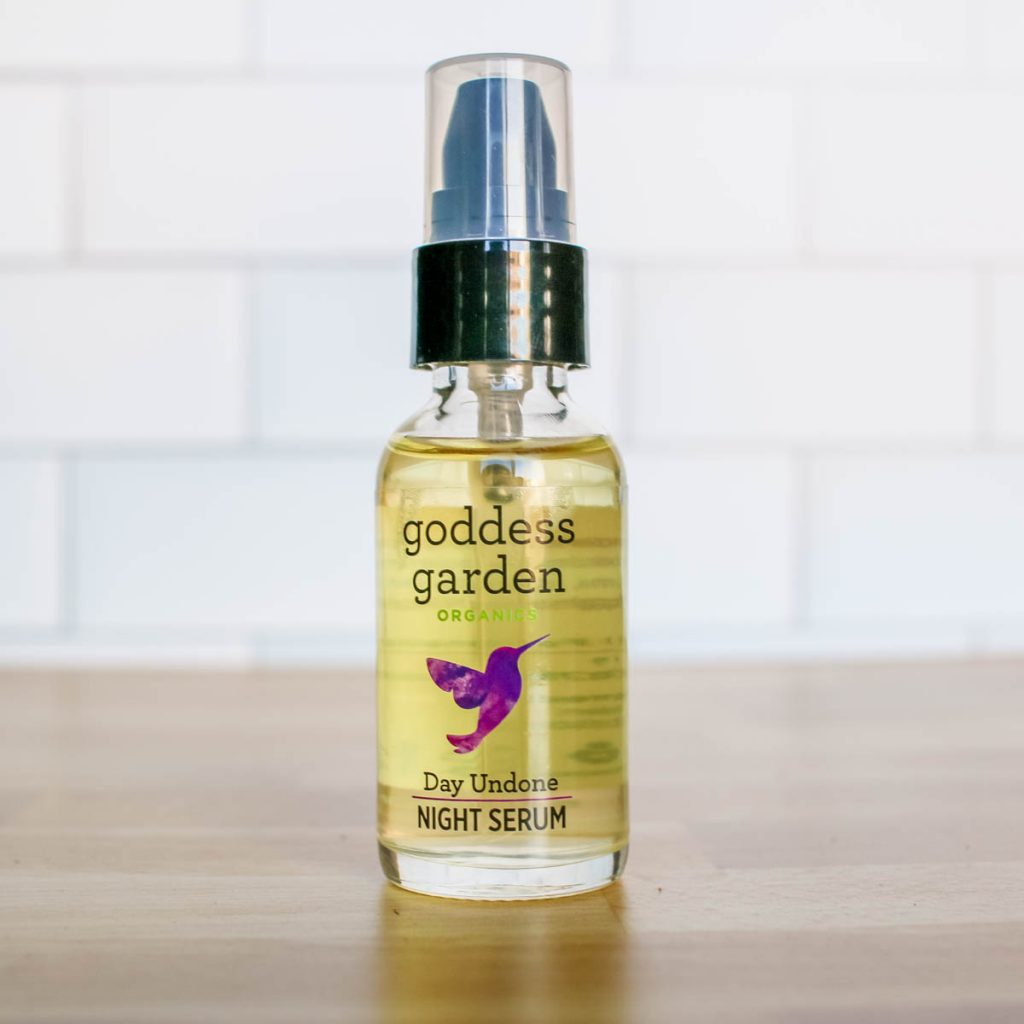
Goddess Garden is a Colorado based brand with a mission to remove harsh chemicals from skincare products. Using only organic plant-based ingredients they provide everything your skin needs to stay healthy in even the driest seasons. The Day Undone Softening Night Serum is a magic worker for surviving the Colorado winter. It may seem counter intuitive to put oil on your face but it’s actually one of the best ways to keep your skin smooth and soft. I love the smell of the Night Serum and am constantly shocked by how much better my face feels in the morning!
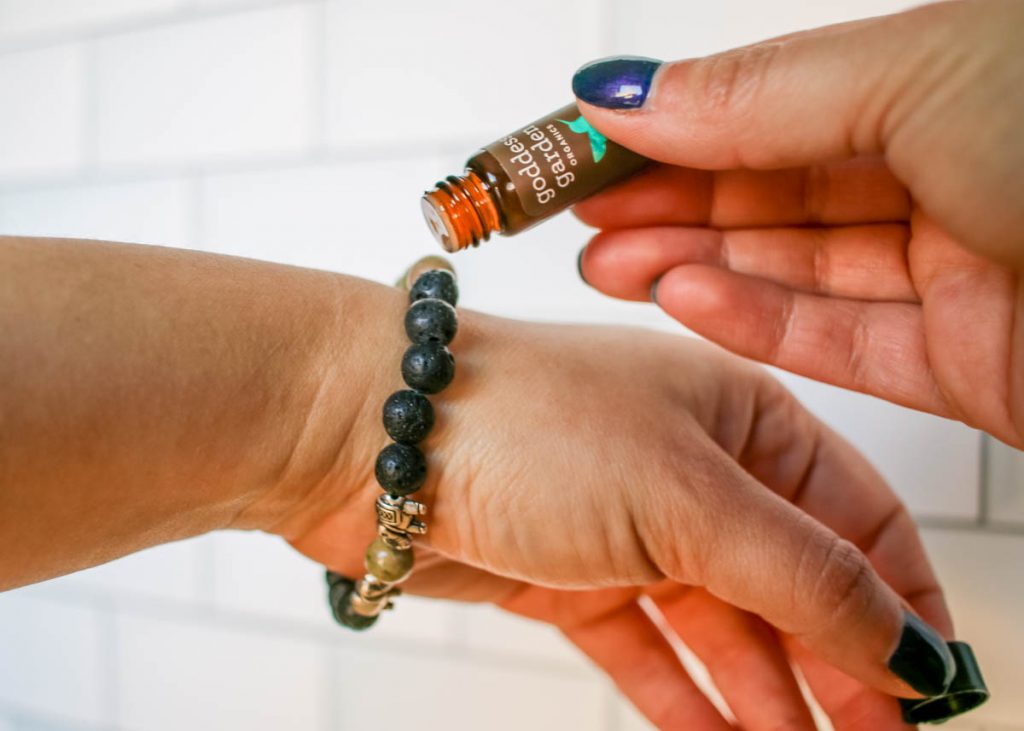
Essential oils can be used directly on the skin (as long as there is a carrier oil) or in a diffuser bracelet like this one. Diffuser bracelets help keep the scent active for longer and provide the benefits of aromatherapy all day long.
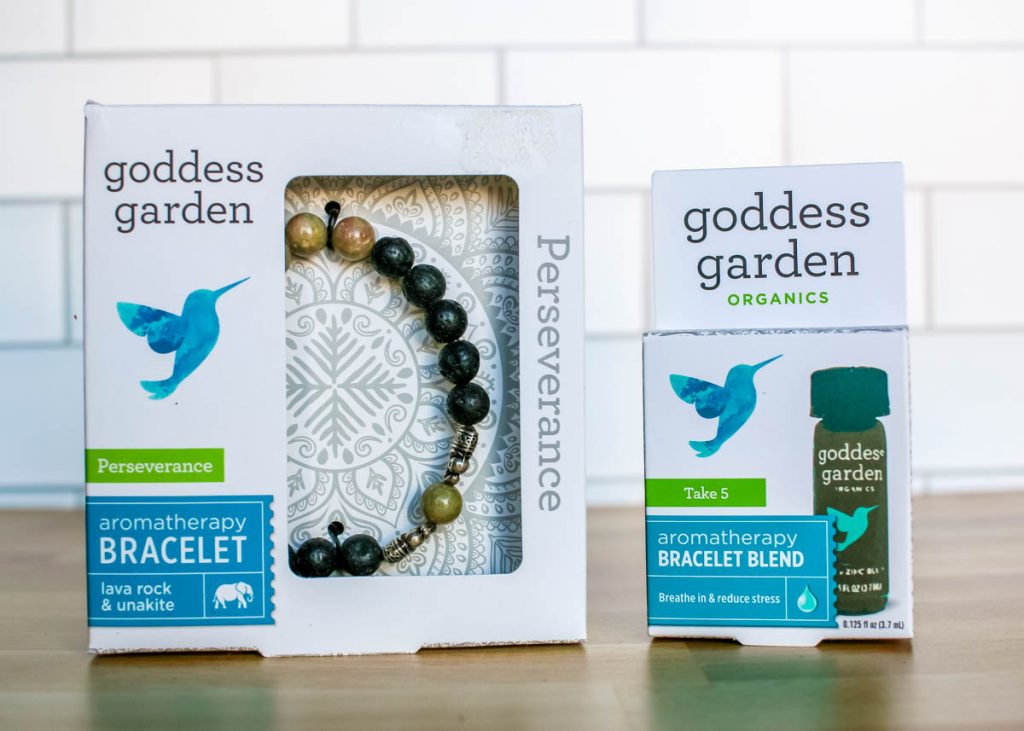
On busy days I enjoy the Take 5 Blend. The combination of Lavender, Orange and Chamomile provide a great combination to stay balanced.
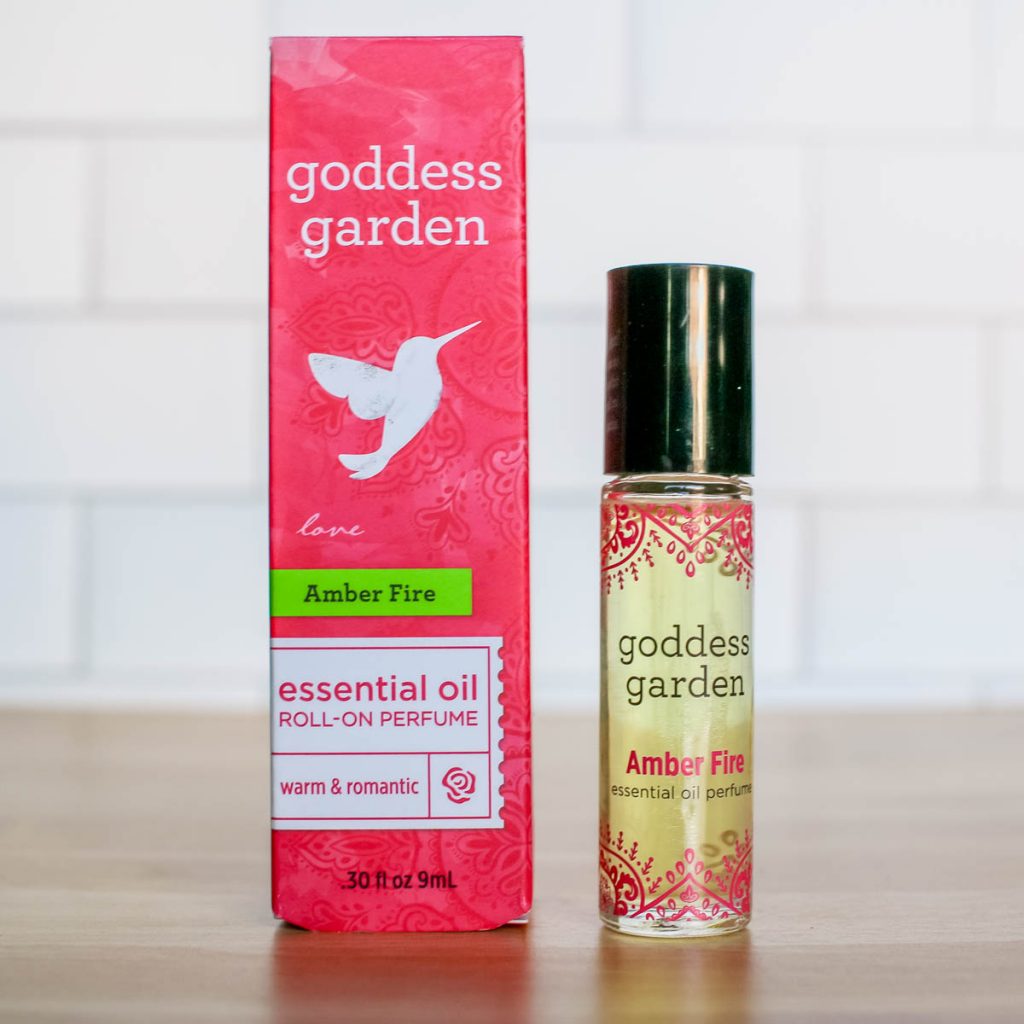
After work the Amber Fire roll on perfume is is a great alternative to chemical laden scents. The roller ball applicator makes it easy to apply to push points as a final touch while getting ready. Bright floral scents provide a natural perfume experience.
Amber Fire | Aromatherapy Bracelet | Take 5 Aromatherapy Blend | Day Undone Night Serum
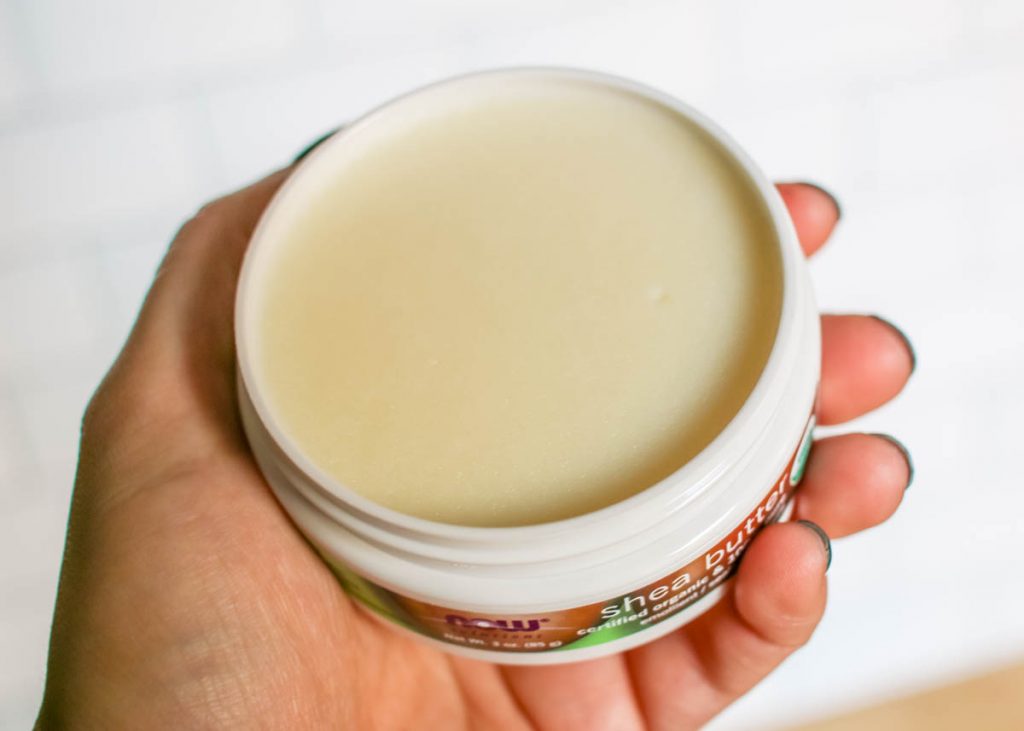
Another go-to solution for dry skin is natural shea butter is a thousand times better for your skin then perfume heavy lotions. Most lotion contains alcohol that actually dries out your skin, encouraging you to use more. Shea butter is made from tree nuts, and can be applied liberally to dry hands, elbows and feet.

NOW has been leading the natural products industry for over 30 years and I consistently love the quality of their products. Shea butter is naturally unscented, but if you want to add a nice aromatherapy touch a few drops of orange essential oil is the perfect trick.
Shea Butter | Orange Essential Oil
We all know how important eating the right things can be. Food fuels your body and provides the energy you need to get through the day. While going organic for everything isn’t a solution for everyone, selecting organic when you can helps lower the amount of extra chemicals you ingest everyday.
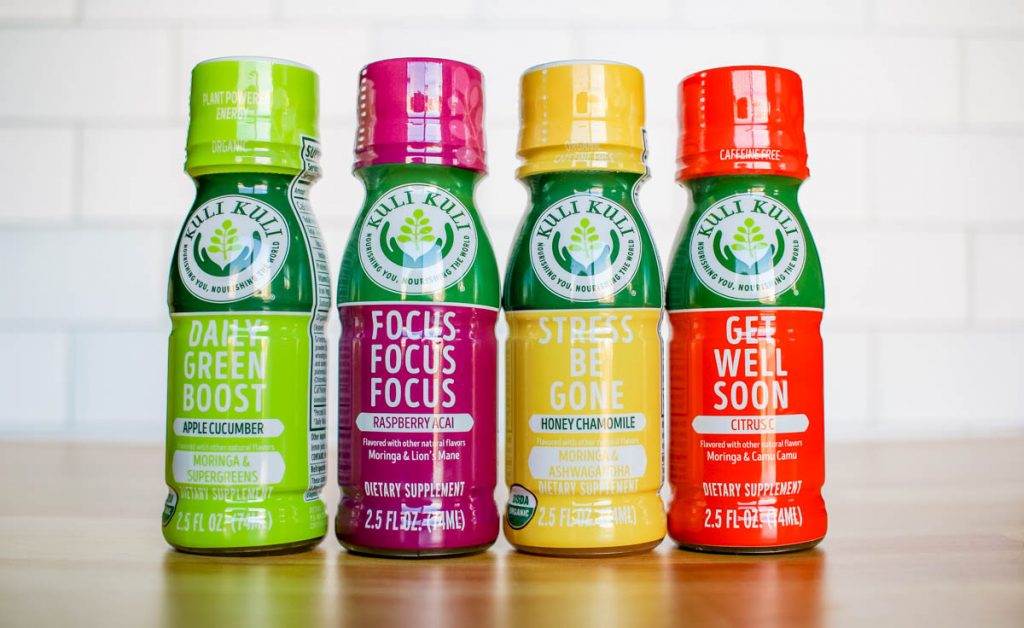
Known in some cultures as the “Tree of Life” Moringa is a green superfood packed with nutrition. Moringa powder is harvested by drying and milling the leaves and then prepared for use in tonics, smoothies or even mixed in your morning yogurt. Kuli Kuli is introducing the US to this amazing superfood through a wide variety of Moringa Products.
I tried out the Kuli Kulu Green Tea Energy Plus+ Shots and was delighted with how amazing the flavor is. Most healthy tonics have a heavy aftertaste but Kuli Kuli’s do not. Each shot is perfectly balanced to provide just the right amount of sweetness along with the health benefits intended by the drink.
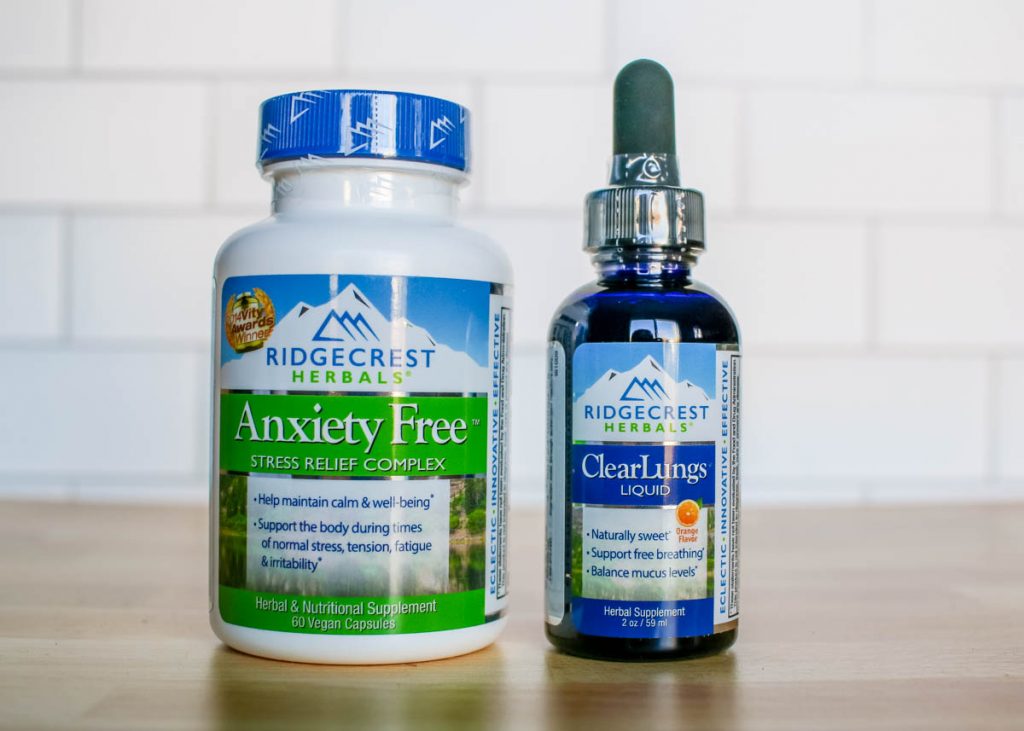
Herbal remedies have been used for helping with health ailments for hundreds of years. RidgeCrest Herbals is an all natural line of botanical formulas developed by health professionals to provide safe and natural herbal treatments. Life is stressful in the best of times, but for the time being it feels downright overwhelming. Full of herbs known for helping sooth the restless mind, Anxiety Free is a an Ayurvedic solution for supporting the body’s natural ability to find calm.

With allergy season just around the corner, RidgeCrest’s Clear Lungs is a natural solution for helping with respiratory health. Clear Lungs uses Traditional Chinese Medicine and a combination of 13 natural herbs.

At the end of a long day there is nothing I love more than a hot cup of tea. Heading to bed with a warm tea makes everything in the world feel right. I’m a classic tea ‘over buyer’ and have more flavors of tea in my cupboard then anyone could consume in a reasonable time frame. I love variety, so when I found Numi’s Collection I knew I would enjoy getting to sample all of their flavors.
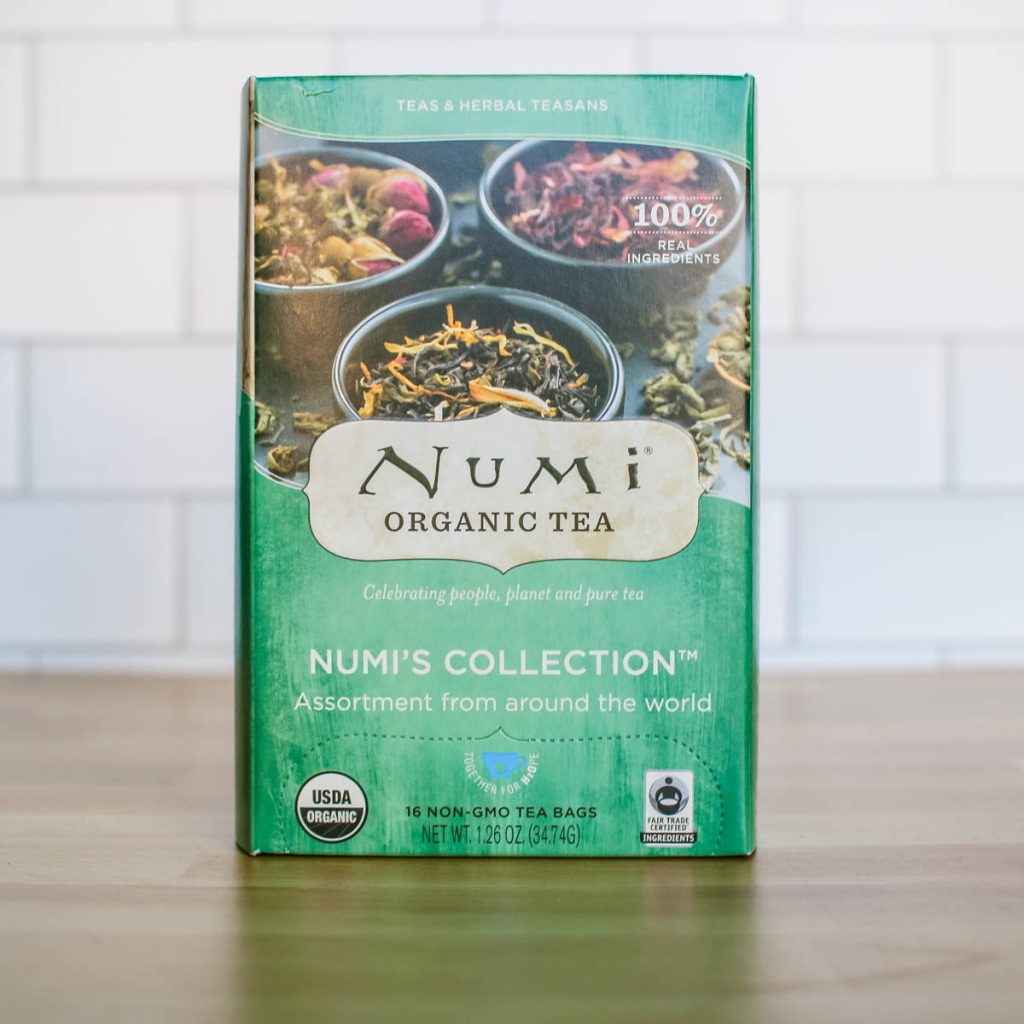
With blends of 100% Organic teas and herbs, Numi is dedicated to offering a natural and flavor filled experience for tea lovers. Numi’s collection features 16 different teas in individual tea bags, ideal for flavor hoppers like myself.
Disclaimer: I received product samples to help inspire this article. All thoughts and opinions are my own. Amazon links are affiliate and purchases through Amazon will support the production of this publication.

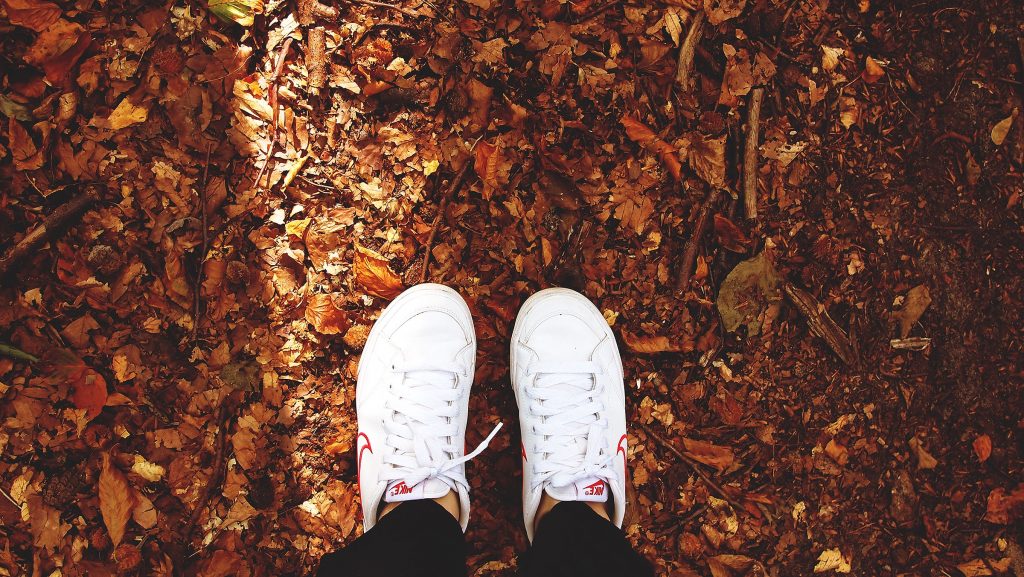
Well it doesn’t feel much like fall in Colorado but when I started this post it was a lot nicer! Luckily we’ll be back up to warm weather next week and then I can finish cleaning up the rest of my garden.
The shorter days of autumn and cooler temperatures serve as a constant reminder that summer gardening season is slipping away. This doesn’t mean that there is nothing left to do before you put your garden to bed for winter. There are many things that will need to be done, and you can still enjoy the things you will have to do. As you prepare your garden for a winter sleep, clean things up and put your garden tools away, you can also enjoy the fruits of your fall harvests.
Here are some fall gardening tips to help you get your yard or garden in shape for winter.
Fall is the time to plant spring bulbs. You need to do this early in the fall so that the bulbs have a chance to establish roots before the first frost. Those roots will nourish the plant so that it can provide you with blooms the following spring.
There are many perennials that will need to be divided. The reason for doing this in fall as opposed to spring is because by doing it in fall, you give your plants time to adjust to being transplanted at a time when the soil is still sufficiently warm. You also want to do this when there is no new growth, and because many perennials will be entering dormancy, this is the ideal time.
If you live in a zone for which certain flowering plants that grow from bulbs aren’t hardy, you will need to dig them up. Cannas and other tropical bulbs are examples of things that will have to be dug up if you live in a zone that is colder than zone 7. After digging the bulbs up, you will want to hose them off to remove all of the dirt and debris. Allow the bulbs to dry out completely before packing them away.
You can pack them in peat moss, shredded newspaper, shredded wood or anything that is soft and that will still allow them to breathe. You can then store them in a box or other container that will get adequate air. Place them in a cool and dark place such as a basement.
You may also want to dig up the dead growth from your annuals. They serve no purpose by being left in the ground. If you are certain that there are no seeds or seed pods in the dead growth, and are sure that there is no danger of disease, you can toss these into your compost heap.
You will want to dig up any dead vegetable plants, making sure that you get every last bit of harvest there is. Although you can toss the dead growth (provided you are absolutely certain there is no danger of disease,) into your compost heap, you may want to toss these things into a second compost heap that you can use anywhere other than your vegetable garden. Even if you don’t have diseased plants, there is always the potential that plants that are disease carriers can transmit that disease to the compost, and then pass it on to whatever happens to be growing in the soil where the compost was used.
You don’t want to leave leaves on the ground because they can get matted down and when wet, will easily get moldy. That can cause the spread of fungal disease to your grass and throughout the soil. Cut the grass as short as you can, making sure you use up all of the gas in your mower. If the gas is allowed to remain in your mower over the winter and the mower isn’t used, it can cause the carburetor to gum up. This will prevent the grass from getting matted down and there won’t be any chance for roaming creatures to dig holes in your yard.
If you are in an area that actually enjoys a long fall, it’s the ideal time to plant your fall cool weather vegetables. That would include lettuce, spinach, Swiss chard, radishes, peas, and arugula. As for your other vegetables, as long as the plants are still in good condition and providing you with a harvest, you can leave them in the ground.
Other things you will want to do are clean and oil your gardening tools and bring them into your garage, shed or other protected place. You may also want to put mulch on some of your garden beds, making sure you don’t do it on garden beds where there are plants that can easily succumb to root rot. Shred your leaves and use those for a mulch because they decompose quickly and will add nutrients to your soil.
I hope you enjoyed these fall gardening tips and are able to get your yards organized before the snow flies. Here in Denver we’ve had a gun-ho start to the winter so I don’t think I’ll be doing much of a fall garden this year! Getting rolling now means that I’ll be prepared to start the spring strong and my yard will be looking in top shape when warmer weather hits next spring.
Interested in other home projects? Check out my review of Comfortex SlumberShades.