
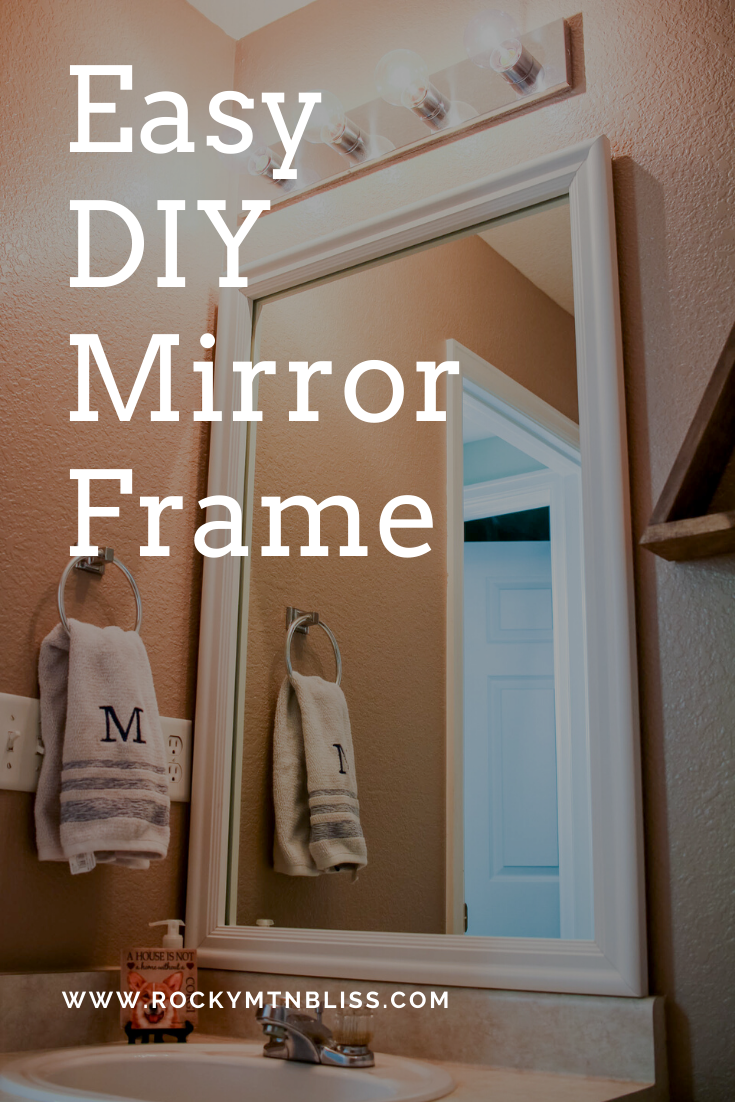
I’ve been looking for an easy way to freshen up our powder room and a DIY Mirror Frame from Frame My Mirror® was the perfect solution. Like most of the country, we’ve been under stay at home orders since March so home improvement has become the best way to keep busy.
When we were house hunting a downstairs powder room for guests was one of my must haves. Being able to keep a specific room always clean for visitors means less overall house work for me.
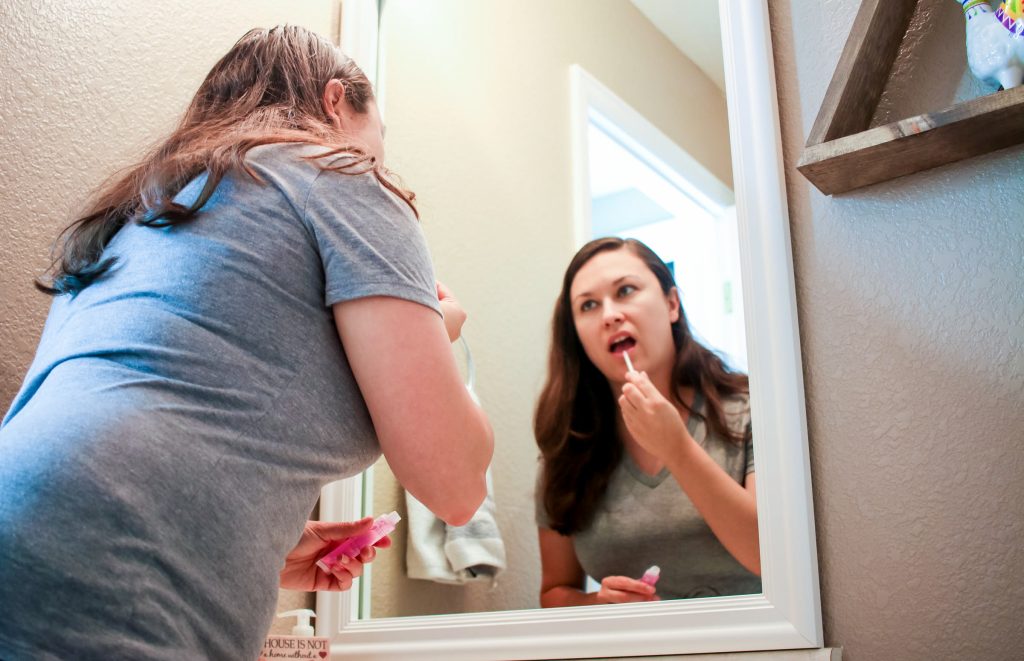
Our home was one of the models for the neighborhood, so we’ve lucked out with a lot of the added features you don’t see in every house in the neighborhood. With fun upgrades, the previous owners had not felt the need to change out much from the original builder grade materials. Now that the house is nearly 20 years old, those builder grade items look dated, especially the bathrooms.
Plain oak cabinets, low quality lighting and a standard mirror means that the entire room is pretty much a blank slate. I might paint the vanity down the road, but I wanted to start off with a quick and easy DIY Mirror Frame to brighted up the room and add a modern feel.
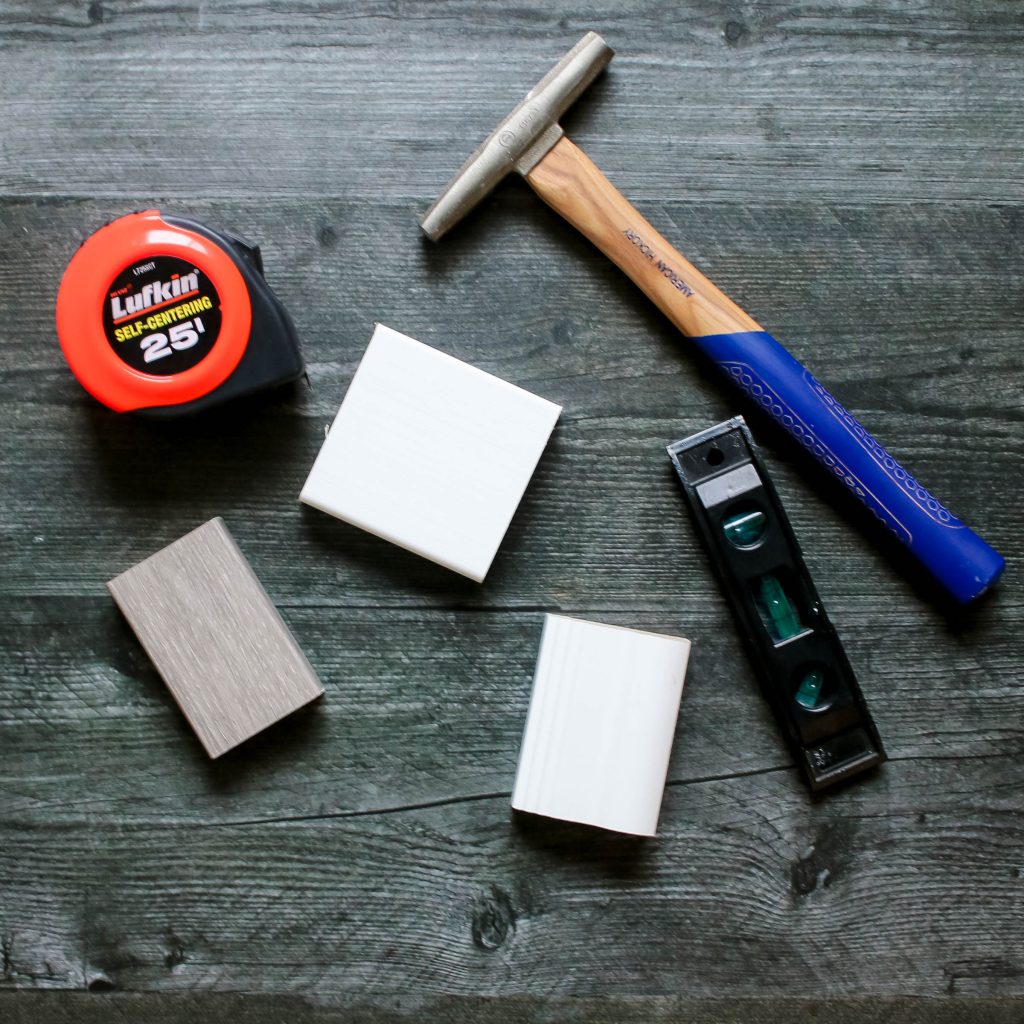
Instead of buying specialty tools that I’d never use again to cut down molding I decided to use Add a Frame® from Frame My Mirror®. Add a Frame® comes custom cut and quickly assembles to create a professional and polished look on any mirror.
The first step was ordering samples to decide what finish I wanted my frame to have. I recently added a mountain shelf above the toilet, so I wanted something that would compliment that look. Each sample is a $1 and the shipping is free.
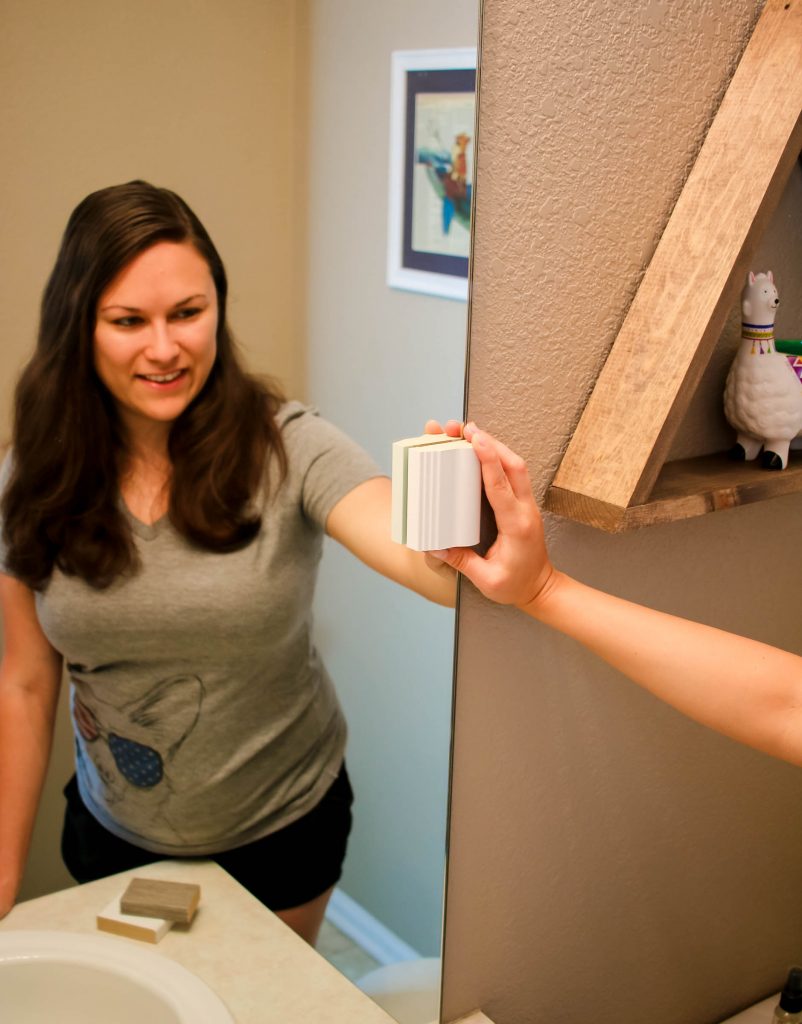
I ended up ordering samples of the Weston (Driftwood Textured), Upton (Rustic White), Carson Reverse (White). Once the samples arrived I decided that the Carson Reverse (White) was the best fit, with a good contrast against the existing bathroom shelf.
To order the finished frame I needed to carefully measure the existing frame and input the measurements to the Add a Frame® order system. During the ordering process you have indicate how far the mirror is from other objects [walls and lights] and notate if you have plastic clips or flush latches that affix the mirror to the wall.
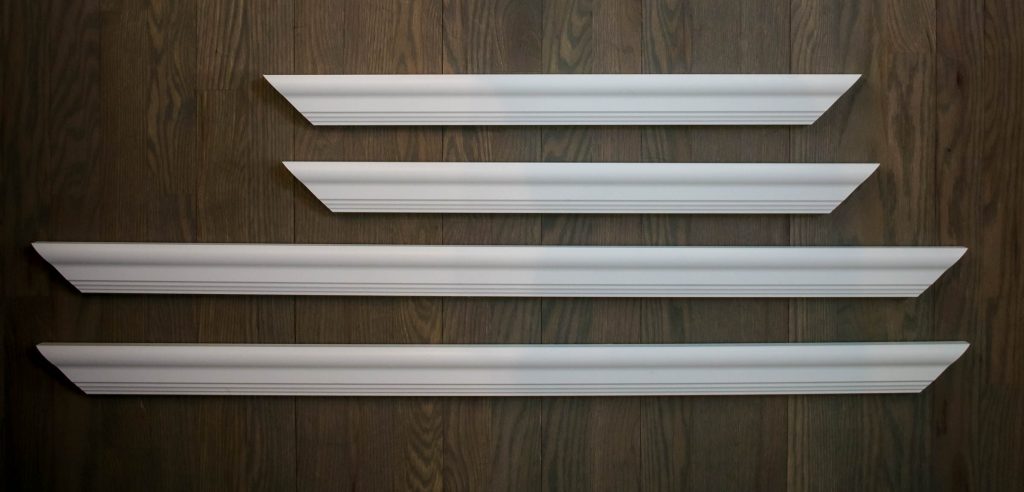
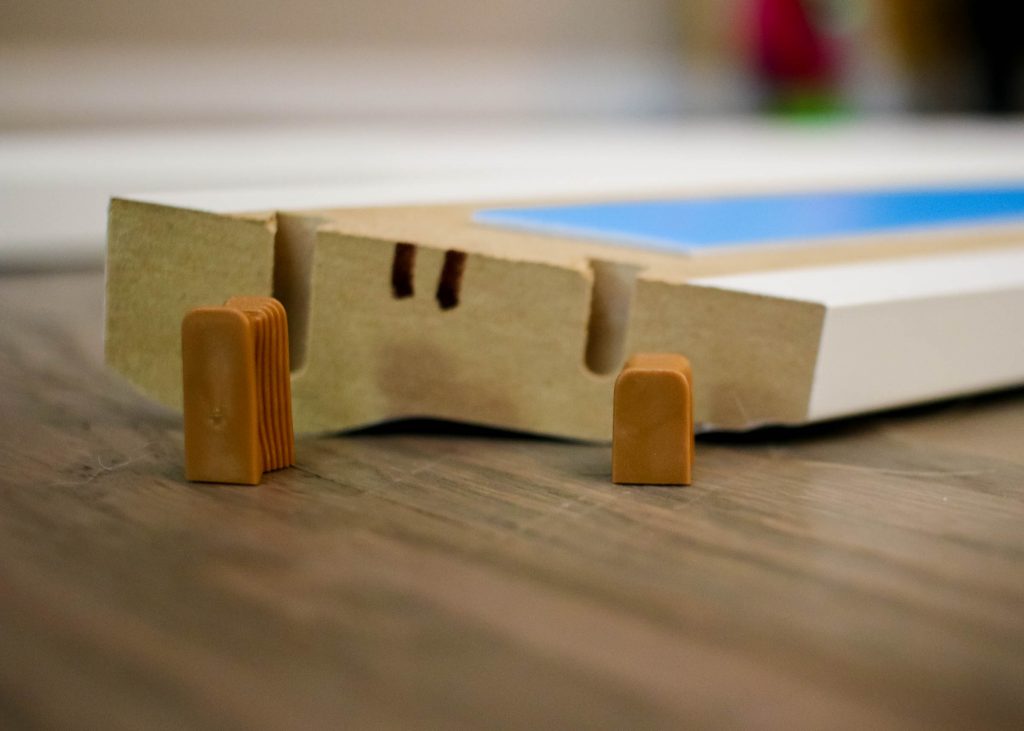
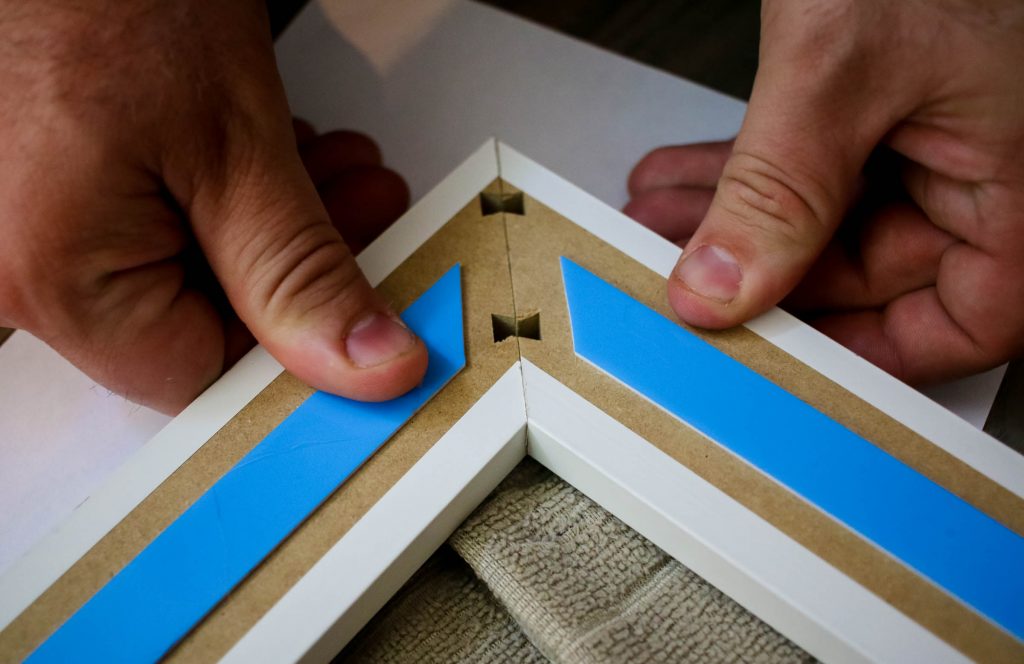
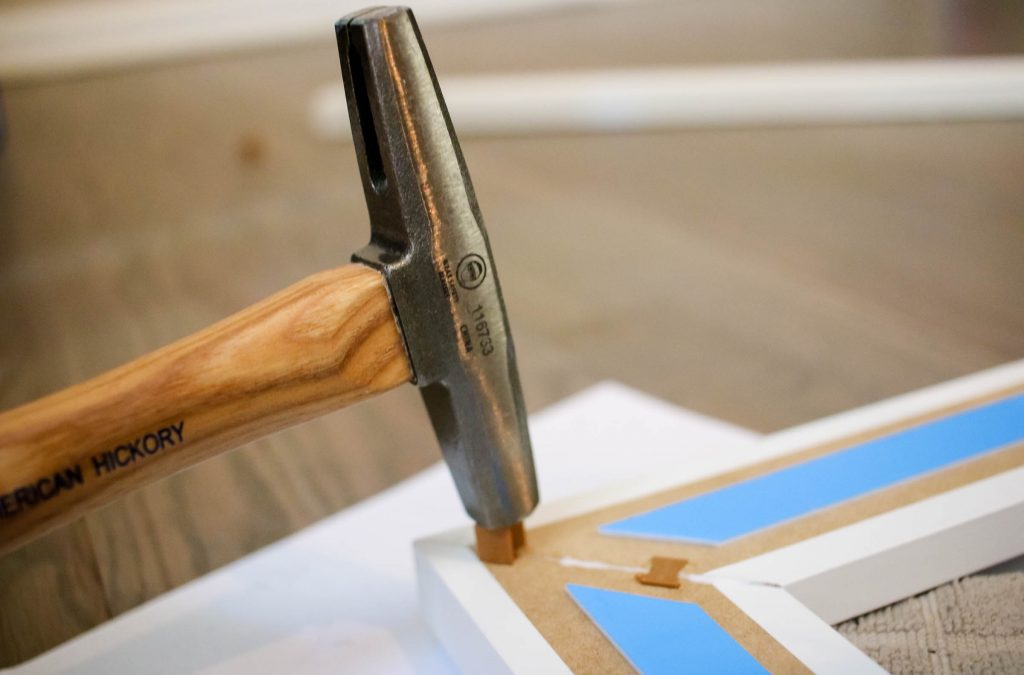
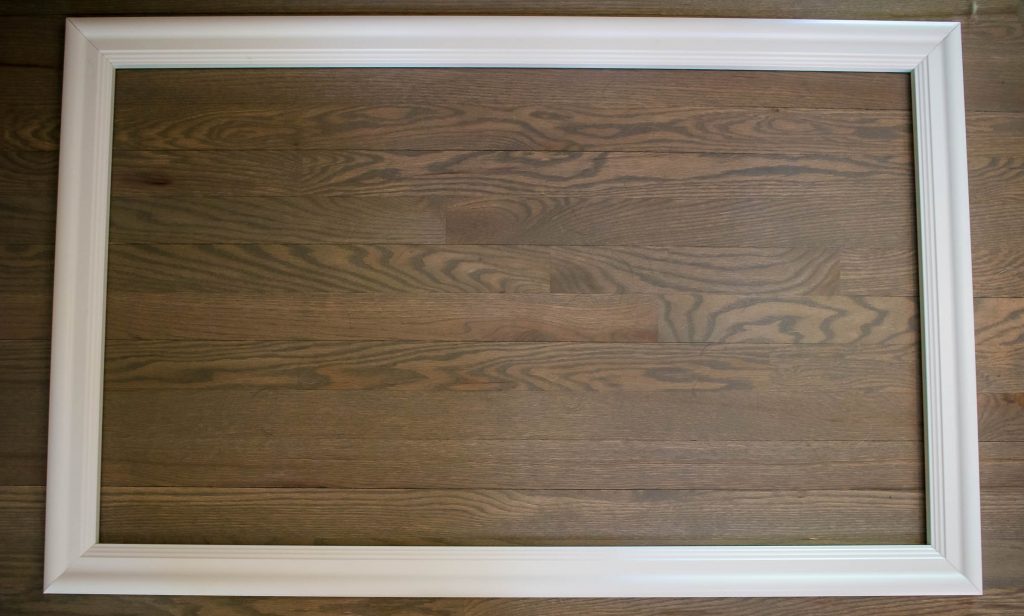
Shipping was quick [and free] and I was ready to put my DIY mirror frame together! Each piece arrives pre-cut with beveled pegs to lock the pieces together. The kit included everything necessary to assemble the frame, including wood glue. Assembly took around 15 minutes and recommended dry time for the glue was 3 hours.
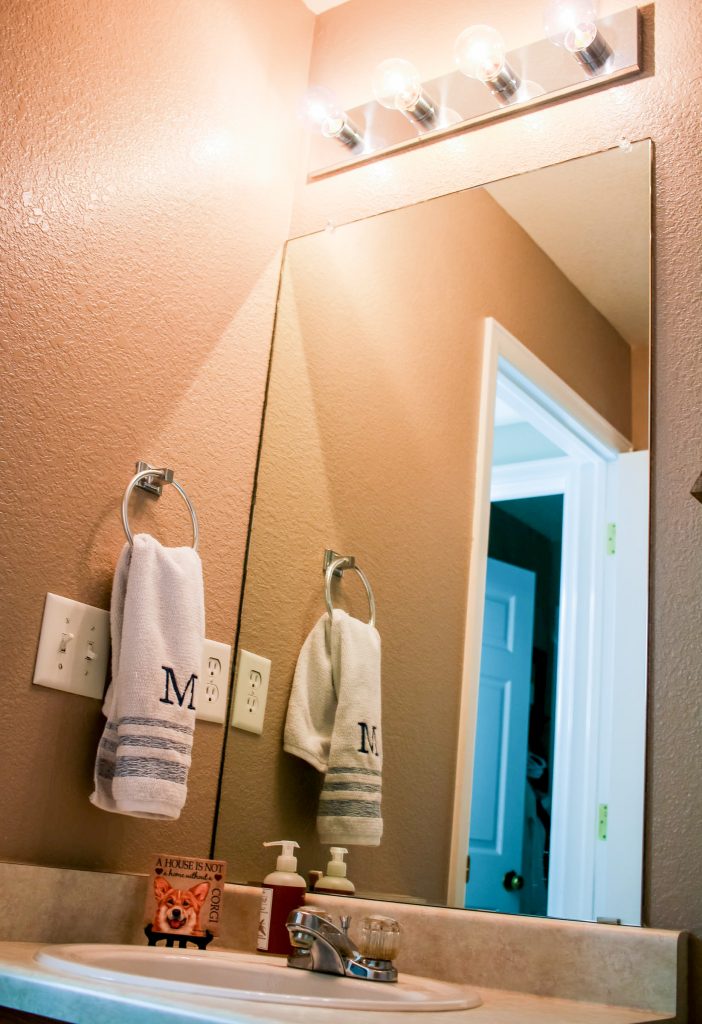
While I waited for the glue to set, I prepped my mirror. The original installers decided to place this mirror flush against the wall, which was both off-center and blocking an existing outlet. Since we were already going to swap out the plastic mirror clips for flush ones I moved the mirror over a few inches to the right and painted the wall to match the rest of the room. Once the paint was dry, I cleaned the mirror good with alcohol so the new frame would easily attach.
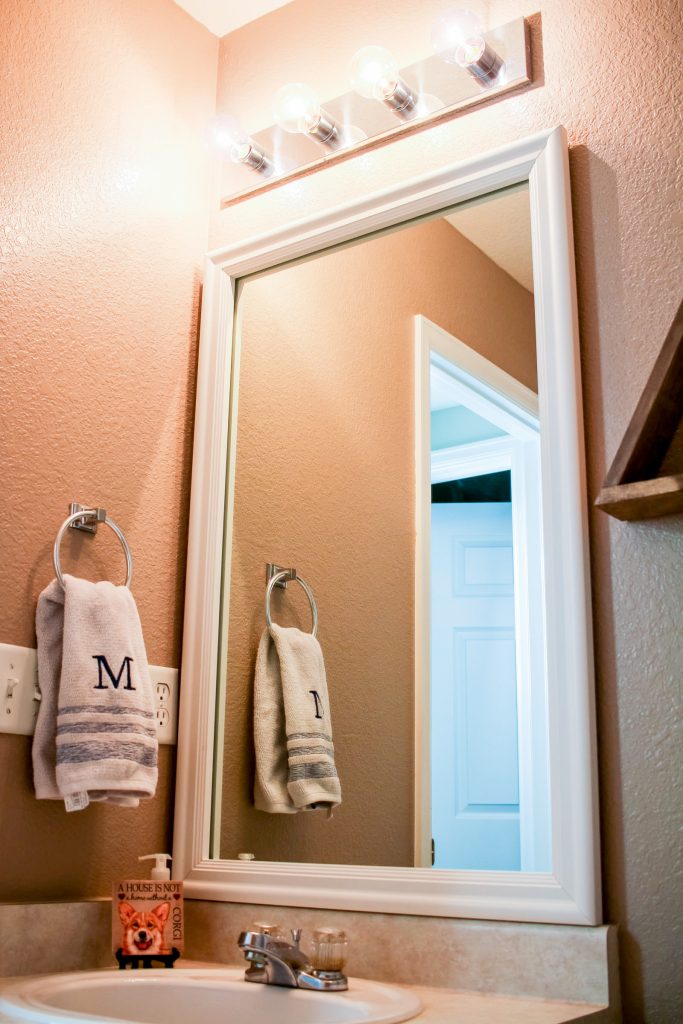
Once the glue had fully set it was time to install the mirror. The final step was removing the backing from the adhesive strip and affixing it to the mirror. We used a level to double check everything was aligned properly before firmly pressing the new frame up the to mirror.
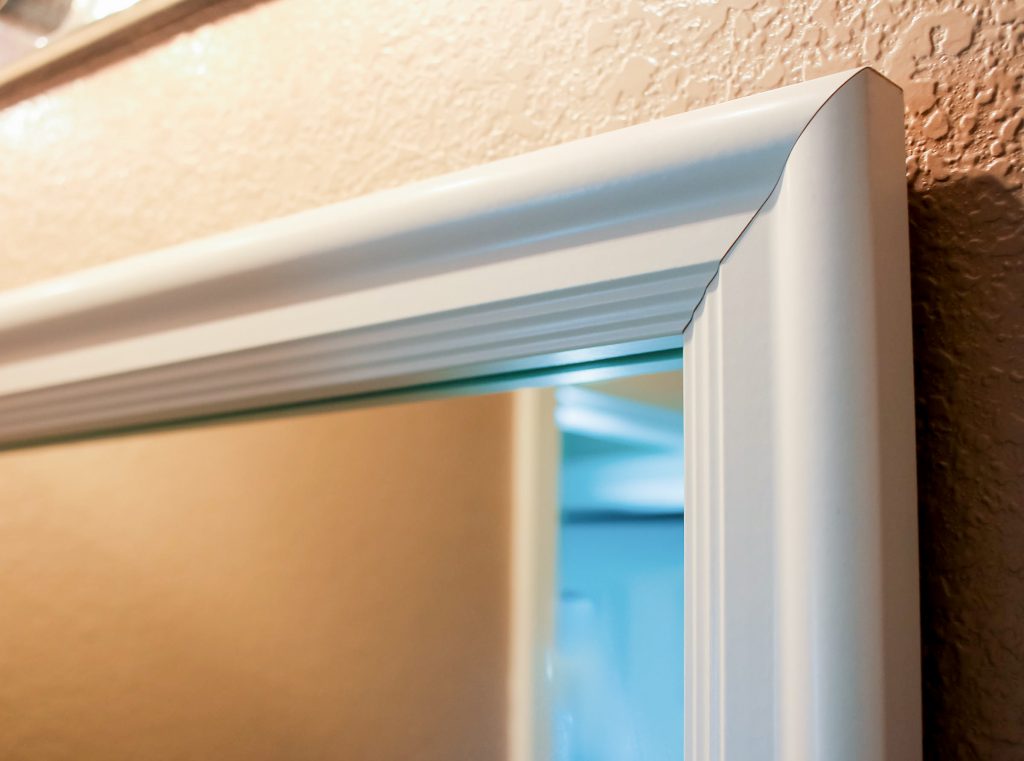
Outside of readjusting and painting the wall, the total time spent creating the DIY Mirror Frame was approximately 30 minutes. This was a super quick and easy home improvement project that made a huge difference in the style of this powder room!
Disclaimer: I received a product sample from Frame My Mirror® to facilitate this post. All photography and thoughts are my own.
Ê mấy ông iOS user, nghe nói có link tải 88vin ngon nghẻ cho iPhone nè. Test thử xem sao nha! Find it here: tai 88vin.link ios


3 Comments