
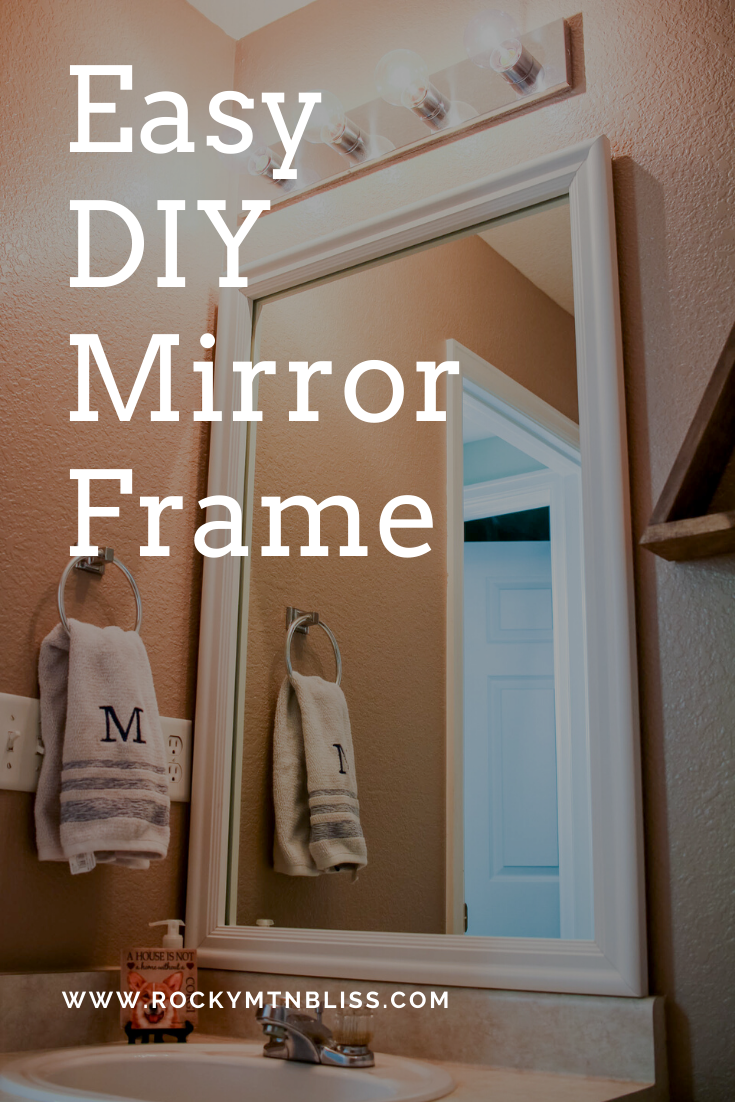
I’ve been looking for an easy way to freshen up our powder room and a DIY Mirror Frame from Frame My Mirror® was the perfect solution. Like most of the country, we’ve been under stay at home orders since March so home improvement has become the best way to keep busy.
When we were house hunting a downstairs powder room for guests was one of my must haves. Being able to keep a specific room always clean for visitors means less overall house work for me.

Our home was one of the models for the neighborhood, so we’ve lucked out with a lot of the added features you don’t see in every house in the neighborhood. With fun upgrades, the previous owners had not felt the need to change out much from the original builder grade materials. Now that the house is nearly 20 years old, those builder grade items look dated, especially the bathrooms.
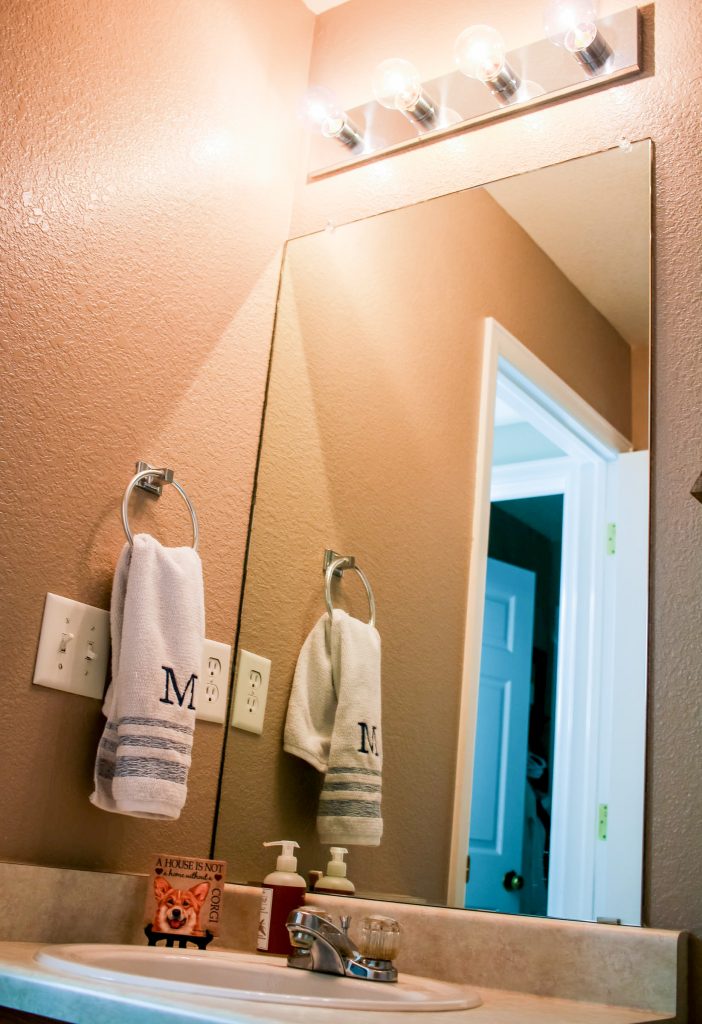
Plain oak cabinets, low quality lighting and a standard mirror means that the entire room is pretty much a blank slate. I might paint the vanity down the road, but I wanted to start off with a quick and easy DIY Mirror Frame to brighted up the room and add a modern feel.
Instead of buying specialty tools that I’d never use again to cut down molding I decided to use Add a Frame® from Frame My Mirror®. Add a Frame® comes custom cut and quickly assembles to create a professional and polished look on any mirror.
The first step was ordering samples to decide what finish I wanted my frame to have. I recently added a mountain shelf above the toilet, so I wanted something that would compliment that look. Each sample is a $1 and the shipping is free.
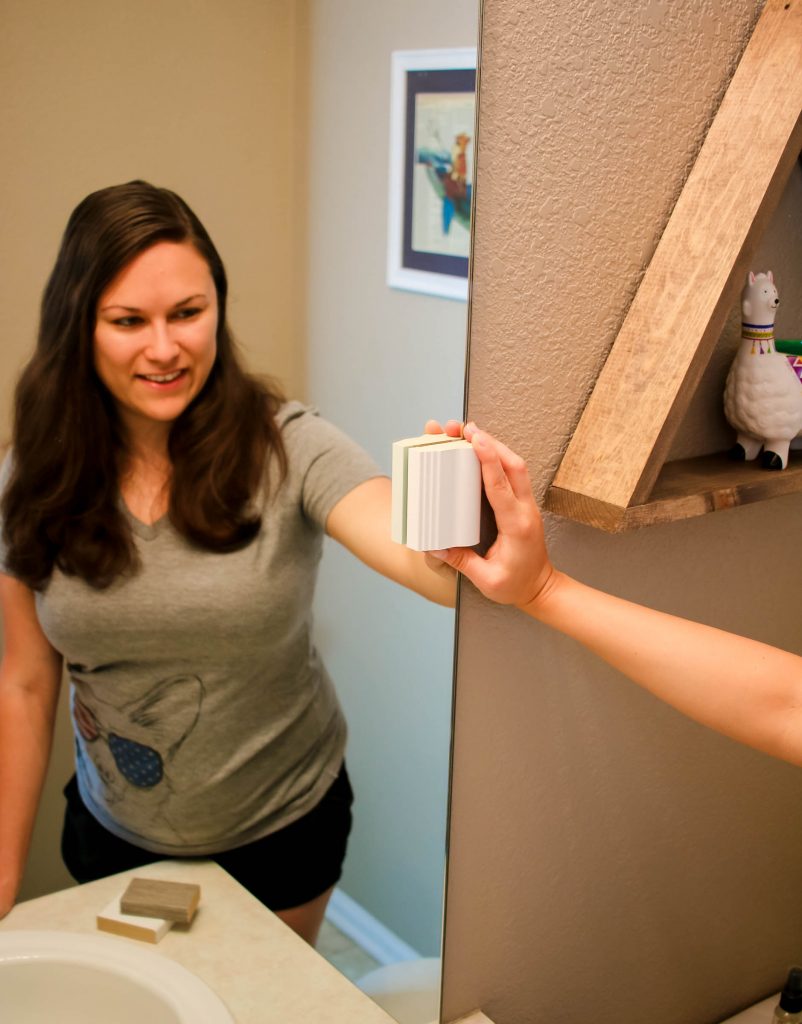
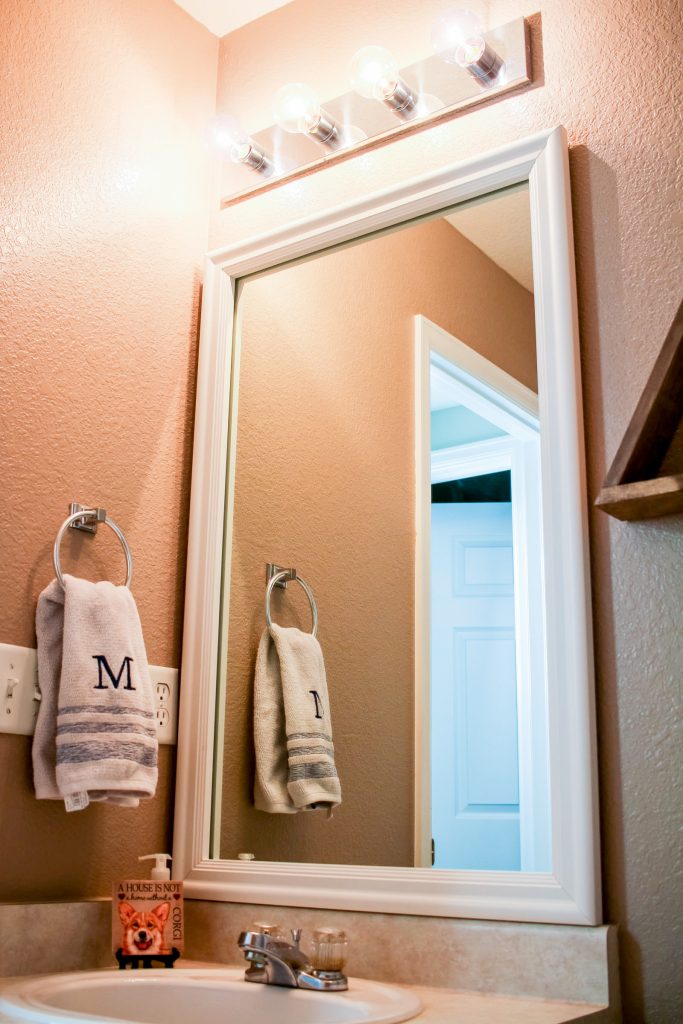
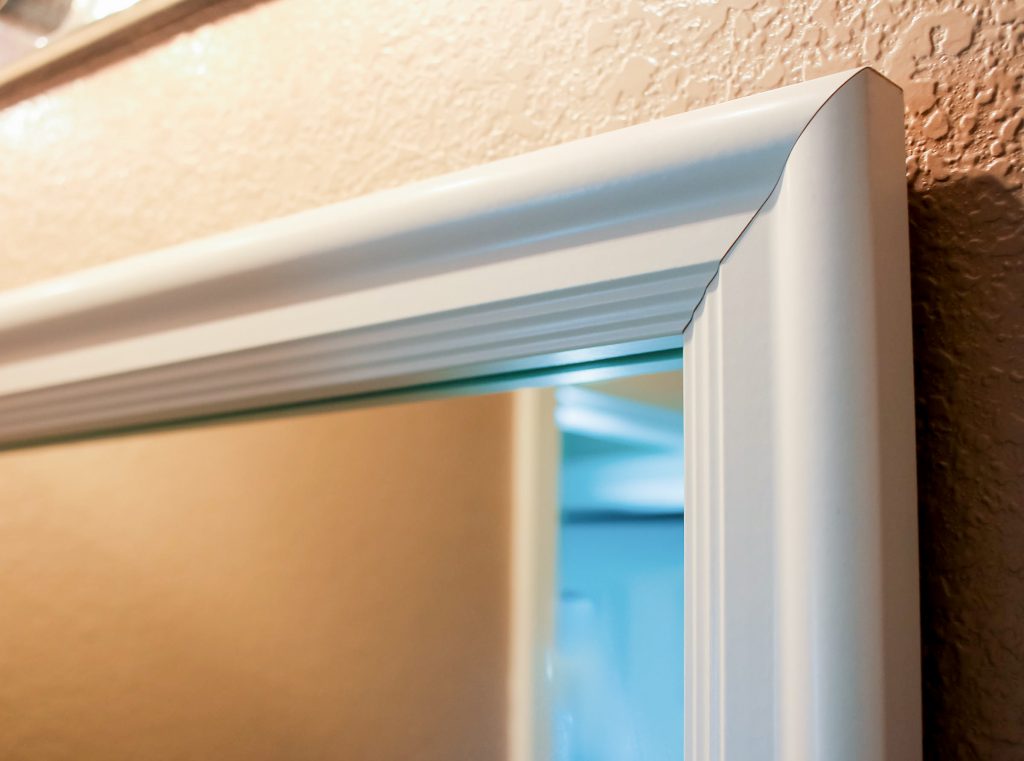
I ended up ordering samples of the Weston (Driftwood Textured), Upton (Rustic White), Carson Reverse (White). Once the samples arrived I decided that the Carson Reverse (White) was the best fit, with a good contrast against the existing bathroom shelf.
To order the finished frame I needed to carefully measure the existing frame and input the measurements to the Add a Frame® order system. During the ordering process you have indicate how far the mirror is from other objects [walls and lights] and notate if you have plastic clips or flush latches that affix the mirror to the wall.
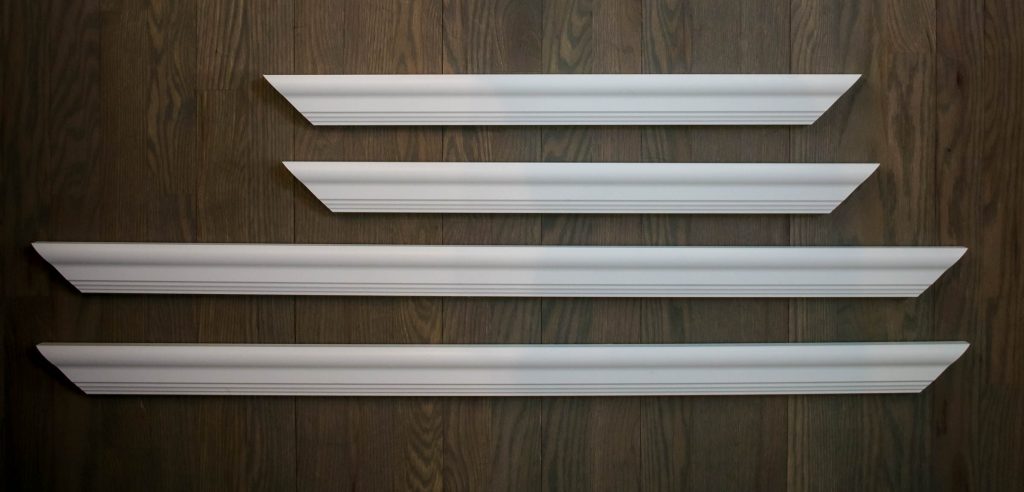
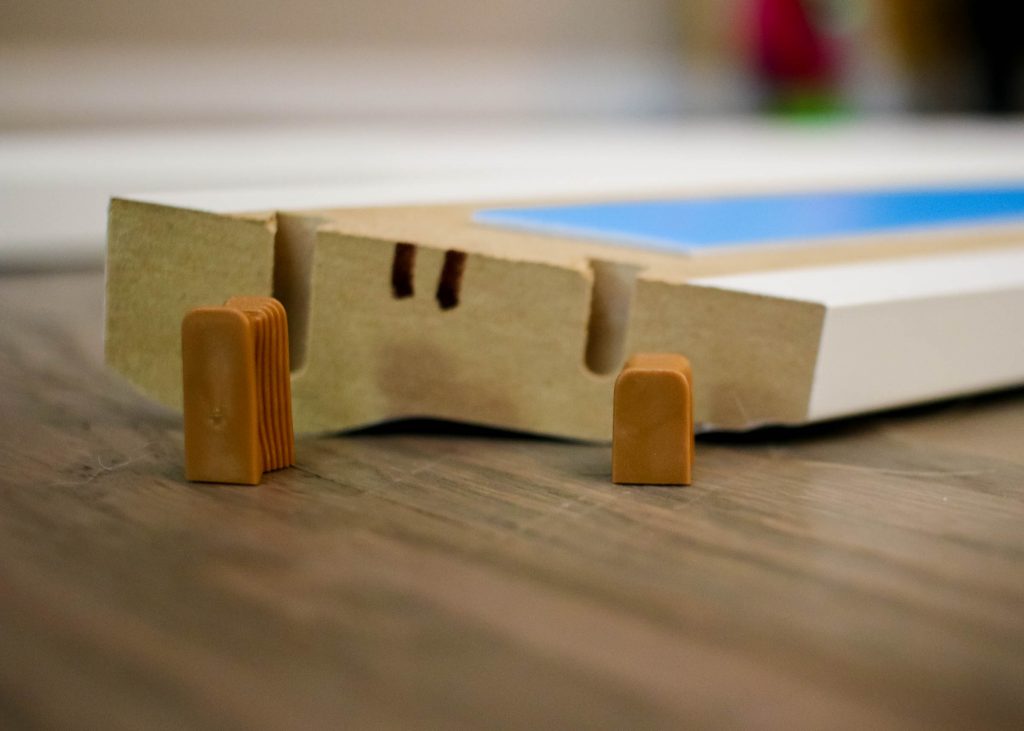
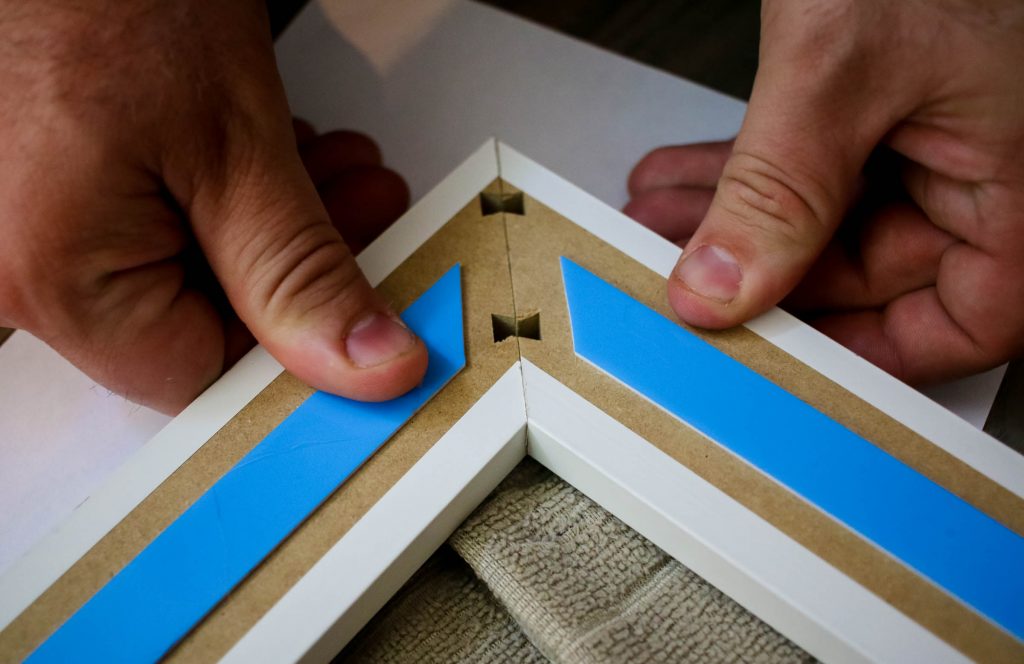
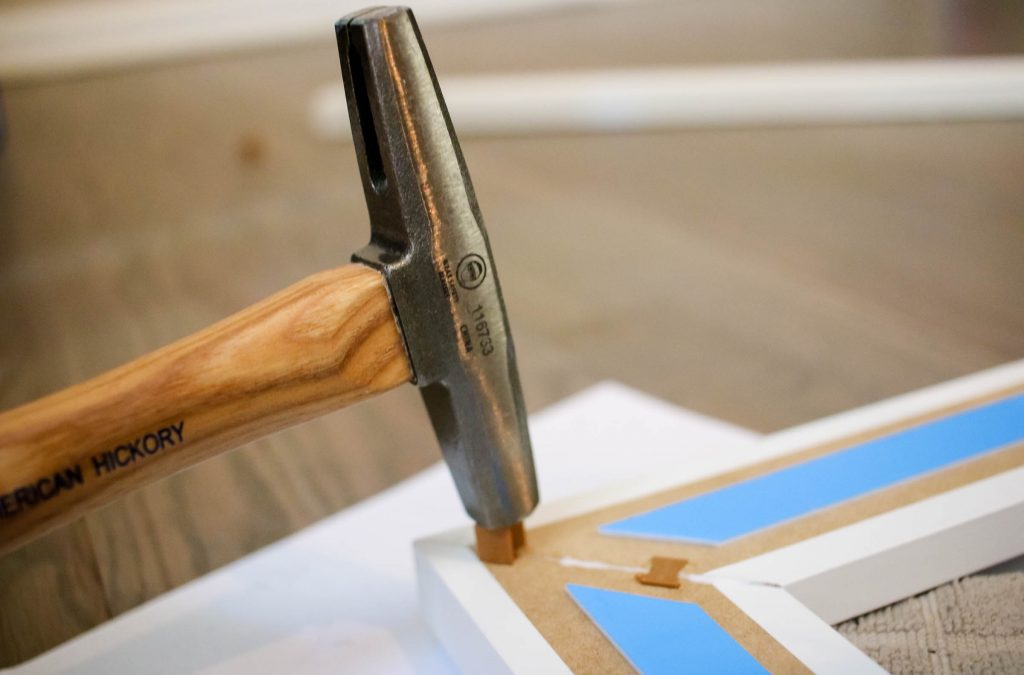
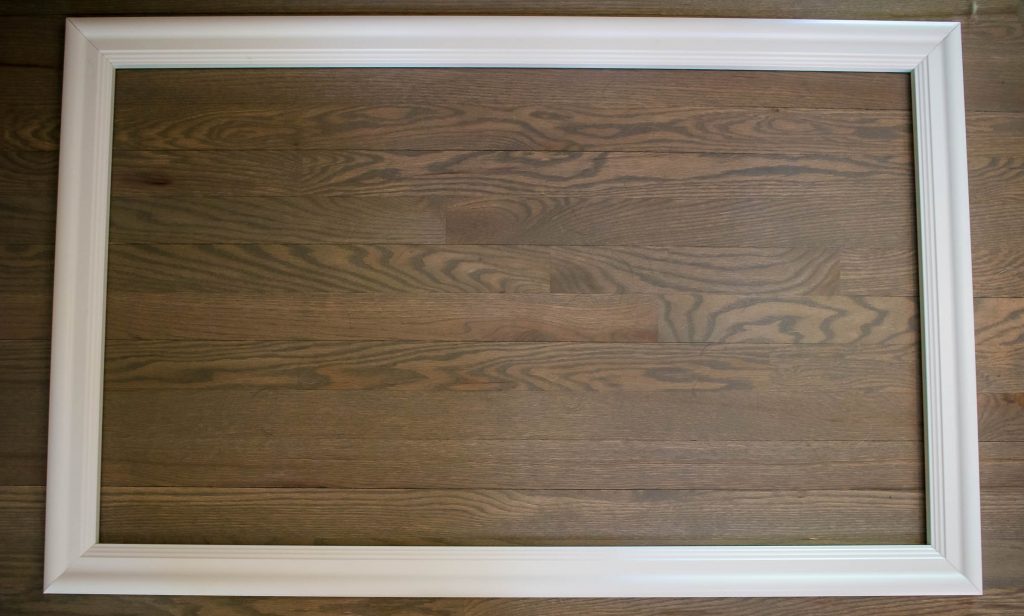
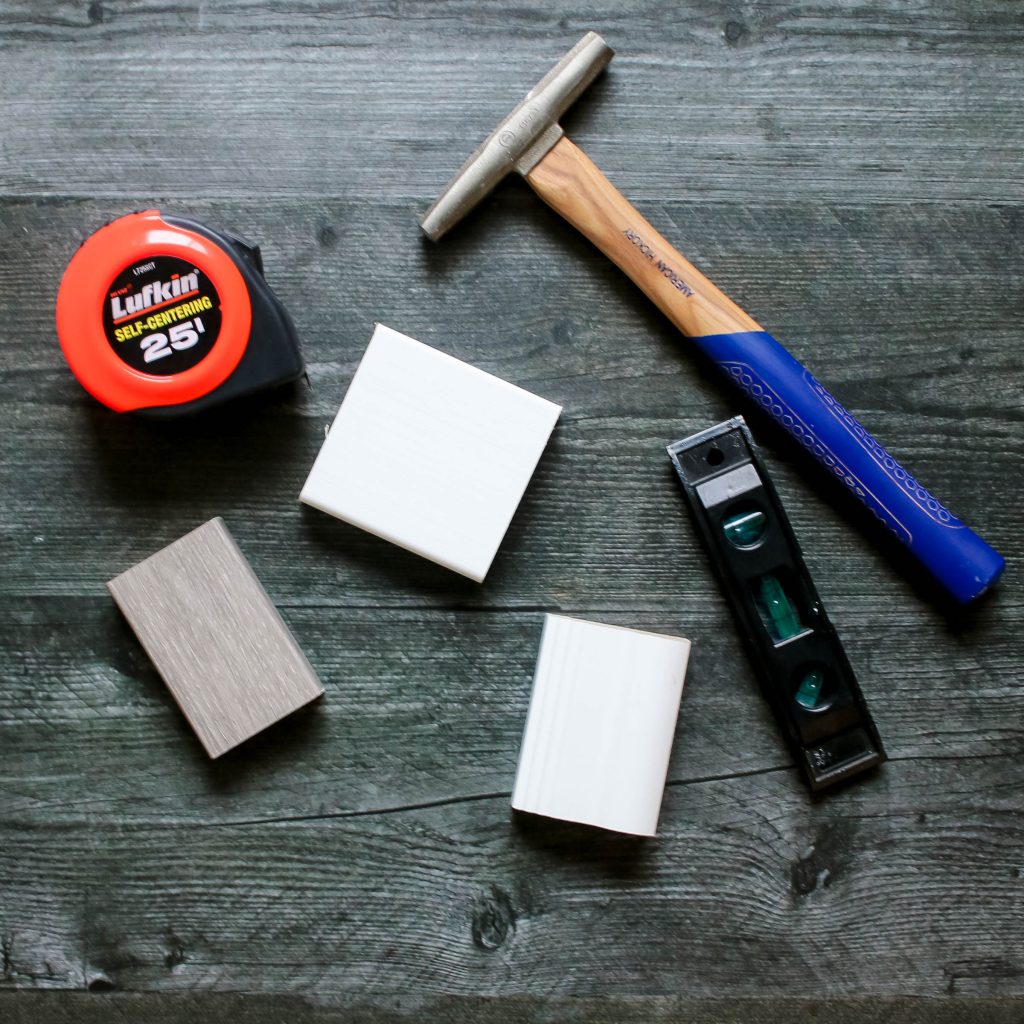
Shipping was quick [and free] and I was ready to put my DIY mirror frame together! Each piece arrives pre-cut with beveled pegs to lock the pieces together. The kit included everything necessary to assemble the frame, including wood glue. Assembly took around 15 minutes and recommended dry time for the glue was 3 hours.
While I waited for the glue to set, I prepped my mirror. The original installers decided to place this mirror flush against the wall, which was both off-center and blocking an existing outlet. Since we were already going to swap out the plastic mirror clips for flush ones I moved the mirror over a few inches to the right and painted the wall to match the rest of the room. Once the paint was dry, I cleaned the mirror good with alcohol so the new frame would easily attach.
Once the glue had fully set it was time to install the mirror. The final step was removing the backing from the adhesive strip and affixing it to the mirror. We used a level to double check everything was aligned properly before firmly pressing the new frame up the to mirror.
Outside of readjusting and painting the wall, the total time spent creating the DIY Mirror Frame was approximately 30 minutes. This was a super quick and easy home improvement project that made a huge difference in the style of this powder room!

Disclaimer: I received a product sample from Frame My Mirror® to facilitate this post. All photography and thoughts are my own.
Disclosure: I received a complimentary set of Mixtiles to inspire this article. All writing and opinions are my own.
Spending an abundance of time at home during the stay at home order has led to a lot of home improvement projects. It feels like no matter how long you’ve lived in a house, getting things hung on the walls is a chore best saved for another day. After staring at a blank wall for the last few weeks, another day became TODAY.
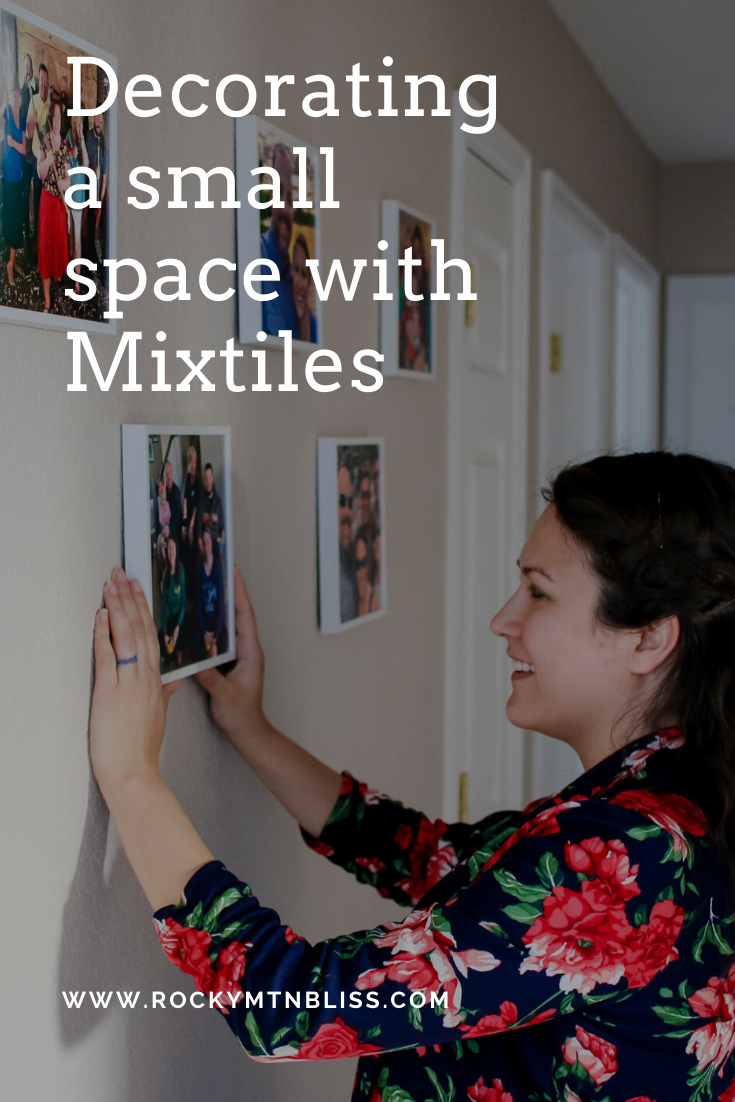
Our upstairs hallway needed something, but it’s too small of a wall to put anything large. When Mixtiles reached out with the offer to demo a set of tiles, I knew it was the perfect solution for decorating this small space in my home.
We live in a world where capturing memories is just a click away, but actually printing those images is a whole different story. I’ve been working on actually printing a photo book from our trip to Scotland last fall for nearly 8 months and if I’m honest I only got as far as uploading the photos from the trip to England 4 years ago.
I don’t know why, but printing photos is not my jam.
The multistep process of taking things off my phone or camera, uploading them somewhere, editing them and then ordering them is just something I can not wrap my head around. Luckily, Mixtiles is the perfect solution for that problem.

Designed for square photos their website makes ordering insanely simple. You can even download their app if you plan to order new Mixtiles on a regular basis. From your phone you can select from social media sites like instagram or upload from your actual device directly.
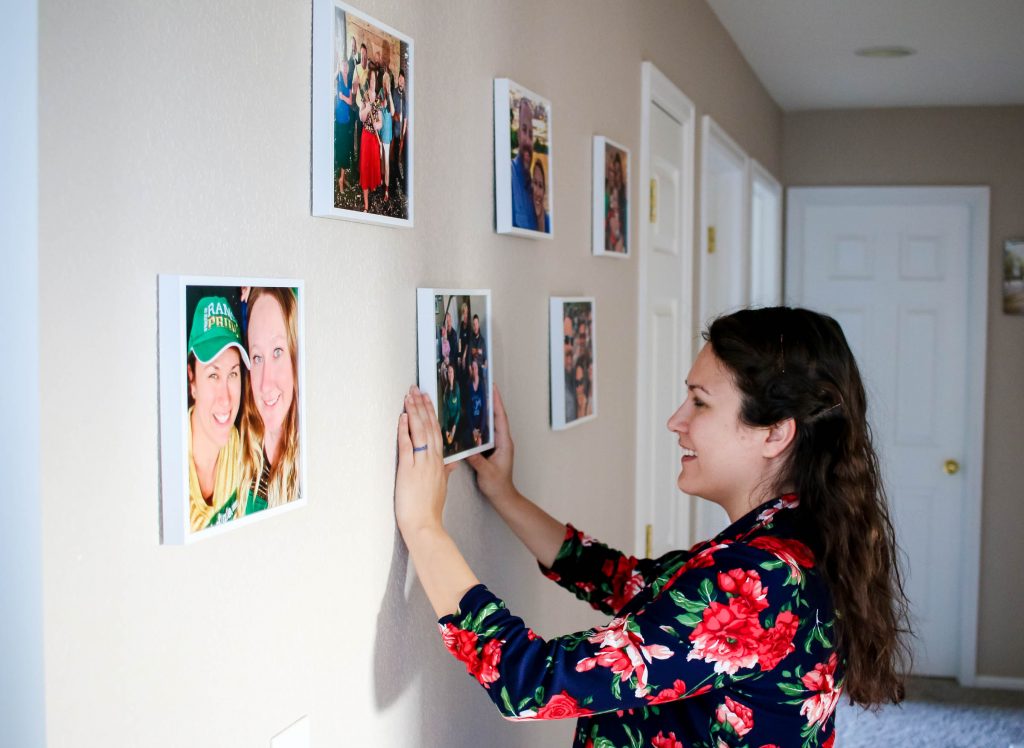
The first set of three tiles is $49 and each tile after that is $9 [Plus they have tons of sales]. Each tile is 8″ x 8″ and you can select from one of five frame styles to match your decor. I started off with five tiles and will be ordering more to fill up the wall later!

Throughout this hallway our door frames are all white so I chose the ‘Clean’ frame to give a consistent pop against the beige wall color.
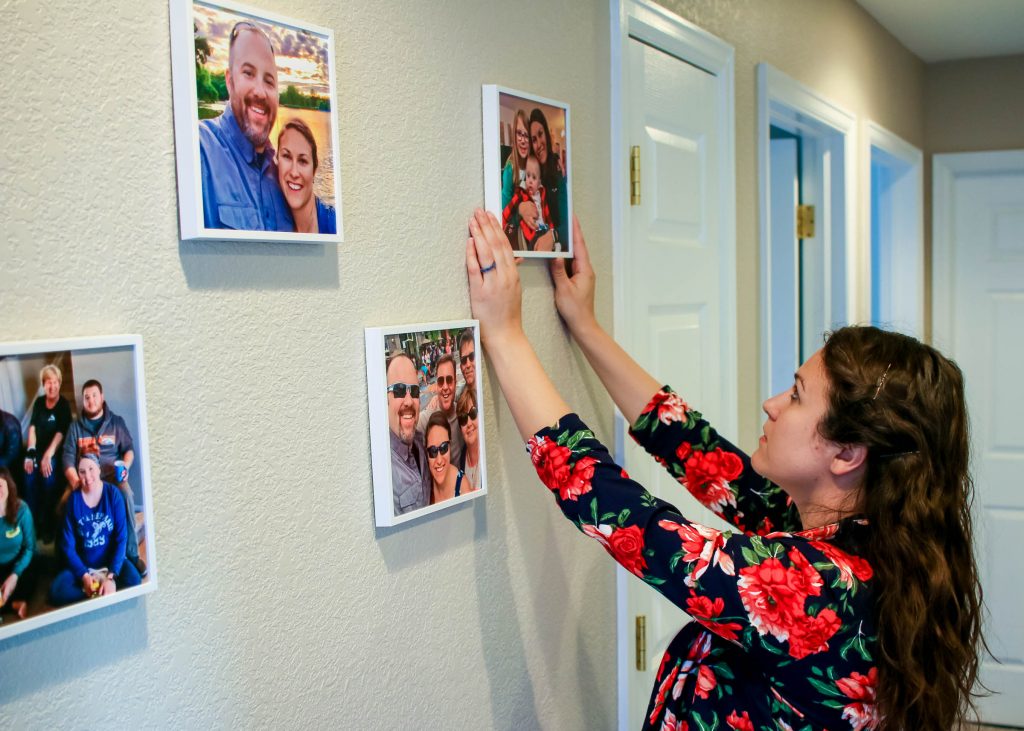
Each Mixtile comes with sticky tape pre-assembled to make installation super easy. It’s as simple as removing the backing and selecting where you want to place it on the wall. The tape is tacky enough that you can reposition with time when you add more tiles to the layout. Each Mixtile is lightweight, ensuring that it won’t damage your wall if you reposition them later.
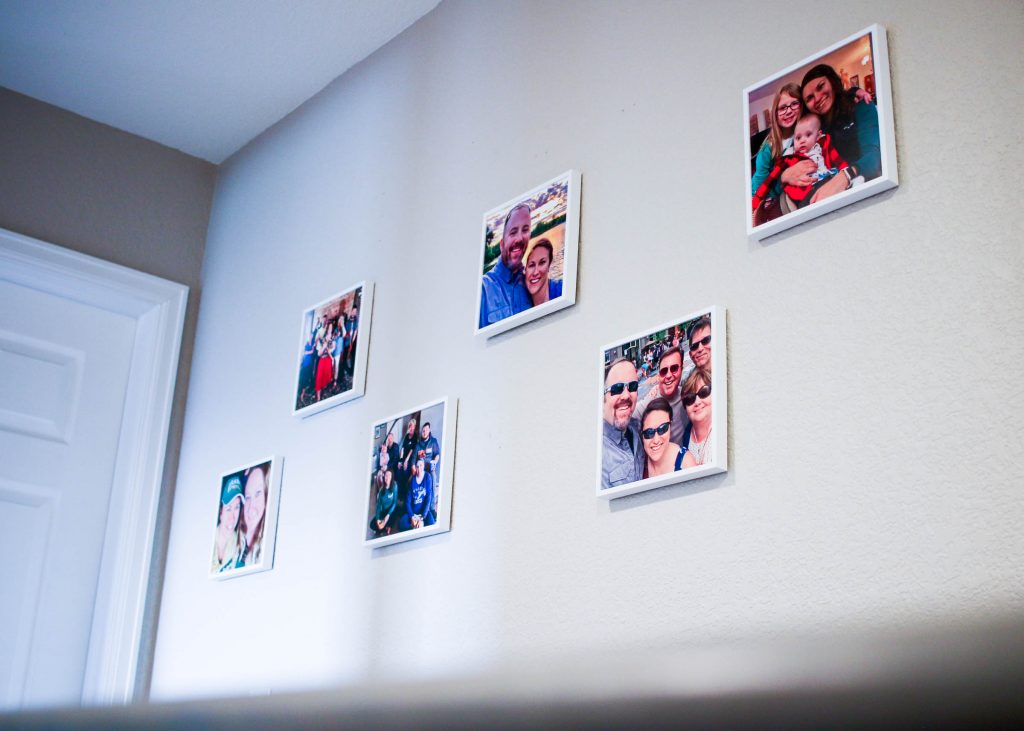
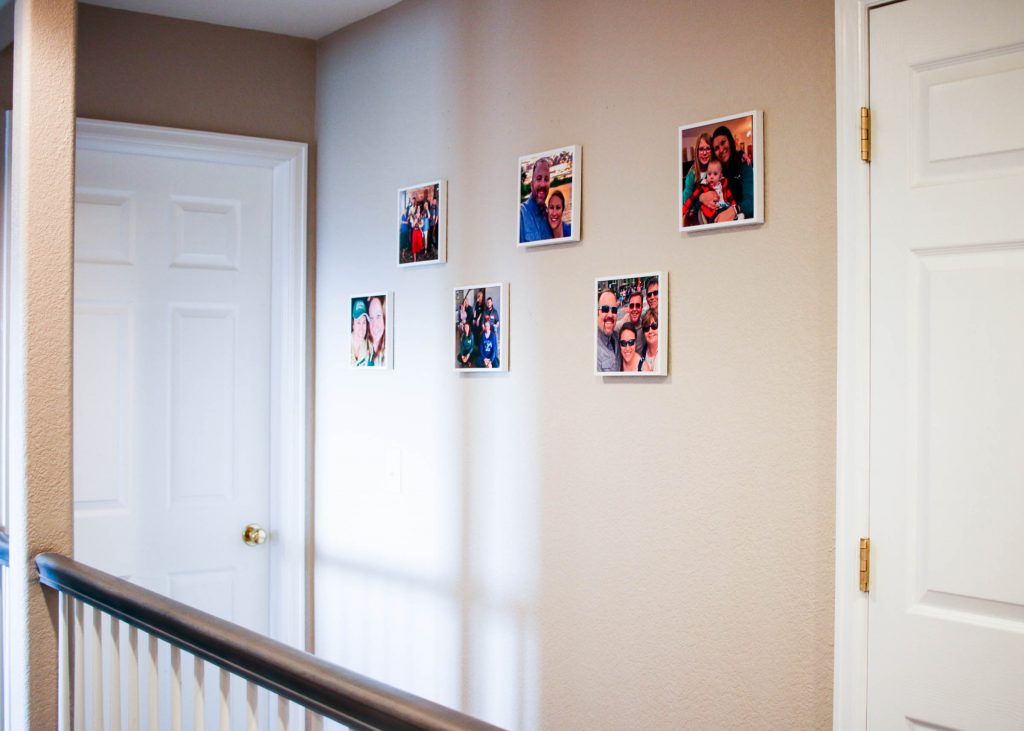
For a small space like this hallway, I love how the tiles add color and life into the area. Small spaces like this are difficult to complete a gallery wall look without overwhelming the space but Mixtiles makes it easy and provides all the clean lines you need for a polished look.
For more info about Mixtiles, visit their website or download their app to start decorating your small space!

With the new house it was definitely time for upgrading our window coverings. In our old home the master bedroom faced North and a few fabric blackout shades were fairly effective at keeping the home dark most of the day. Additionally at the time Drew was working swing shift, so total darkness was not really necessary to ensure he had a good night sleep.
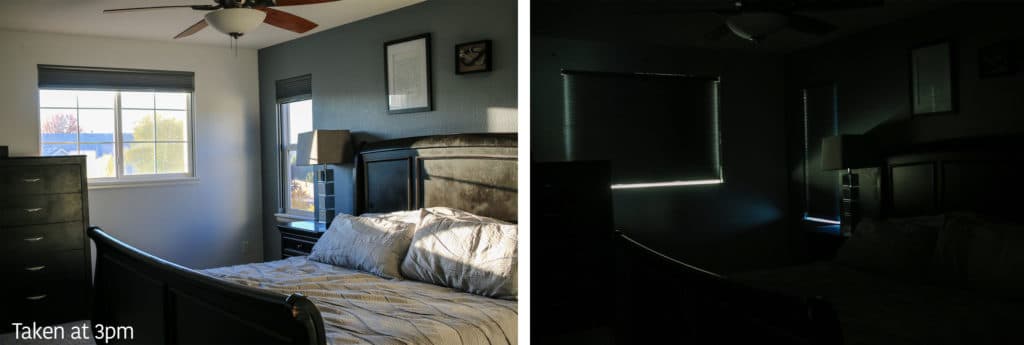
In the new house our master bedroom faces west. During the mid afternoon the sun coming throughout the windows is BRUTAL. From about 11 am on, the sun streams directly through the front window into headboard. Imagine trying to sleep with all that going on. Right after moving into the new house Drew’s shift moved from swings to graves. One of the top things that make being married to a police officer challenging is learning how to balance his unorthodox work hours against my regular 9 to 5.
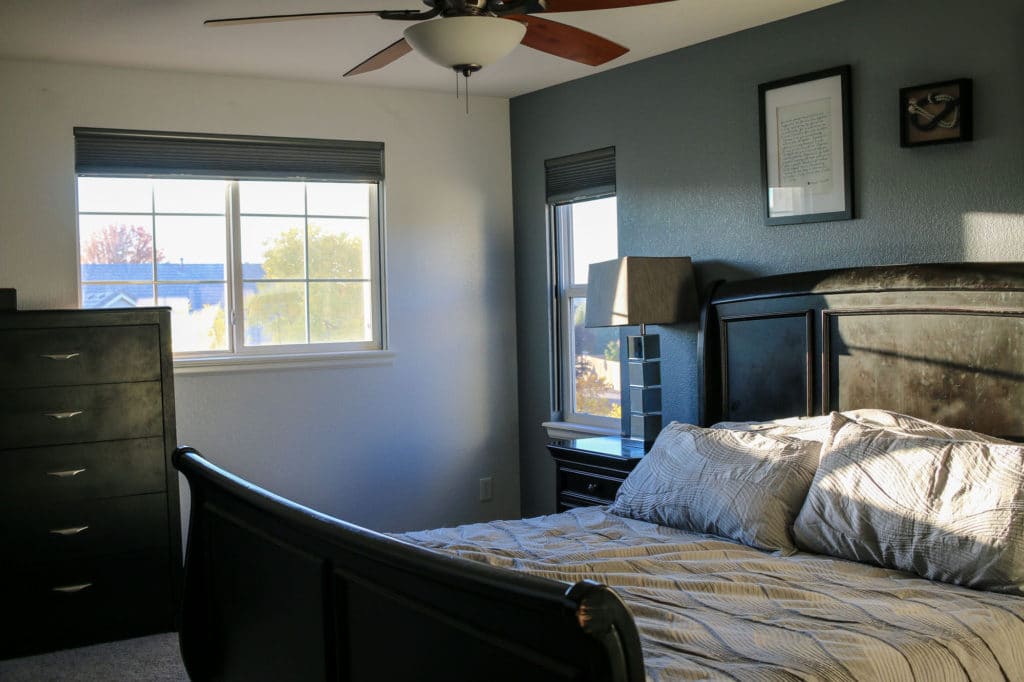
Our inverse working schedules mean we rarely see each other as is and when we do see each other we want to be able to spend that time enjoying one another’s company. Finding a blackout shade that would help Drew sleep better on the days he works means that he is better rested on days off and we are able to do more as a couple.
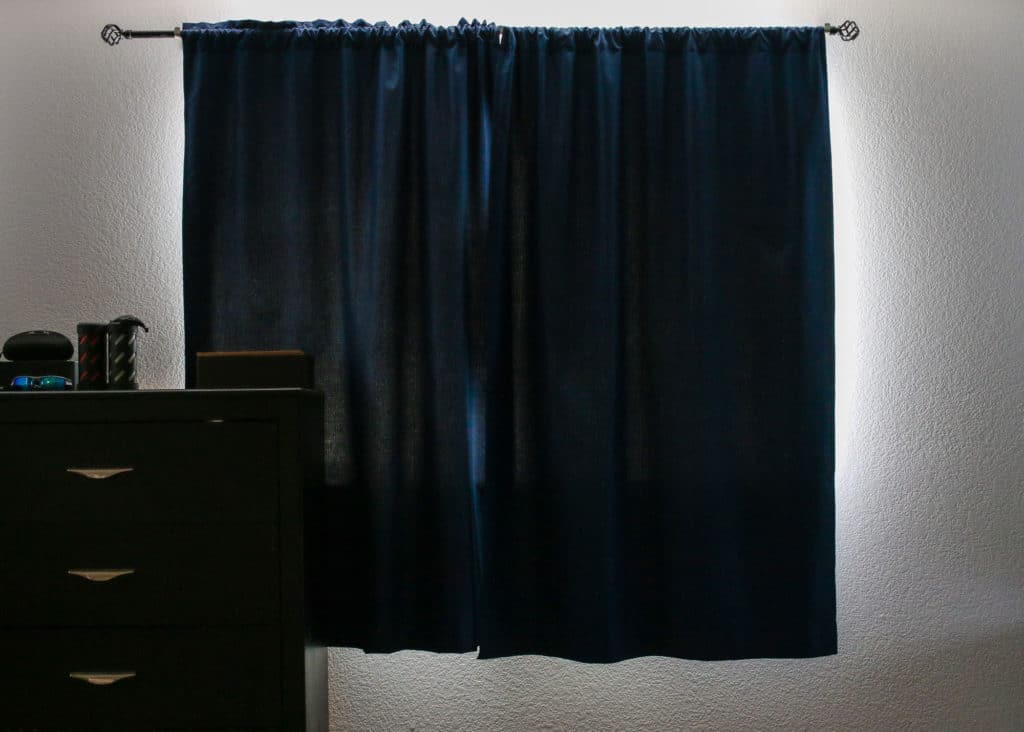
Old blackout shades
When I first learned about Comfortex I was fascinated by their ColorLux line that blends easily into popular paint colors. I want our bedroom to be a relaxing refuge, not windows covered with multiple layers of curtains that don’t appear to fit in the decor of the room. Once I started talking with one of the Comfortex sales team I learned that I could get not only blackout shades that match our paint colors but also ones that would block out 99% of the sun!
Comfortex SlumberShades are constructed with blackout cellular fabric and specially designed sidetracks lock the shade into place while absorbing additional incoming light. Each shade is custom ordered with the color you prefer and cut to fit your window perfectly.
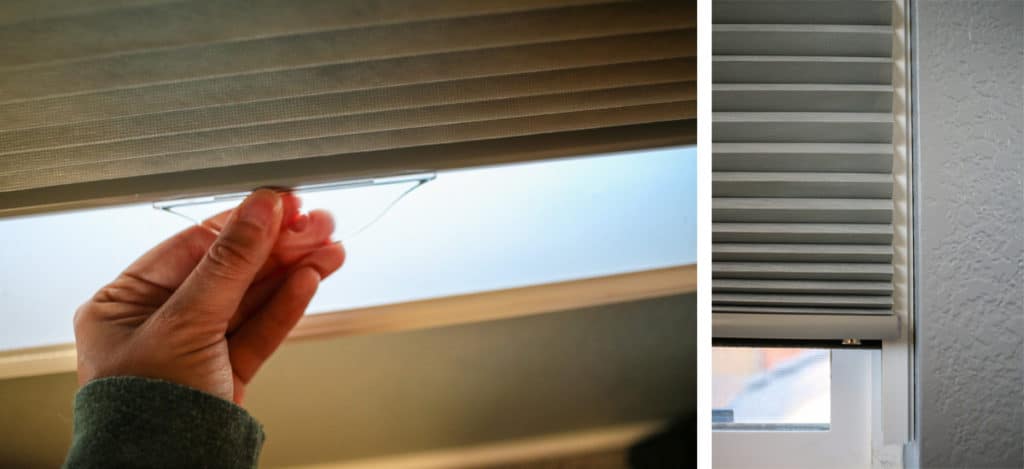
The best part is that they are super easy to install. Just remove the old window coverings and use a drill to place the mounting brackets into the top of the window frame. The SlumberShade locks in with a click and tracks need to be lined up in the middle of the frame. You can see the full installation video below, it really is that easy!
Now that we’ve had these installed for a few weeks, I love them even more. I love being able to sleep in on the weekends with the additional darkness and for Drew, SlumberShades have made a world of difference in his ability to sleep soundly during the day.
For workers on night shift or graves, these are by far the best blackout shades you can have in your home!
Interested in learning more about Comfortex SlumberShades and requesting a color swatch set? Use my custom link and let Comfortex know you read my review: http://info.comfortex.com/rocky-mountain-bliss .
Disclosure: I received a product sample from Comfortex to facilitate this review. All opinions and writing are my own.
Looking for other Police Wife Life tips? Check out my post on explaining how conceal carrying works.
![]()

When I first became a homeowner, decorating my porch for the holidays quickly became one of my favorite things do to. A door wreath is a fun low maintenance way to show off your personality and add a touch of decor that can be updated throughout the year. I’ve written about how to make a DIY Felt Flower Wreath in the past and now thats its been a few years, I wanted to change up my spring decor for something fresh.
Ever since seeing the movie Steel Magnolia’s I’ve been in love with Magnolia flowers but here in Colorado, they are hard to come by. Even at the peak of Magnolia season its rare to see them in the store.

When I came across this Artificial Magnolia Wreath on CommercialSilk.com I knew it would be the perfect refresh for my front door. The flowers and leaves are textured, giving the appearance of a live floral arrangement but ensuring that no matter how long they say on your door, they won’t wilt before the season is over.

I love how many layers of petals each flower has. This detail really lends to making a silk floral arrangement look more authentic!

The door wreath itself is very sturdy, ensuring that while its attached to the door it will hold up to the daily use of family and friends visiting our home. The colors add just the perfect amount of brightness to our otherwise neutral color palette and gives our home a fresh spring look.
Artificial plants are a great away to add some color into your home without adding the maintenance of a living plant. There’s no need to water, repot or keep the animals out of a silk fern making the the perfect option for anyone with a ‘brown’ thumb.
What are your favorite ways to jazz up your spring decor?