
When I first started Rocky Mountain Bliss, I laughed at the people who took photos of their food before eating it. Now, nearly five years into writing I completely understand and most of the time, have before that person.
I attended a fun class last summer about how to take food photos in restaurants and since then have had a lot of fun using both my DSLR and cell phone to capture beautiful plating and use available space to tell a story through a photo. A lot of people ask how I take the photos on my blog, so I wanted to share a few of the tips for both taking food photos out in restaurants and what I do when I’m at home.

Photos for recipes I’ve made are usually a bit easier, but can be complicated to put together. Staging recipe photos is really important and over the last few years I’ve amassed quite the collection of dishes, napkins and props that I like to use throughout my blog.
One of the things that draws me towards particular publications is a consistency of style and backgrounds. I try to create a similar look for most of the recipes I write on Rocky Mountain Bliss so that when people see my photos they know exactly where it came from. My style has evolved over the last few years, so I’ll share a bit about what’s changed.
When I first started blogging, I used my kitchen table and hardwood floors as my primary backdrop. I love the rich red wood look and it meant I didn’t need to clear off a lot of space to take a photo.
About two years ago I discovered faux marble tile and brought home a big 24×24 piece that I use for a lot of photos. I love this background, but honestly its SO HEAVY I hate hauling it out unless I have to. It’s not real marble, so I assume its made mostly of lead. I use it mostly for flat lays because there is absolutely no way I could prop it up as a background.
My new favorite backdrop is Medium Boards. Medium makes portable, professional backgrounds specifically for bloggers and photographers. I selected the Shiplap version because I love the clean white look and how bright it makes the star of the photo appear.

Medium Boards are lightweight and measure 28 x 22 x 1/5 inches. Each board is printed in high resolution on rigid PVC board so I can easily transition from a flat lay to a backdrop without rearranging my entire studio so I’m up against a blank wall.
As a food blogger, my favorite thing about Medium is that they are non-reflective and easily wipe clean. I don’t have to worry about little spills because Medium boards were specifically tested for red wine, coffee and bbq sauce. How amazing is that!
At the end of the day, learning how to take good recipe photos is alot of trial and error and an investment of time. I’ve taken hundreds of food photos and I wouldn’t begin to call myself an expert but I can see how much I’ve grown over the last several years.
Disclaimer: I received a product sample from Medium to inspire this post. I was not compensated in any way and all opinions and ideas are my own.
We’re three weeks into the new year and if you are like most people, losing weight or being healthy is probably one of your resolutions. If you feel like you are struggling already (or gave up entirely) you aren’t alone. One of my goals for 2018 is to eat out less and cook more (ultimately to eat healthier) but its hard to think of new recipes and not get into a rut. Luckily a couple of new cook books just came out that are perfect for helping stay on track with my resolutions.
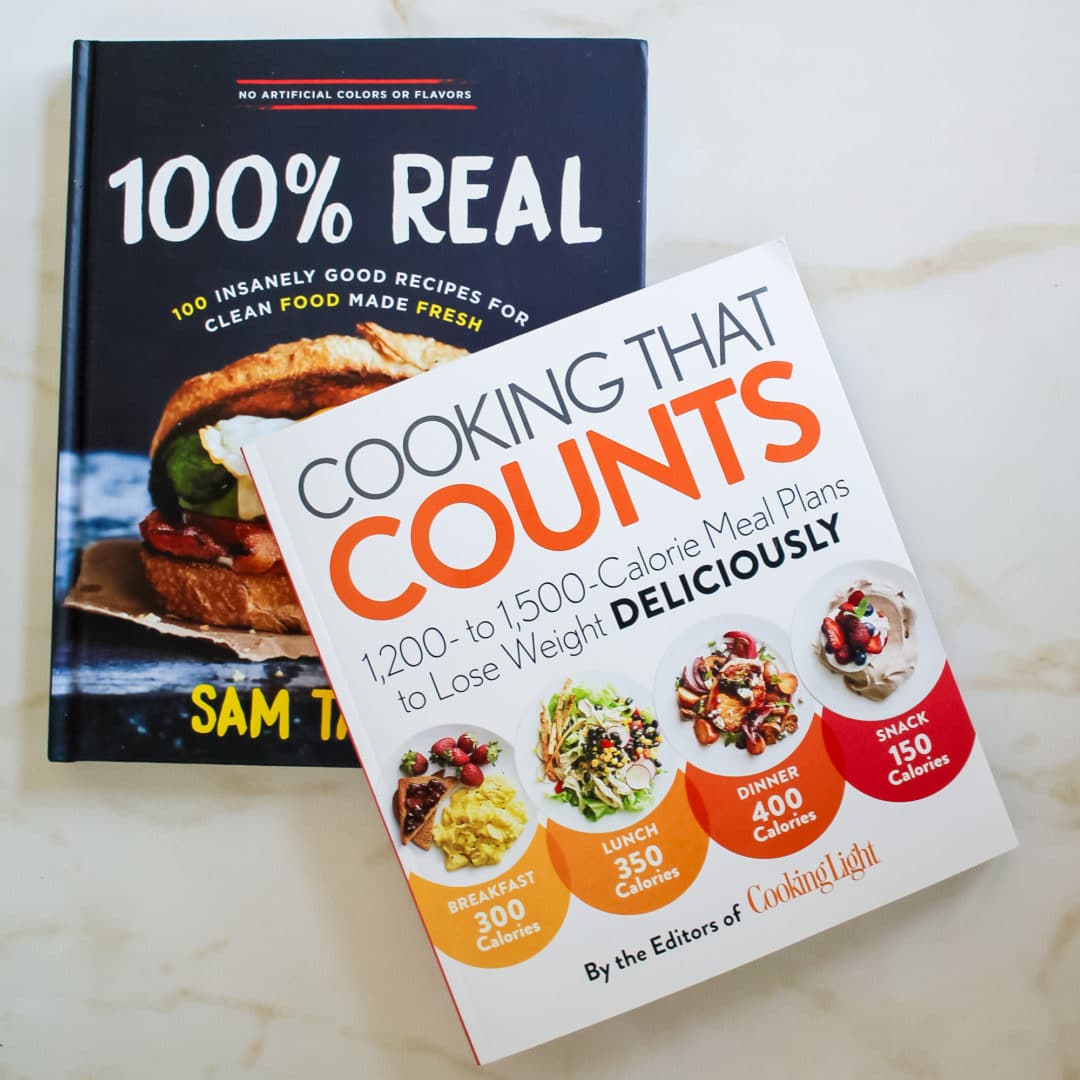
From the editors of Cooking Light, Cooking that Counts is full of easy to make recipes for every meal of the day. Even if you aren’t a fan of calorie counting, being able to easily see what proper potion sizes are and which healthy swaps are helpful to eat better, makes this cook book the perfect way to start off the year.
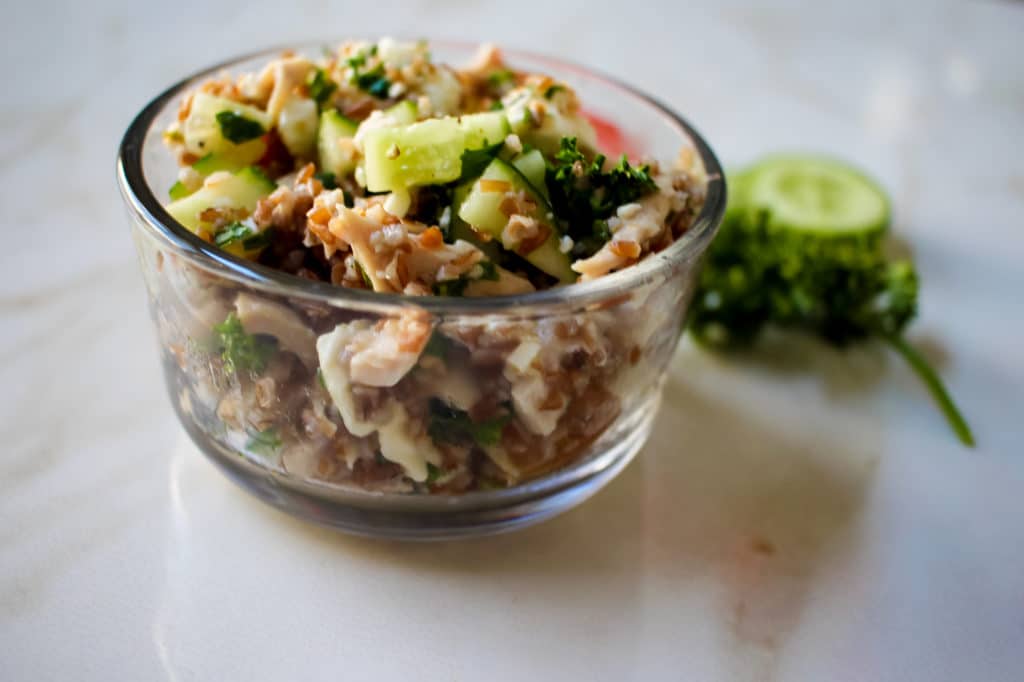
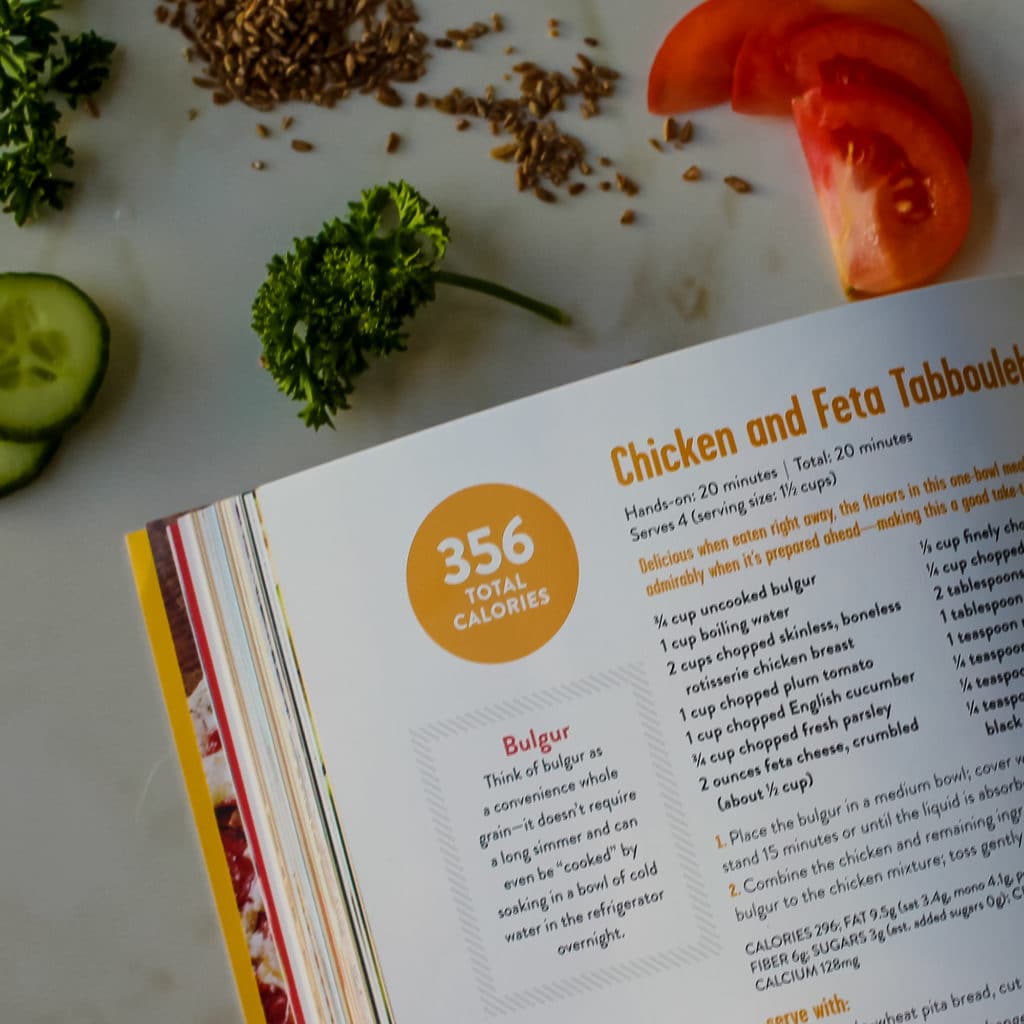
I’ve been working my way through the Lunch section and use my Sunday evenings to prep lunches for the week from their recommendations. My favorite so far is the Chicken and Feta Tabbouleh. With greek inspired flavors and the whole grain bulgar as much of the substance of the dish, this recipe is perfect for weekday lunches and helping expand my palette.
Shop for Cooking that Counts on Amazon.
When someone tells you the solution to eating healthy is eating clean, it doesn’t mean you need to wash your produce better. Clean eating is using wholesome, natural ingredients to make delicious and hearty meals.
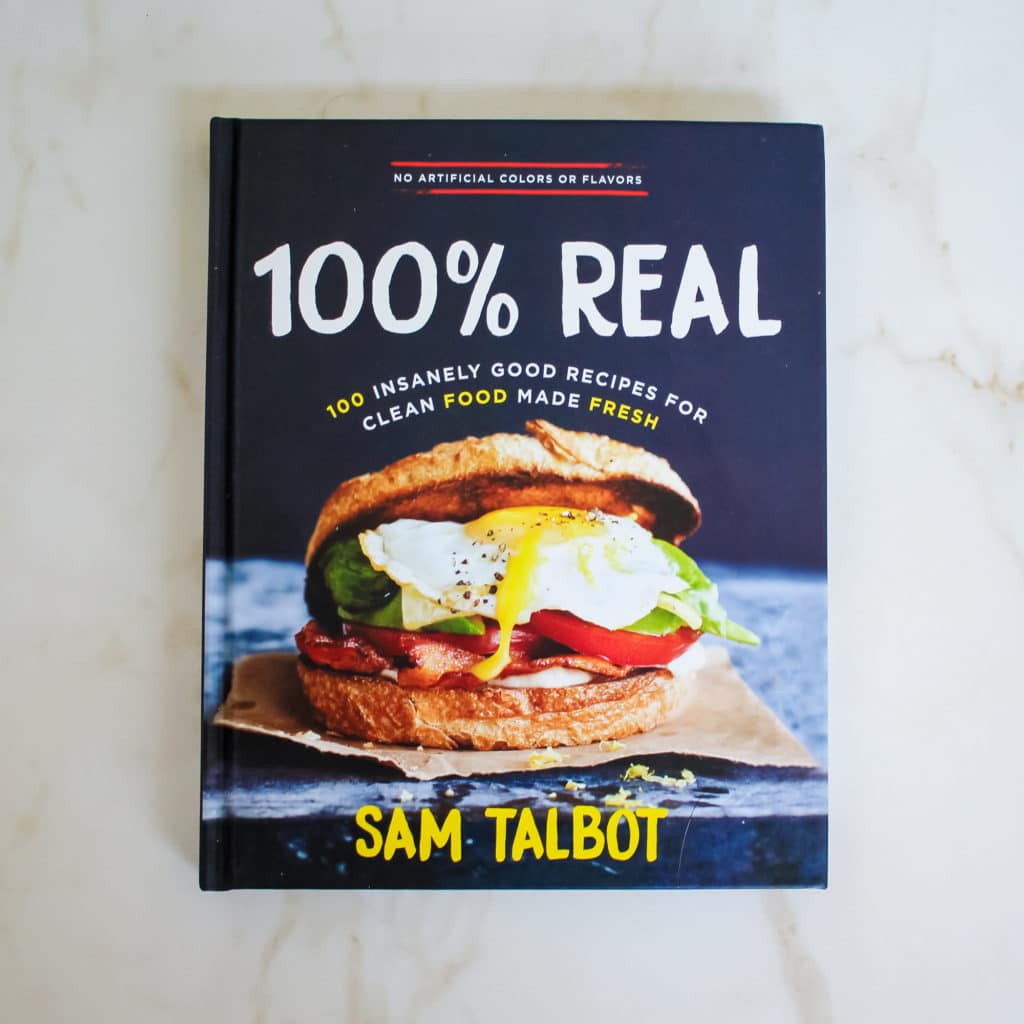
Written by chef Sam Tabot, 100% Real features 100 recipes perfect for working towards a healthier lifestyle in 2018. Throughout the book, Tabot shows how to substitute healthy ingredients without sacrificing any of the things you love about food. There’s even a whole chapter featuring sweet treats that are taste almost too delicious to be healthy (but they are).
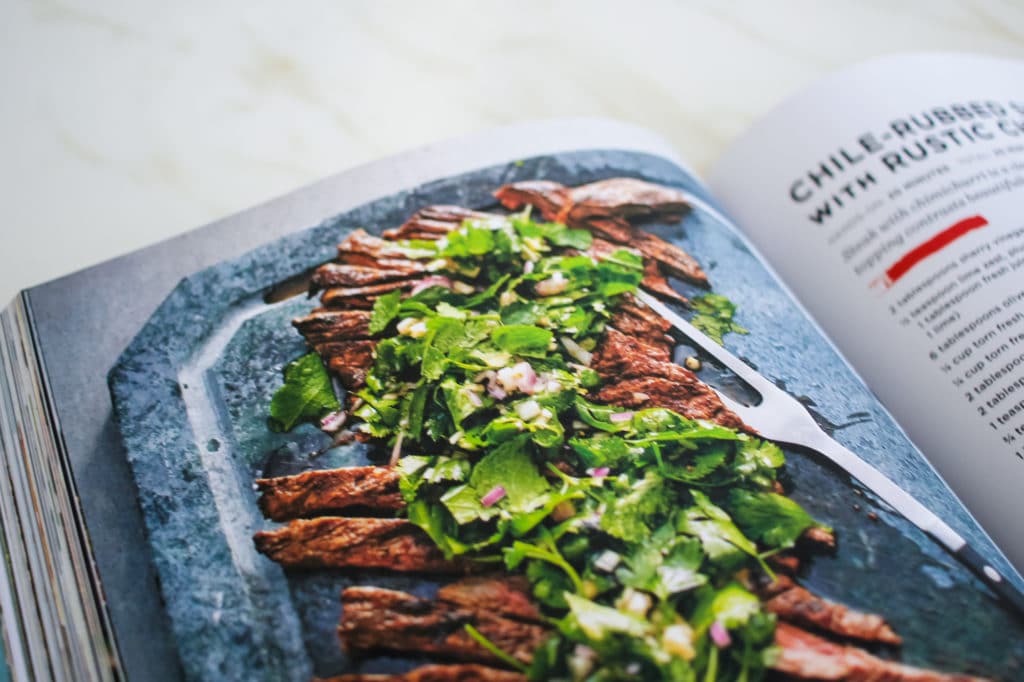
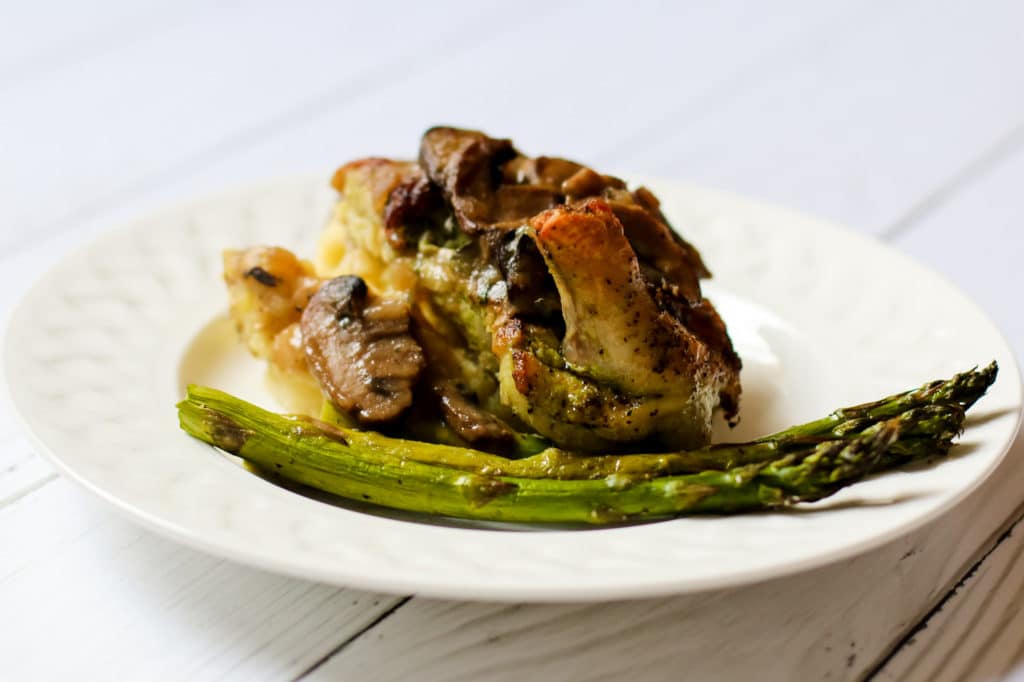
I love cookbooks with beautiful full color photos and this is one of my favorite parts of 100% real. The beautiful photos make the food come alive and show how amazing good food can look and taste.
What healthy cookbooks are a must have in your kitchen? Let me know what some of your favorites are in the comments!
Disclaimer: I received review copies of both these cookbooks as inspiration for this post. All thoughts and opinions are my own. Amazon links are affiliate and will support the production of this website.
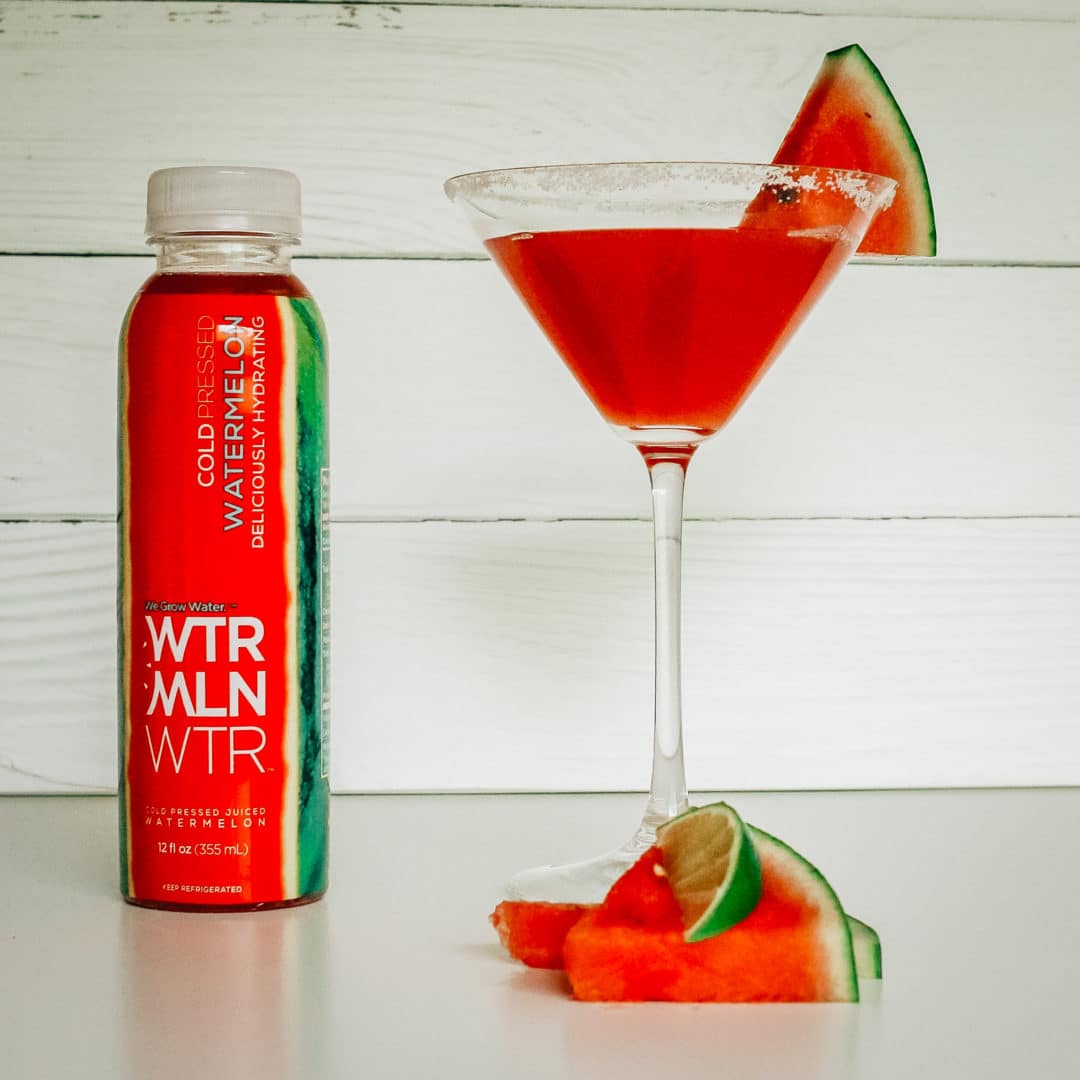
I went to college in Fort Collins, and one of my favorite places to go for drinks was Ma’s Juice Bar. The bartender [Ma] was hilarious and her mojitos were strong AND delicious. Many a college weekend was started (and sometimes ended) at Ma’s with a spiked fruit smoothy followed by a round of mojitos.
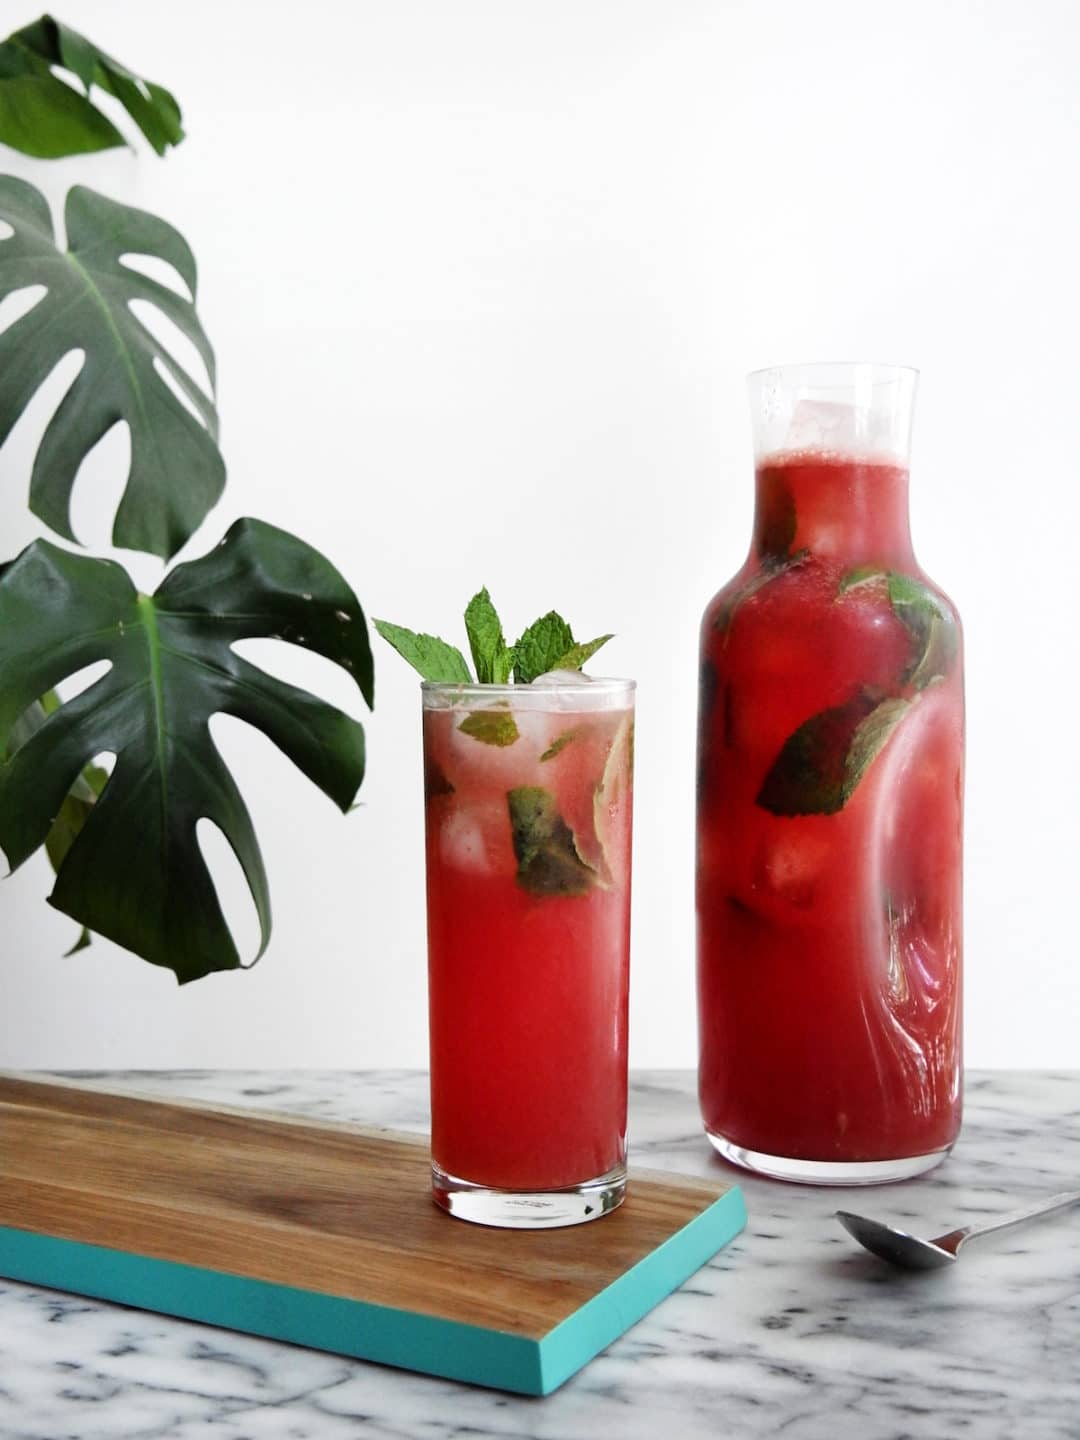
This recipe reminds me of Ma’s watermelon mojito, with less calories and can be made strong as you’d like. I love how refreshing this easy sparkling cocktail recipe is! Just puree the fruit together and add your liquid ingredients.
INGREDIENTS
In a blender, puree the watermelon and lemon juice. If you’d prefer to not have any fruit chunks, strain before adding to your pitcher. I personally think a bit of watermelon adds to the cocktail, but thats totally up to you.
Add mint, vodka, and Essence of Lemon Lime then stir. Serve over ice and garnish with fresh mint.
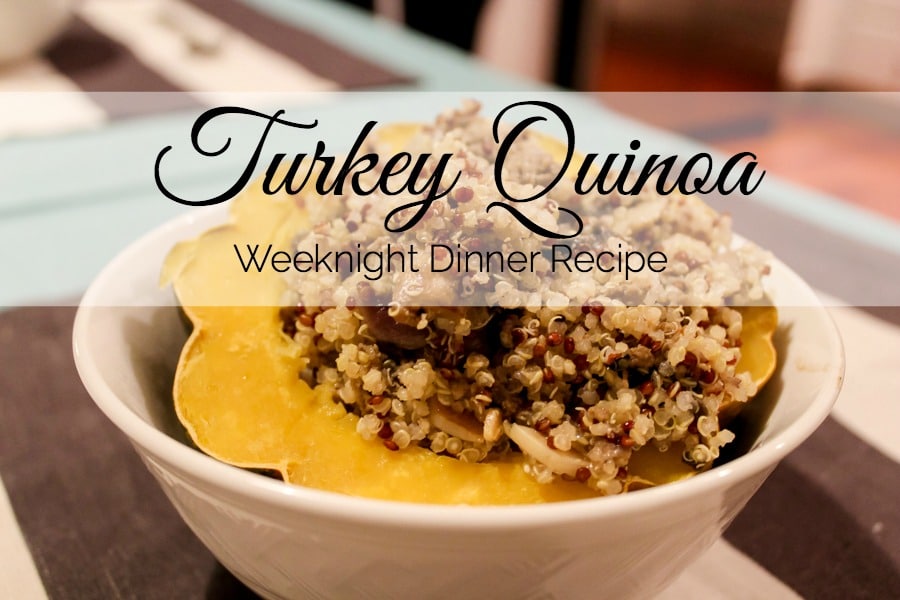
Quinoa is one of my favorite bases for an easy weeknight recipe. High in protein and low in carbohydrates, quinoa cooks up just like rice and is a great substitute when you are looking to eat healthy.
This Turkey Quinoa recipe is one of my go to weeknight dinners and the left overs are perfect for serving up throughout the week as lunch.

If you plan to use your turkey quinoa to fill acorn squash, you need to start the squash right away. Acorn is my favorite, but you could also use butternut or even bell peppers if you aren’t in a squashy mood.
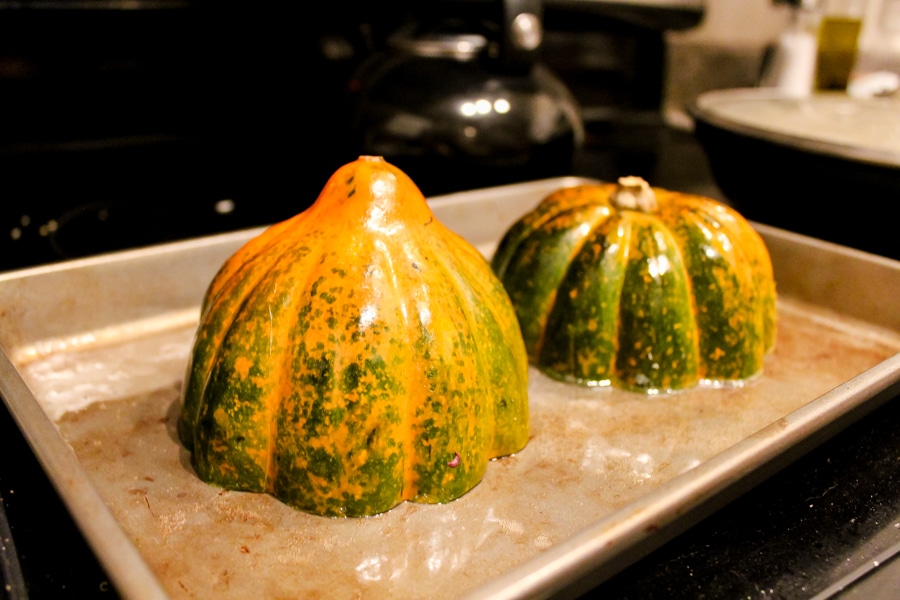
Cut the squash in half and remove the seeds. Place upside down on a small baking tray and add 1/2 cup of water. Heat the oven to 400 degrees and place in the oven while you prepare the rest of the recipe.

Quinoa comes in a couple of different colors. They all taste the same to me, so I like to mix them for a bit of variety. Two cups dry quinoa makes about 3 cups cooked.
Start a pot boiling with two cups of water and two cups of chicken broth. Add the quinoa and put a lid on the pot. Turn to low.
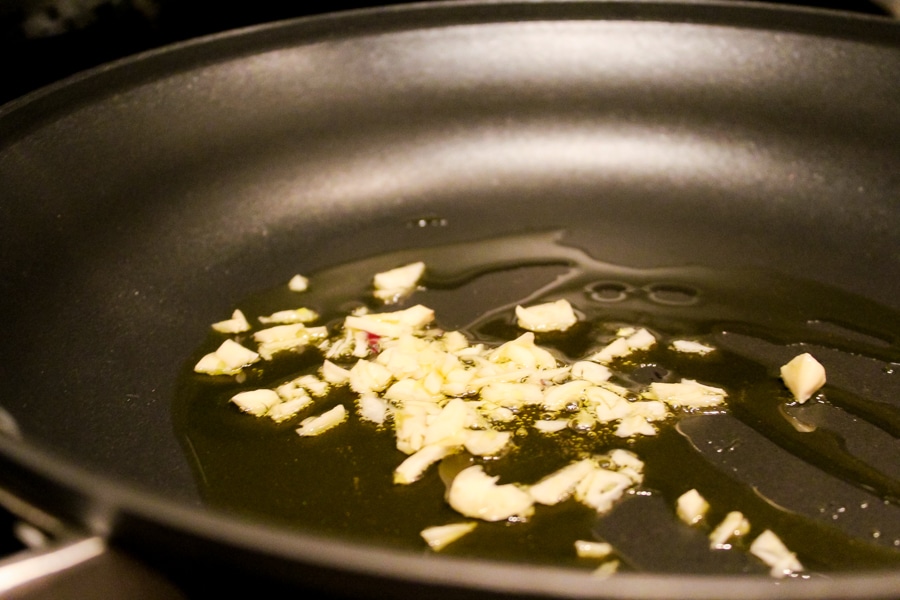
Heat 2 tbs olive oil in a In a large frying pan and sauté 2 cloves of garlic and 1/2 of cup of red onion.
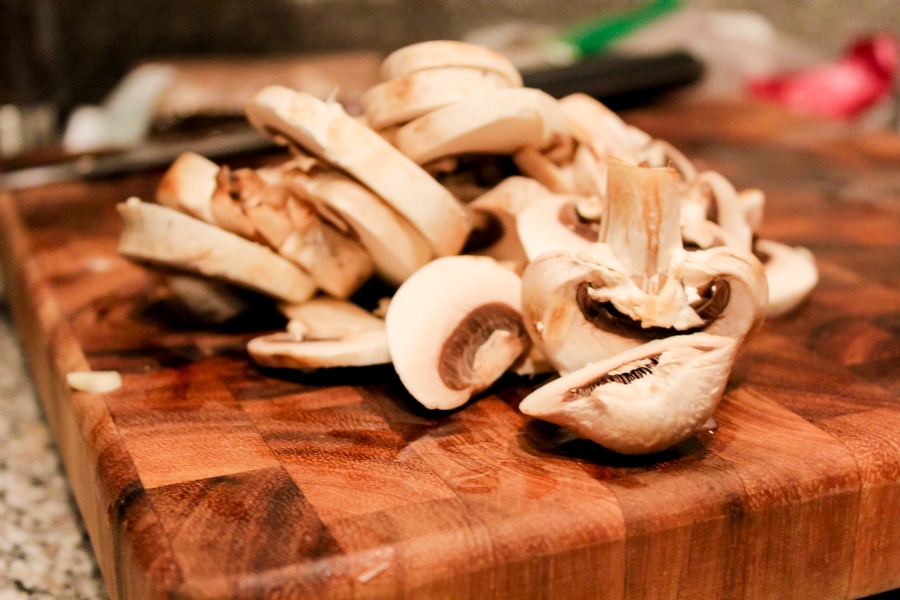
Add 1 cup of sliced mushrooms and cook until tender.
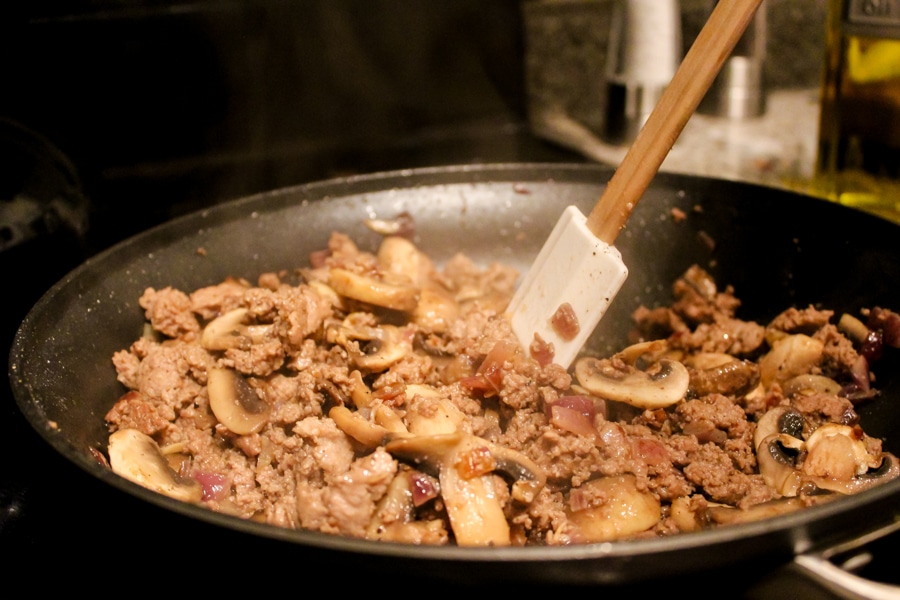
Add 1 lb ground turkey and cook until brown. Season with salt, pepper and 1 tsp cumin and add in the fully cooked quinoa.
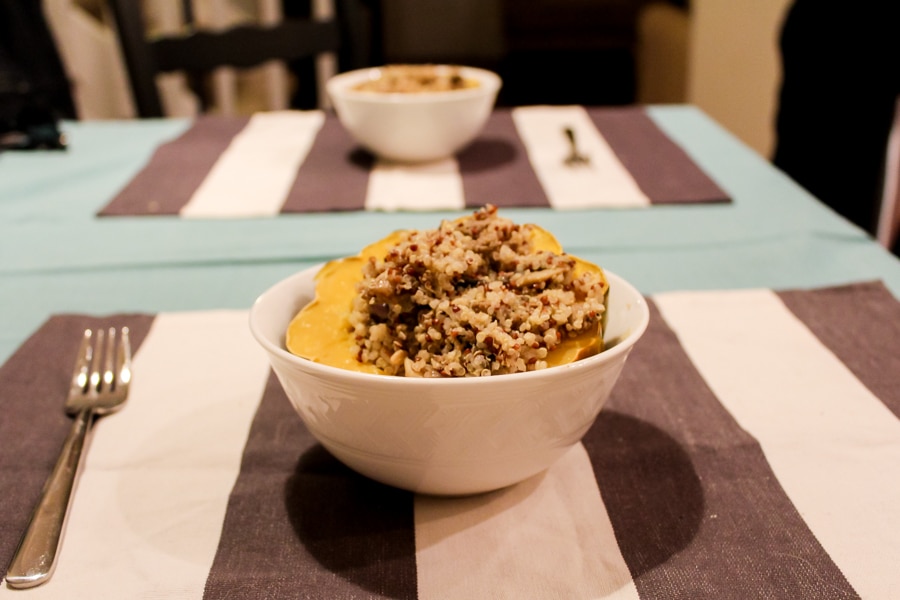
Fill your acorns and serve! You’ll have have a ton of leftovers that you can eat for lunch throughout the rest of the week.
[tasty-recipe id=”2569″]