When I first started Rocky Mountain Bliss, I laughed at the people who took photos of their food before eating it. Now, nearly five years into writing I completely understand and most of the time, have before that person.
I attended a fun class last summer about how to take food photos in restaurants and since then have had a lot of fun using both my DSLR and cell phone to capture beautiful plating and use available space to tell a story through a photo. A lot of people ask how I take the photos on my blog, so I wanted to share a few of the tips for both taking food photos out in restaurants and what I do when I’m at home.
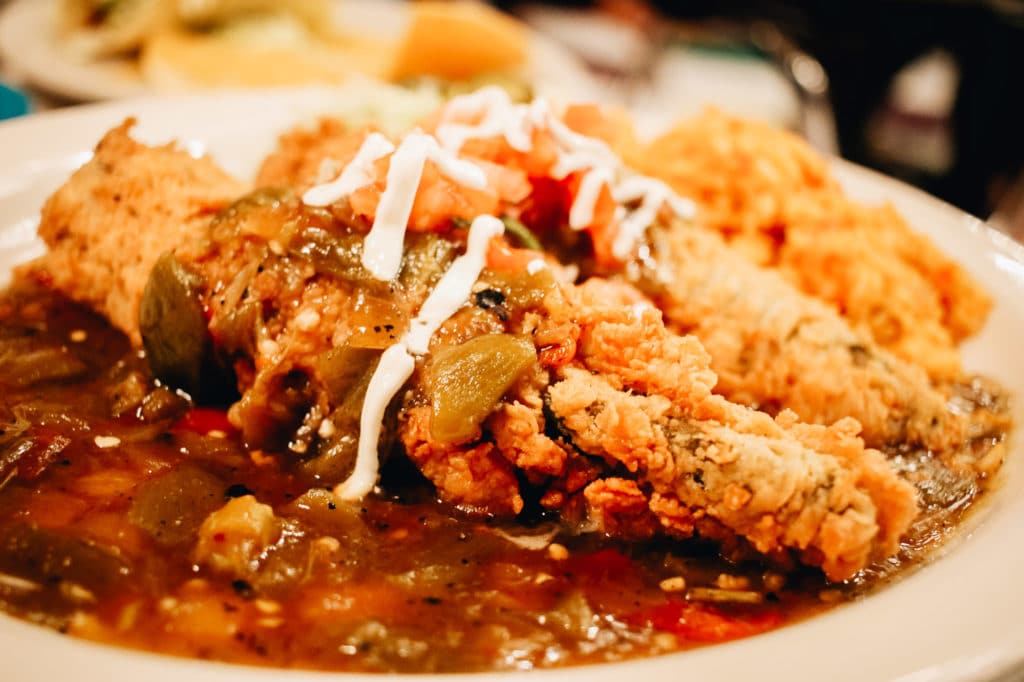

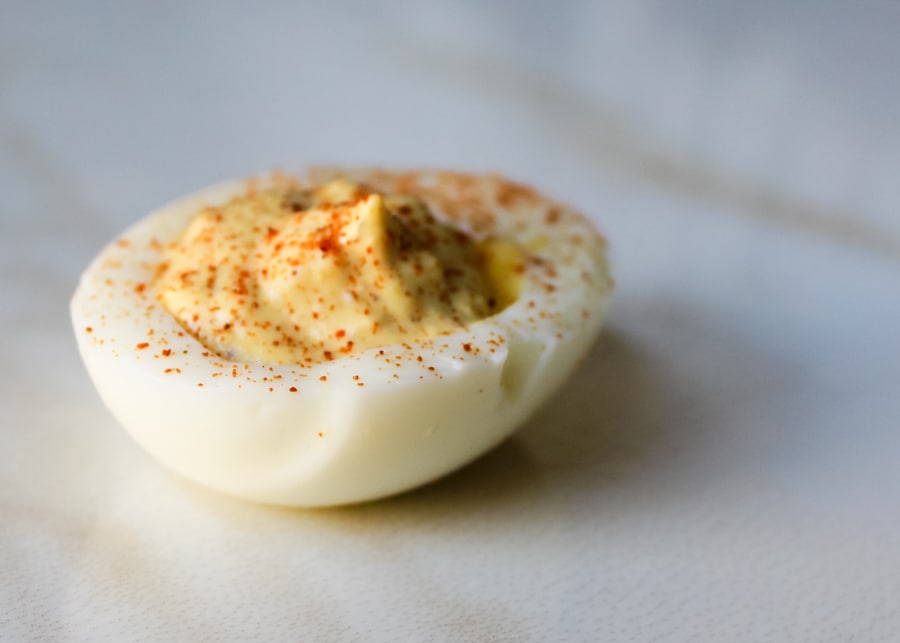
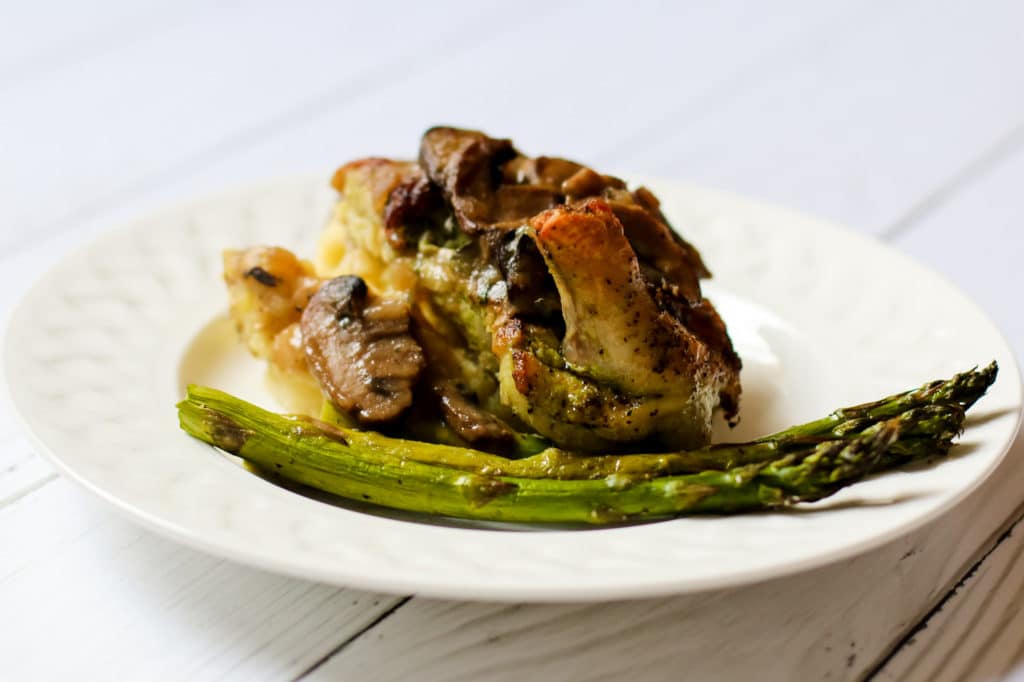
Photos for recipes I’ve made are usually a bit easier, but can be complicated to put together. Staging recipe photos is really important and over the last few years I’ve amassed quite the collection of dishes, napkins and props that I like to use throughout my blog.
One of the things that draws me towards particular publications is a consistency of style and backgrounds. I try to create a similar look for most of the recipes I write on Rocky Mountain Bliss so that when people see my photos they know exactly where it came from. My style has evolved over the last few years, so I’ll share a bit about what’s changed.
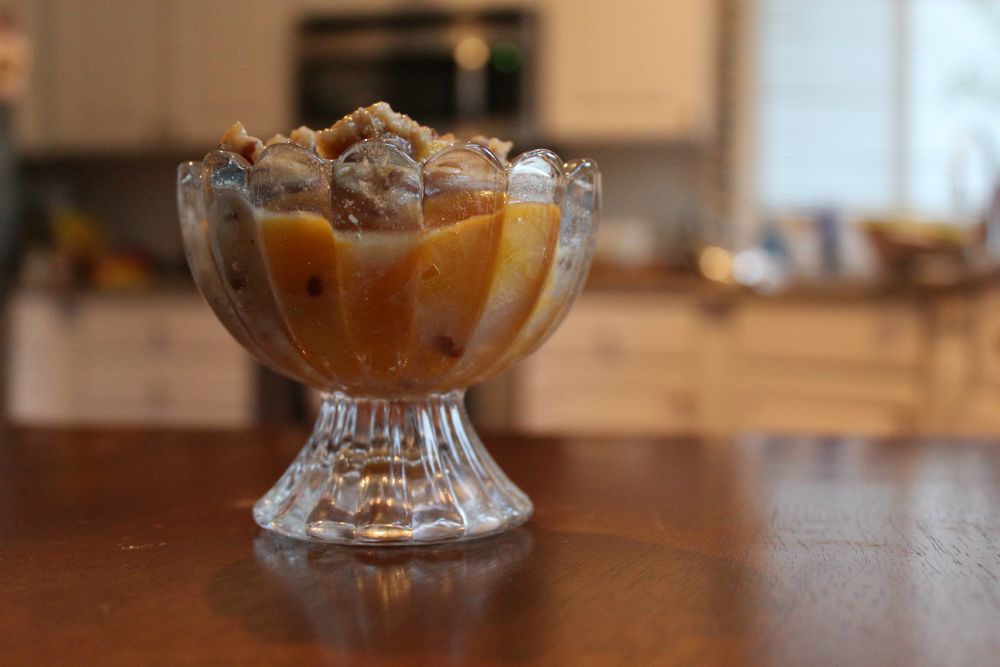
When I first started blogging, I used my kitchen table and hardwood floors as my primary backdrop. I love the rich red wood look and it meant I didn’t need to clear off a lot of space to take a photo.
About two years ago I discovered faux marble tile and brought home a big 24×24 piece that I use for a lot of photos. I love this background, but honestly its SO HEAVY I hate hauling it out unless I have to. It’s not real marble, so I assume its made mostly of lead. I use it mostly for flat lays because there is absolutely no way I could prop it up as a background.
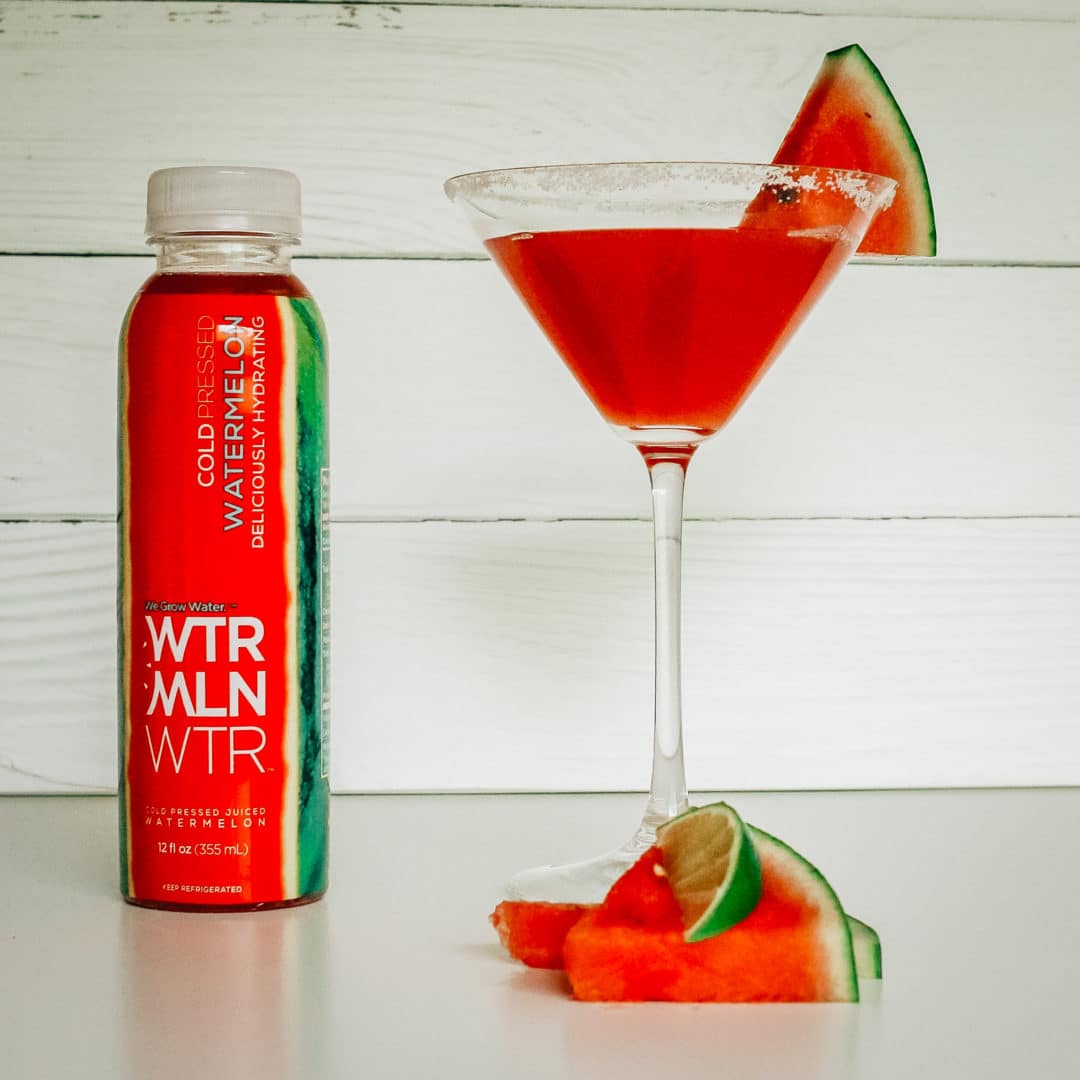
My new favorite backdrop is Medium Boards. Medium makes portable, professional backgrounds specifically for bloggers and photographers. I selected the Shiplap version because I love the clean white look and how bright it makes the star of the photo appear.

Medium Boards are lightweight and measure 28 x 22 x 1/5 inches. Each board is printed in high resolution on rigid PVC board so I can easily transition from a flat lay to a backdrop without rearranging my entire studio so I’m up against a blank wall.
As a food blogger, my favorite thing about Medium is that they are non-reflective and easily wipe clean. I don’t have to worry about little spills because Medium boards were specifically tested for red wine, coffee and bbq sauce. How amazing is that!
At the end of the day, learning how to take good recipe photos is alot of trial and error and an investment of time. I’ve taken hundreds of food photos and I wouldn’t begin to call myself an expert but I can see how much I’ve grown over the last several years.
Disclaimer: I received a product sample from Medium to inspire this post. I was not compensated in any way and all opinions and ideas are my own.