This month has been so busy and I don’t feel like like I really had time to properly decorate the outside of our house for Halloween as much as I would have liked. We do have a skeleton out in the yard and our spooky halloween wreath hanging on the door but thats about as far as I was able to get.
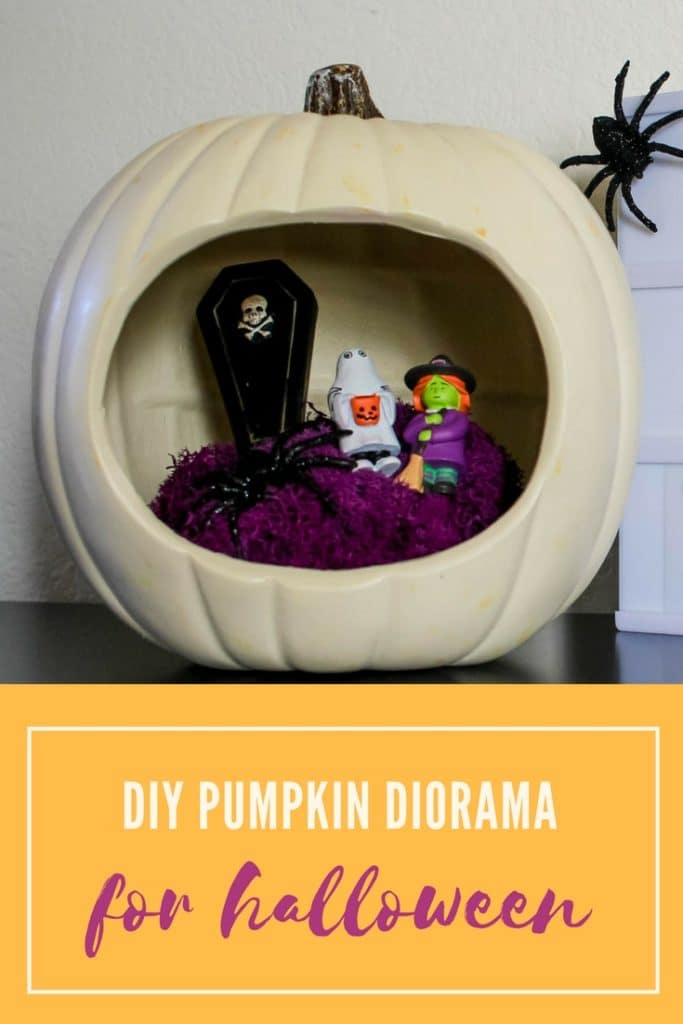
I saw a finished halloween diorama last year and knew that I wanted to make one for our front living room. I picked up a pumpkin and a few figurines during last years Halloween clearance sale and packed them away to be assembled this year. This DIY Pumpkin Diorama is easy to make and can be personalized to fit your decor or personality.
DIY Pumpkin Diorama Supplies
- Plastic Pumpkin Shell
- Foam Base
- Hot Glue & Hot Glue Gun
- Spanish Moss
- Toothpicks
- Halloween Figurines
I used a half ball floral base for the bottom of my diorama. It fit nicely into the pumpkin shell I has selected and would be easy to affix the moss onto.
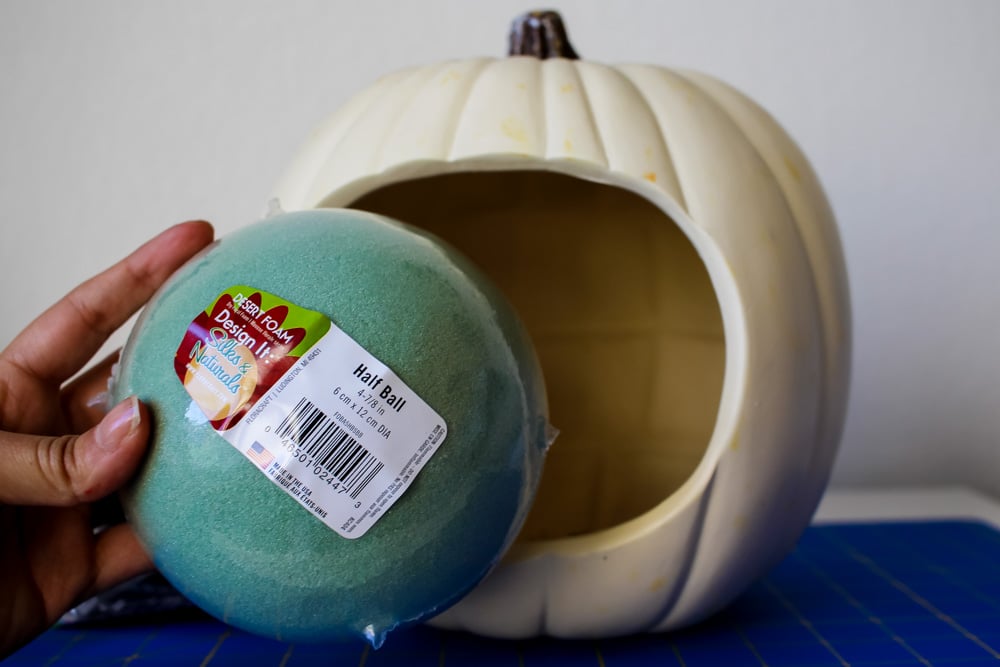
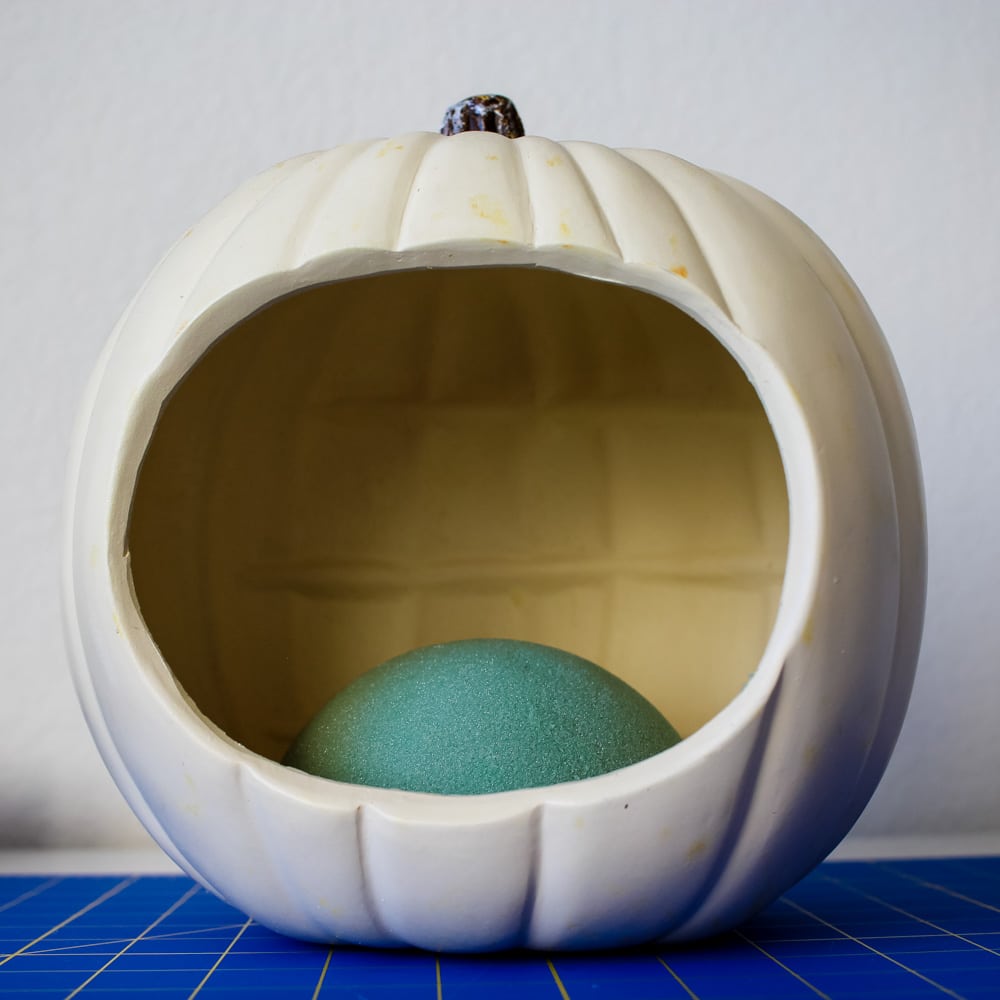
I like that this base has a bit of dimension, allowing me to put my figurines on different levels inside the scene.
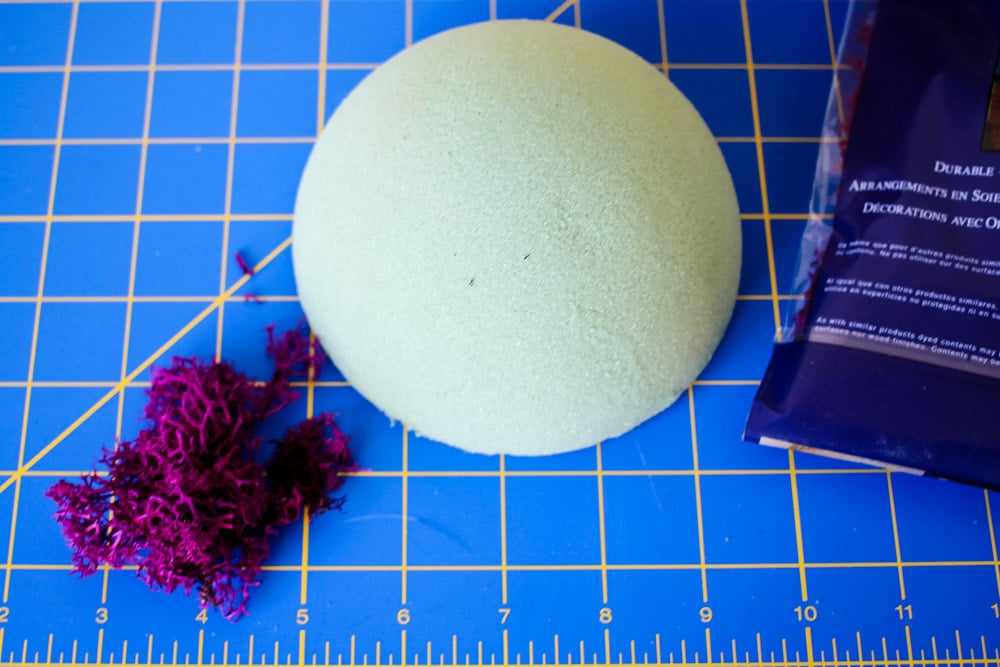
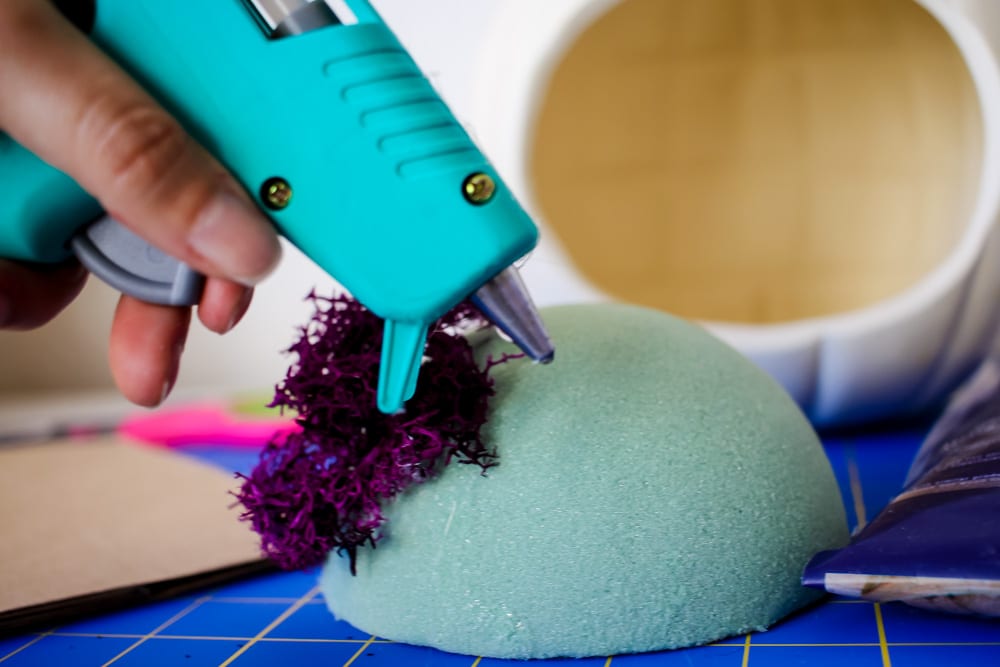
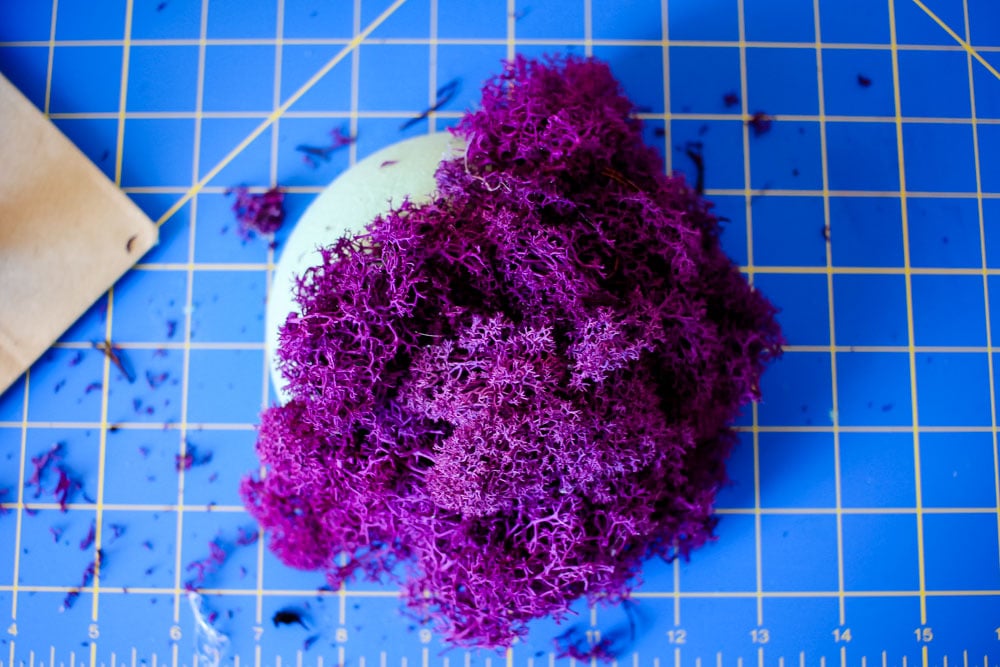
Did you know that Spanish moss comes in a whole variety of colors? I love this purple shade against the white pumpkin background. If you are using a different colored pumpkin, you might want to try hunter green, orange or even black moss as your base.
Glue the moss onto the base in portions, starting at one side and progressing until no foam shows beneath. Be careful not to burn a whole into the foam with your gun as your glue and keep your fingers on the very edge of the moss to prevent burns.
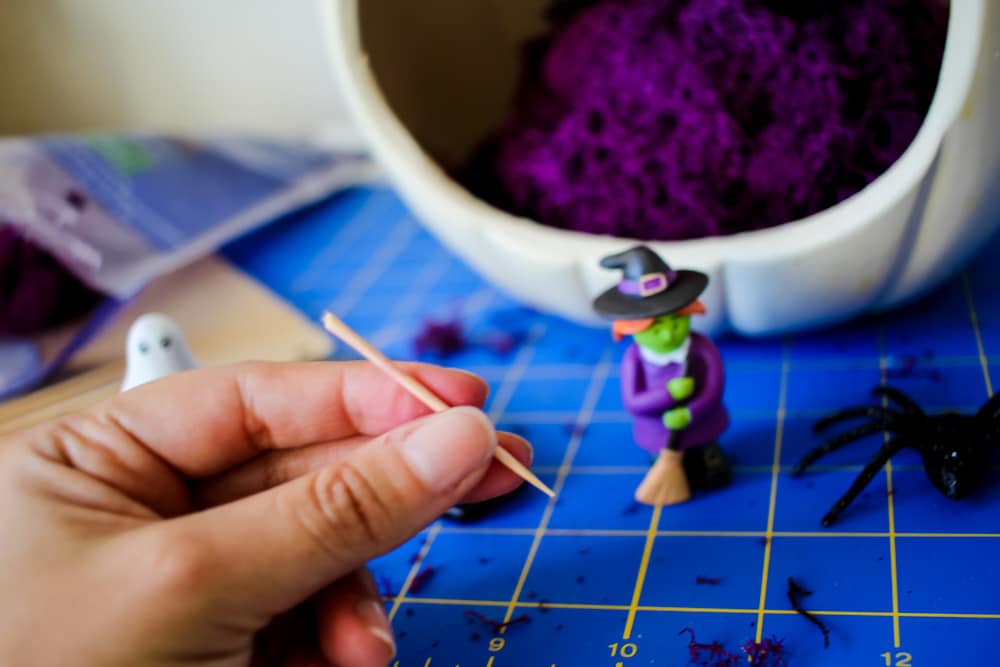
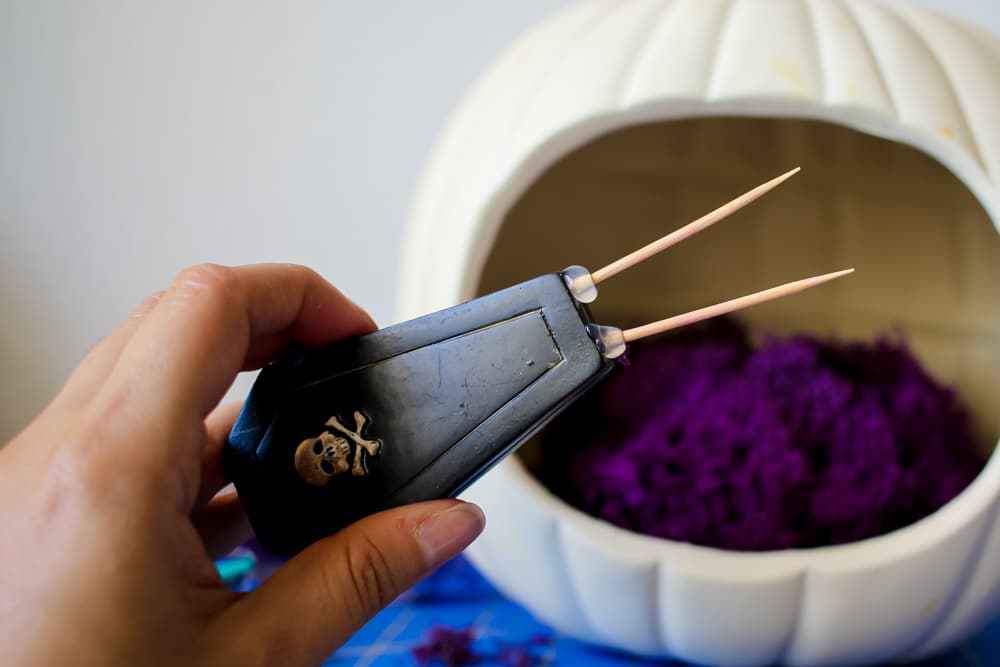
Using hot glue, I attached toothpicks to help the figurines stand up properly inside the diorama. You may need to break the wood so that the picks arent longer than the base you plan to affix to.
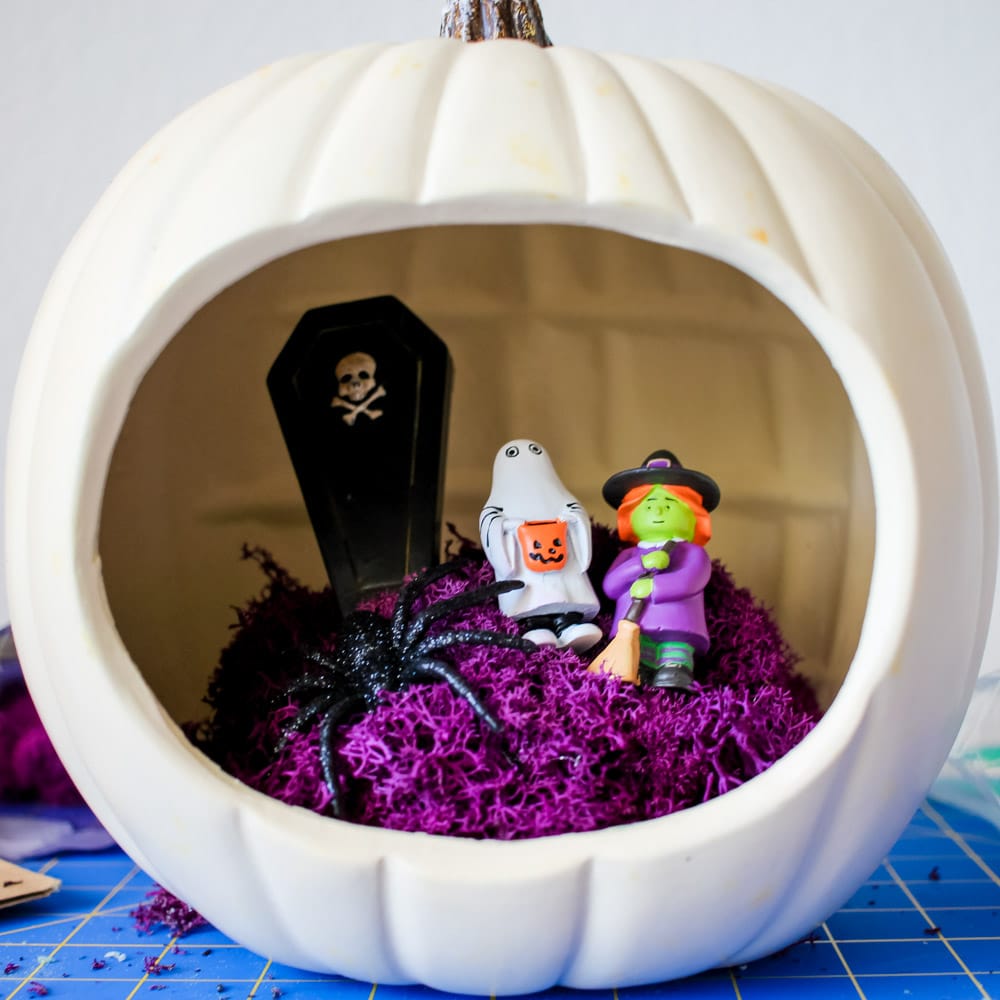
Push the Halloween figurines into the foam base and arrange however you’d like. I used a coffin, a couple of trick or treaters and a giant spider to round out my scene.
Looking for more easy Halloween Projects? Check out my $3 Tissue Paper Wreath Tutorial!



No Comments