I spent a few years right out of college living in Dallas and while I am a mountain girl through and through, I’ve always had a soft side for all the things that make the south so much fun. Lynn from Back to the South is joining us today to share a fun and creative gift that is perfect for all the loves in your life. Pull up a chair and pour yourself a glass of sweet tea and don’t forget to enter our crafty contest at the end of the post!
Hey y’all, I’m so glad I’m able to share this fun and easy DIY tutorial with you today. I’m Lynn from Back to the South where I share my journey as I move back to the South. I’m originally from Houston, Texas and spent the previous 10 years living in Washington, DC. I cannot even begin to explain the joy I felt when my fiancé told me we were moving to the South, Raleigh, NC, to be exact!
I started blogging as an outlet as I moved back to the South and all that comes with it. Finding my way in a new place and starting over; Blue Bell Ice Cream (if you’ve never had it, it’s the best ice cream,) finally back to good BBQ, house hunting, decorating, and all the fun in between.
When you visit Back to the South, I hope you’ll feel at home and feel as if you’ve met an old friend. I hope you’ll share your own journey of finding your way (it’s different for all of us), find a recipe or two, have some laughs, and a decor idea or two!
Today I’m going to share with you a quick and fun gift that you can make for the coffee and tea lovers in your life.
Gifts from the heart mean so much more than those you can purchase because it means you took time and effort and thought about the person. Every couple of years or so, my Fiance and I have implement a spending limit on our gifts for birthdays and Christmas. Surprisingly enough, those are really the only two days we exchange gifts. I think it’s because we buy so much for each other throughout the year that by the time it the holidays come around, there’s nothing to buy!
This year is one of those years where we put a spending limit and I’ve been trying to come up with something to make. I decided to make him a tea basket since he loves tea so much. The basket will have various teas and accessories and I’m also going to make him a set of chalkboard mugs. I’ve got some time before his birthday so I can try out 2 different paints to see what the differences are. There is a latex paint I’m going to try, which I used to create my chalkboard kitchen door and there is chalkboard paint made specifically for glass and ceramic. In this post, I’ll be testing out the latex paint.
SUPPLIES NEEDED FOR CHALKBOARD MUGS
There aren’t many supplies needed for this gift, but they are:
- Coffee or tea mugs
- Chalkboard paint
- Painters tape
- Sponge brushes
- Towels for clean up
- Sandpaper or primer
See, told ya there weren’t too many!
The first thing you want to do is to either sand down the sides of your mug of apply primer. I used sandpaper.
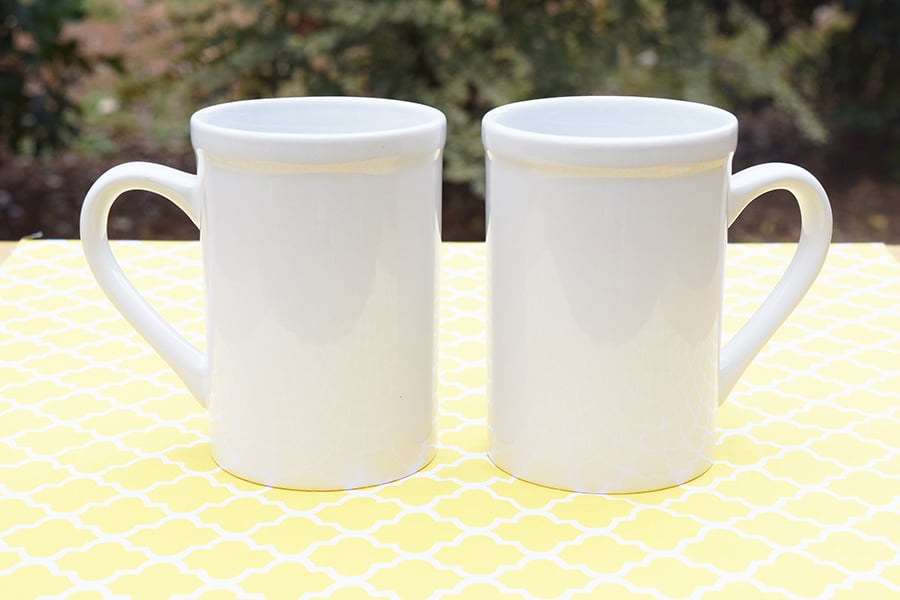
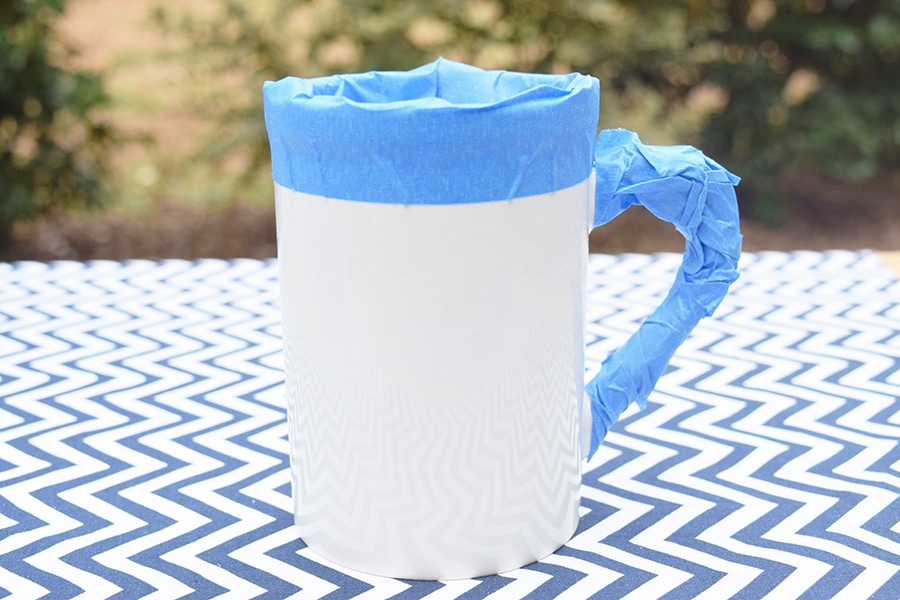
Once you’ve sanded them down to help the paint adhere better to the mugs, apply painters tape to the areas you do not want painted.
Now apply your paint. I used Rust-0leum Chalkboard Paint
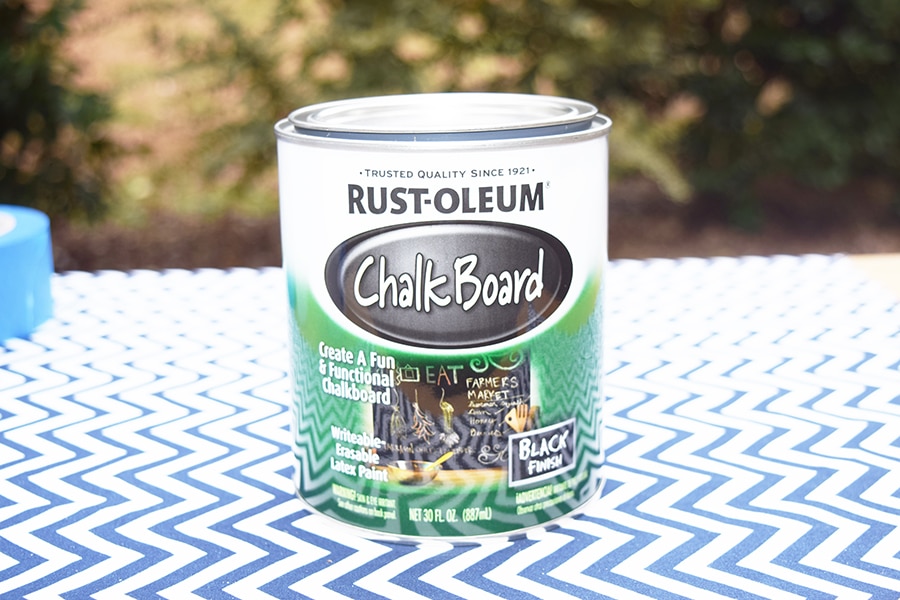
Using your sponge brush, apply a thin coat of the chalkboard paint. Let dry. I let my coats dry overnight just to make sure they were completely dry. I used 2 coats of paint for each mug. You don’t want to make your coats too thick so they won’t flake or chip off. I used thin coats and didn’t have much of a problem, but as I mentioned at the beginning of this tutorial, I’m also going to try the chalkboard paint made specifically for ceramics.
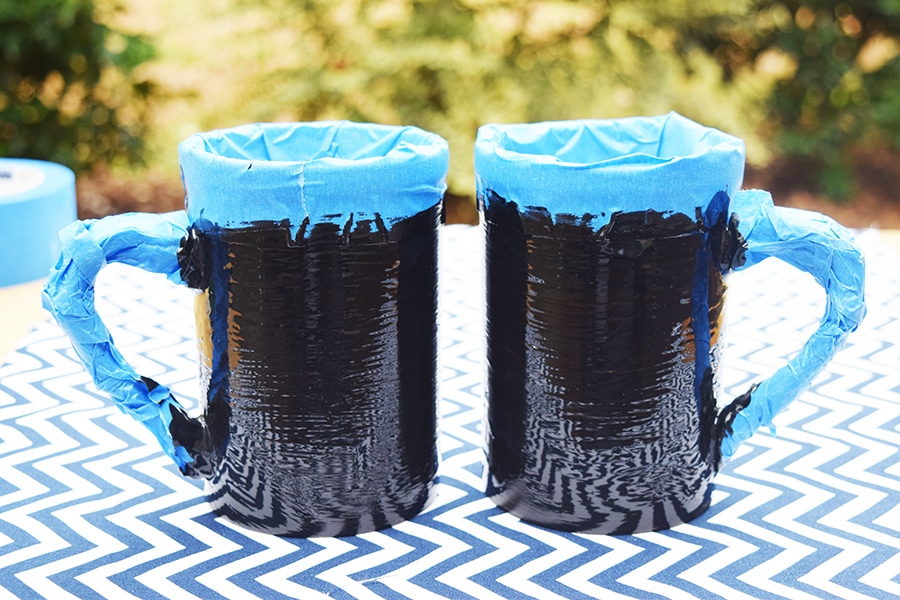
Important Note: Remove the painters tape BEFORE the paint dries. If you leave it on too long, it will remove the paint.
As you can see, there are a couple of chips at the top of where I painted because I waited too long to remove the paint. These are easy to just go back and touch up.
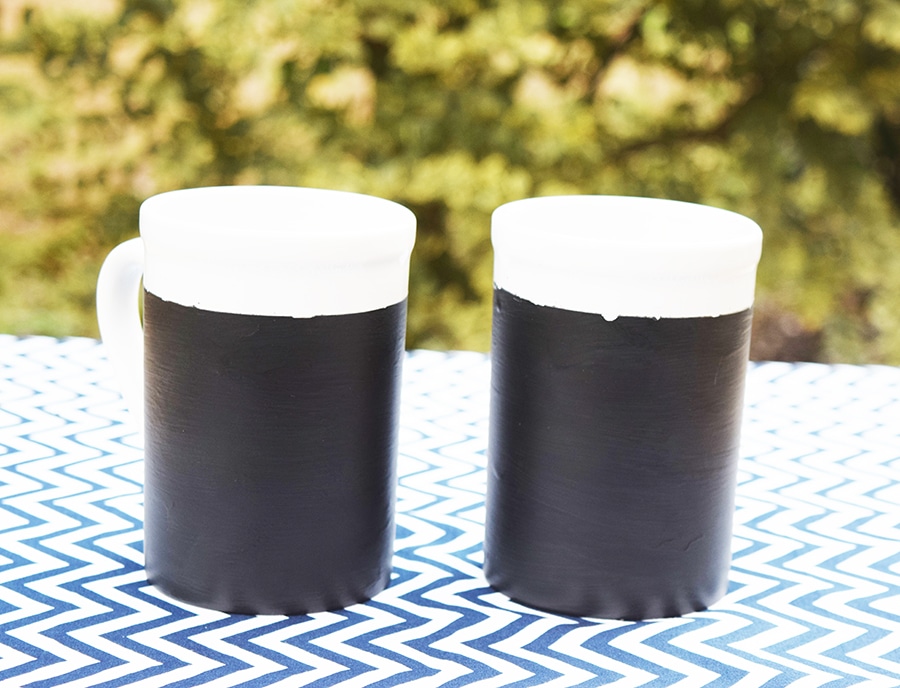
Voila! There you have it! Chalkboard mugs. I also want to make note that these are not dishwasher safe so make sure to hand wash them.
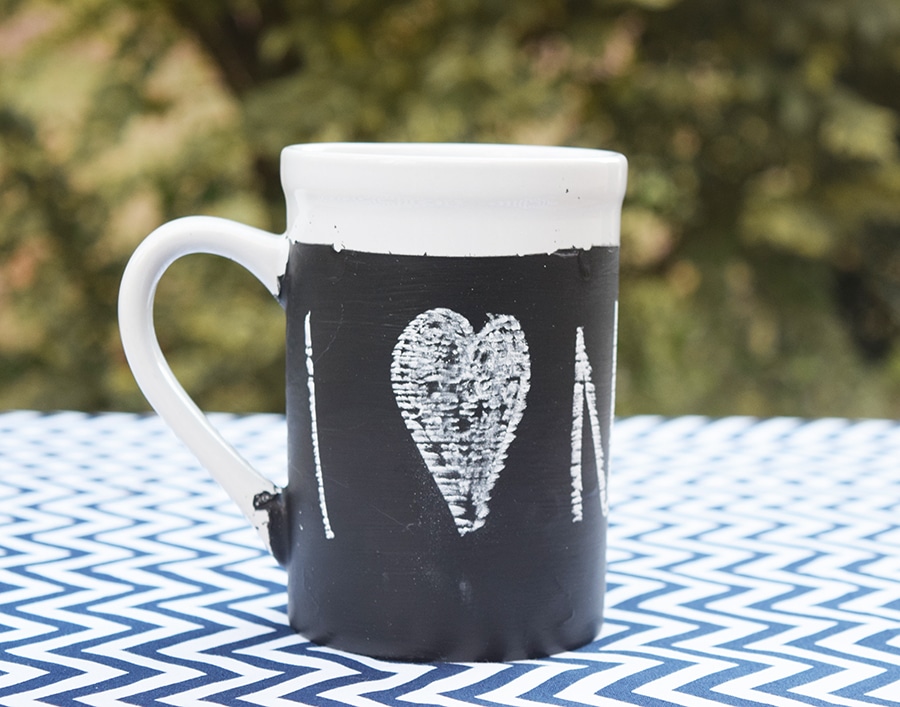
You can write on them just as you would any other chalkboard. It’s going to be so much fun to write notes to one another and serve each these coffee and tea in these mugs!
I can’t wait to give them to him.
I think these turned out pretty good! You can find more tutorials like this and other DIY projects on my blog, Back To The South. Hope to have you over soon!
Lynn
Disclaimer: Prizes have been provided by the party sponsors. All writing and opinions belong to myself or this month’s blog party participants.


1 Comment
Tahni
April 17, 2017 at 9:51 amThese are so cute! I’m thinking they would make great little holiday goodie holders or a get well soon gift holder.