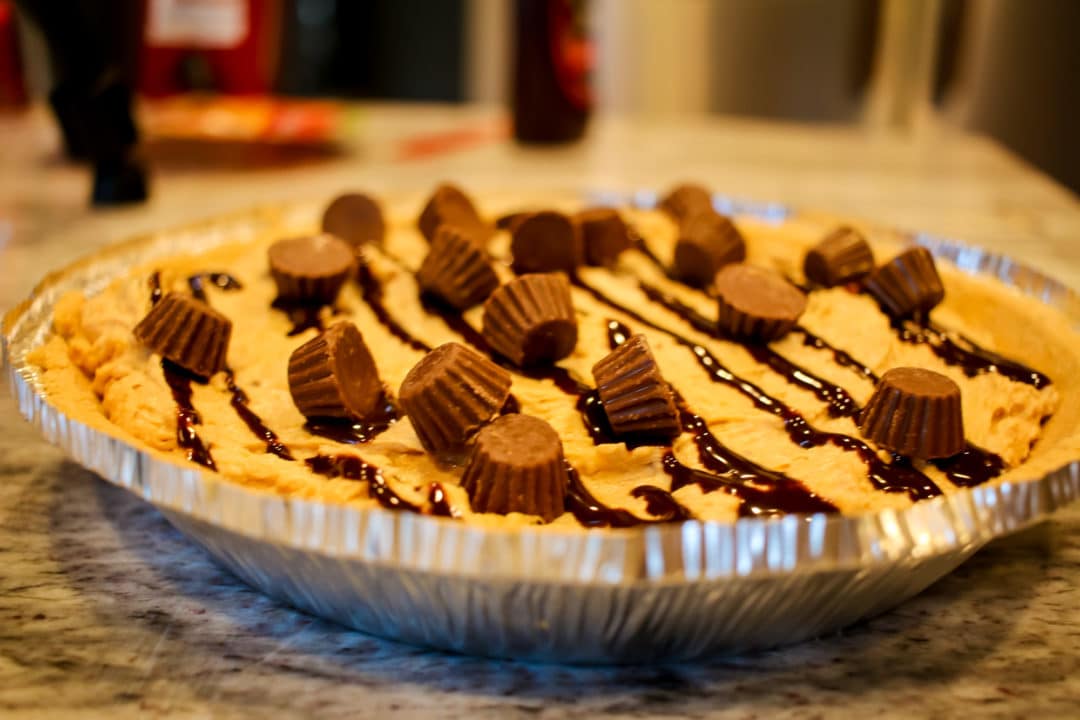
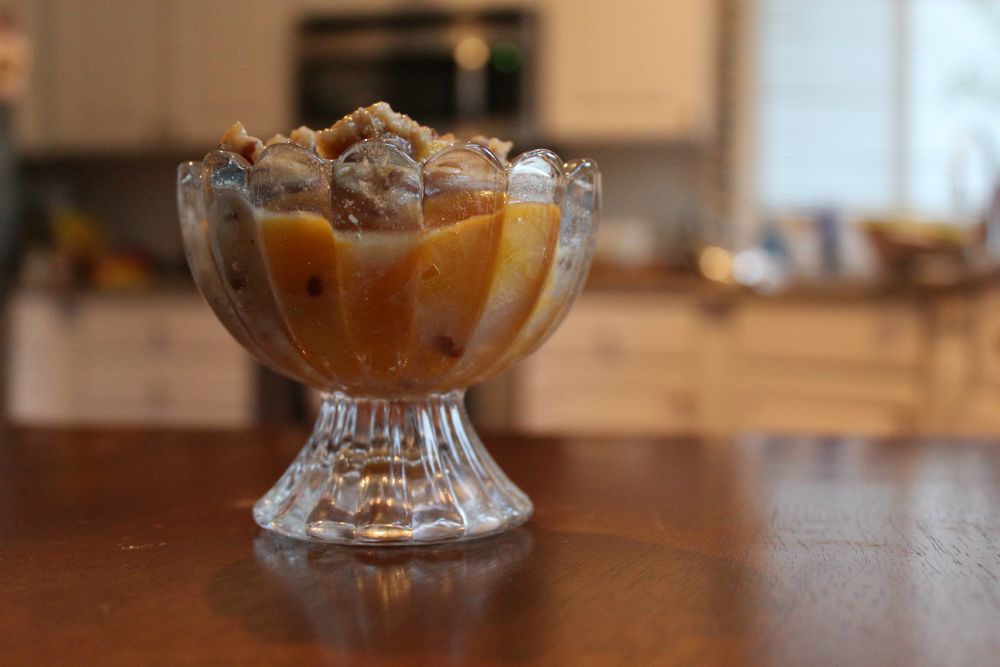
If you are a Reese’s lover, you are going to LOVE this easy Peanut Butter Pie Recipe. This is a no-bake pie that can be whipped together in just a few minutes, making it the perfect impressive dish for anyone with a procrastination problem.
I whipped this one up to bring to a book club meeting the night before. The hardest part is making sure no one steals any out of the refrigerator before you have to take it to your event!
Easy Peanut Butter Pie
Ingredients
- 1 package of cream cheese [light works just as well if you want to save a few calories]
- 1 container whipped topping
- 1/2 cup peanut butter
- 1 package mini Reeses
- 1 pre-made graham cracker crust
- Chocolate syrup [for topping]
1.) Allow all your ingredients to come to room temperture. This will make putting the pie together so much easier. Take everything out of the fridge and go watch an episode of Kimmy Schmitt or whatever your current netflix addiction is.
2.) Using a large mixing bowl combine the cream cheese, whipped topping and peanut butter. Use a hand mixer to fully blend the ingredients together. The consistency should be smooth and creamy once you’ve mixed enough. If you can, restrain from grabbing a big spoonful right now 😉
3.) Fold in 3/4 the bag of mini Reeses. You could also chop up regular Reeses or use Reeses Pieces if you prefer but these tiny guys work just perfect.
4.) Transfer the filling into the pie shell. This is why it is so important for the ingredients to come to room temperture before starting the recipe. If the filling is too cold it will be impossible to evenly spread without cracking the graham cracker shell.
5.) Drizzle chocolate syrup across the top of the pie and sprinkle remaining reeses across the top.
6.) Place in the refrigerator to chill overnight.
Looking for more cooking inspiration? Check out my other recipes!
When I first started Rocky Mountain Bliss, I laughed at the people who took photos of their food before eating it. Now, nearly five years into writing I completely understand and most of the time, have before that person.
I attended a fun class last summer about how to take food photos in restaurants and since then have had a lot of fun using both my DSLR and cell phone to capture beautiful plating and use available space to tell a story through a photo. A lot of people ask how I take the photos on my blog, so I wanted to share a few of the tips for both taking food photos out in restaurants and what I do when I’m at home.

How to take good restaurant photos
- When possible, sit in a space with good lighting. If that’s not an option (oh you like to eat dinner at NIGHT?), play with the available light to tell the story.
- Try new angles. I don’t mean stand on your chair and make everyone else look at you. Hold your camera down at a lower angle and capture the light reflecting off the candles or see if you can make a fun background of the walls around you.
- Make sure your dining partners know what you are doing. No one likes being in the background shoveling in a fork of pasta if they aren’t aware.
- Look around at the decor. If you can, take photos of the bar, wall hangings and other fun spaces. This helps round out what you want to tell.
Photos for recipes I’ve made are usually a bit easier, but can be complicated to put together. Staging recipe photos is really important and over the last few years I’ve amassed quite the collection of dishes, napkins and props that I like to use throughout my blog.
One of the things that draws me towards particular publications is a consistency of style and backgrounds. I try to create a similar look for most of the recipes I write on Rocky Mountain Bliss so that when people see my photos they know exactly where it came from. My style has evolved over the last few years, so I’ll share a bit about what’s changed.
When I first started blogging, I used my kitchen table and hardwood floors as my primary backdrop. I love the rich red wood look and it meant I didn’t need to clear off a lot of space to take a photo.
About two years ago I discovered faux marble tile and brought home a big 24×24 piece that I use for a lot of photos. I love this background, but honestly its SO HEAVY I hate hauling it out unless I have to. It’s not real marble, so I assume its made mostly of lead. I use it mostly for flat lays because there is absolutely no way I could prop it up as a background.
My new favorite backdrop is Medium Boards. Medium makes portable, professional backgrounds specifically for bloggers and photographers. I selected the Shiplap version because I love the clean white look and how bright it makes the star of the photo appear.

Medium Boards are lightweight and measure 28 x 22 x 1/5 inches. Each board is printed in high resolution on rigid PVC board so I can easily transition from a flat lay to a backdrop without rearranging my entire studio so I’m up against a blank wall.
As a food blogger, my favorite thing about Medium is that they are non-reflective and easily wipe clean. I don’t have to worry about little spills because Medium boards were specifically tested for red wine, coffee and bbq sauce. How amazing is that!
How to take good food photography and recipe photos
- Don’t forget the props. It’s not realistic to see a plate of food all by itself in the middle of the table. Add napkins, silverware or other decor to stage the photo.
- Use good lighting. Before I added a ring light to my studio collection I shot nearly all of my cooking photos first thing in the morning when the light was best in my kitchen. Now I can take dinner photos at dinner time and don’t have to chase the light. Light is everything
- Create consistency with your backdrops and style. Medium is a lifesaver for this!
- Invest in your gear. When I started out, I used my cell phone for nearly 2 years. I can see a major difference from when I switched from cell phone to DSLR. You don’t need a professional level camera but you will be shocked at how your skills can improve with a low cost DSLR like a canon rebel. If you want to do recipe photography a Canon Rebel and a 24mm lens is great gear to start off with and won’t break the bank.
At the end of the day, learning how to take good recipe photos is alot of trial and error and an investment of time. I’ve taken hundreds of food photos and I wouldn’t begin to call myself an expert but I can see how much I’ve grown over the last several years.
Disclaimer: I received a product sample from Medium to inspire this post. I was not compensated in any way and all opinions and ideas are my own.
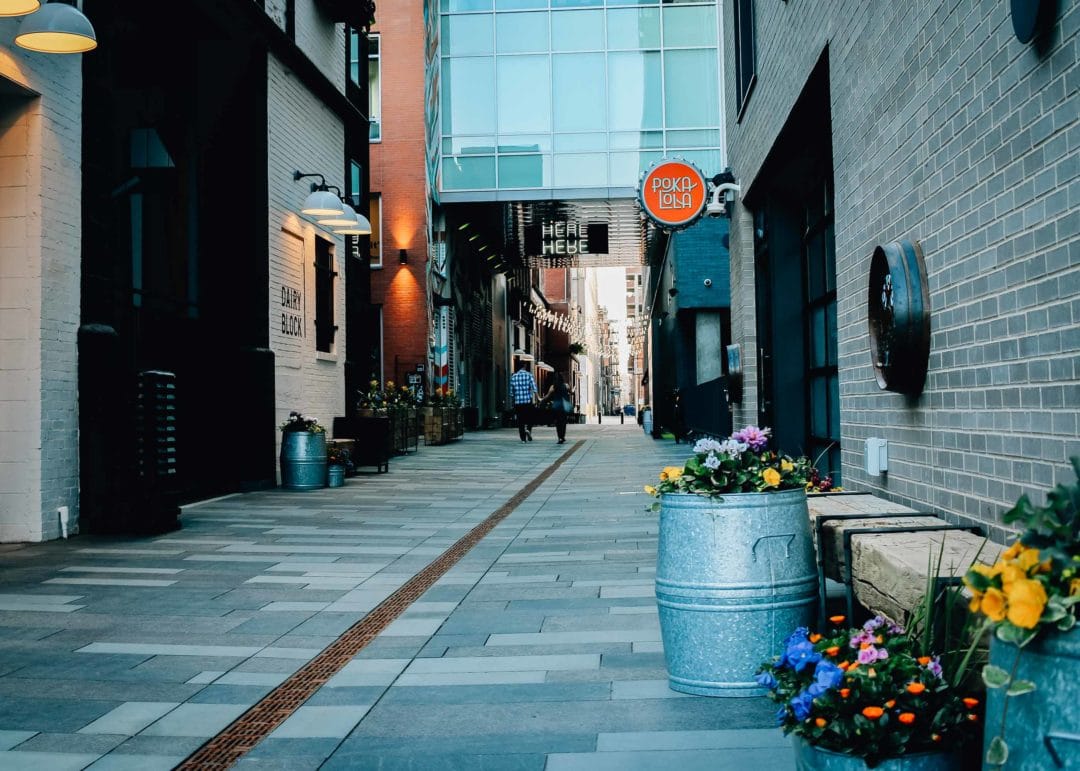
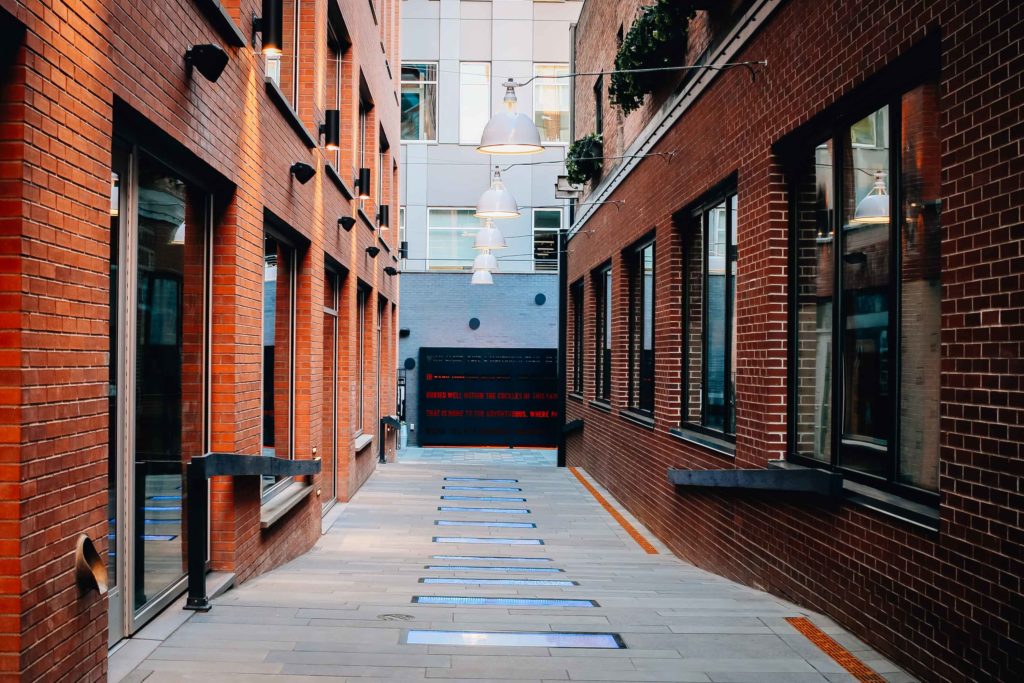
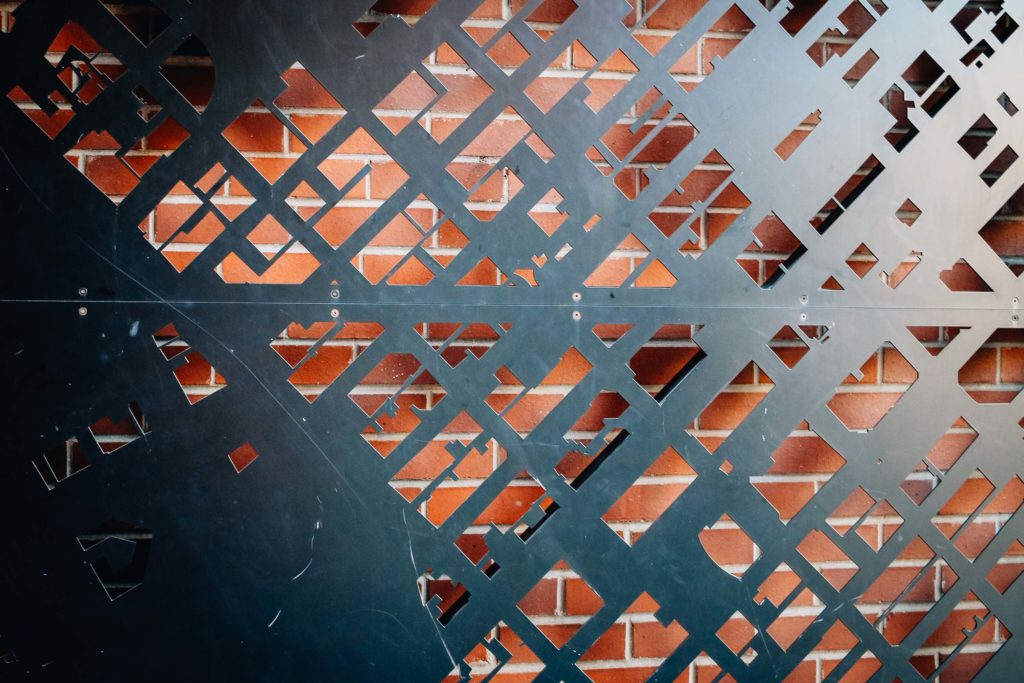
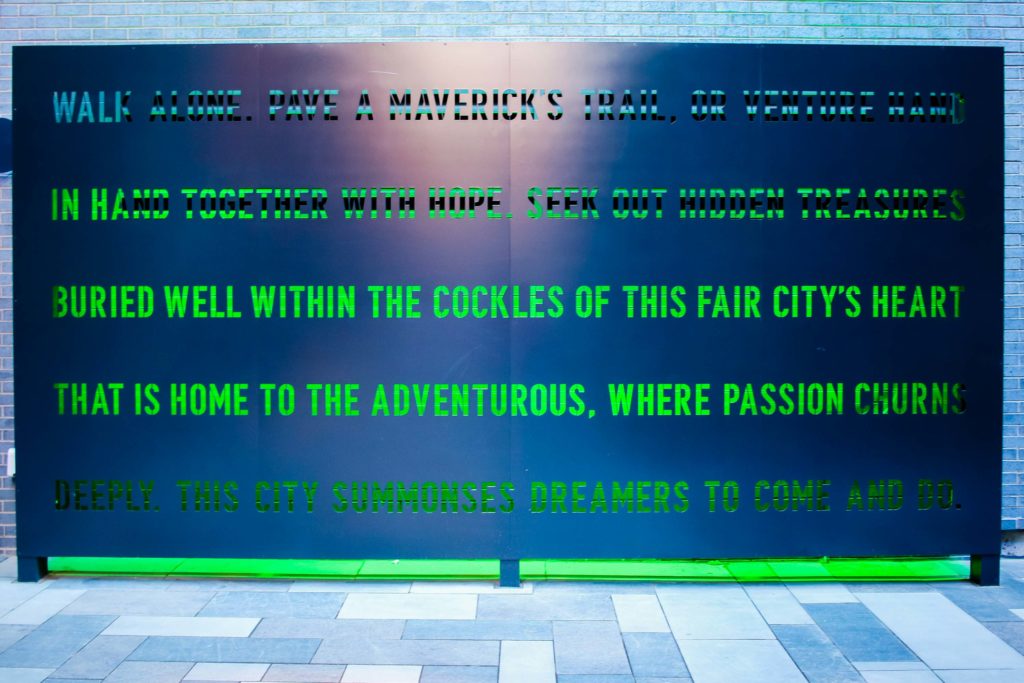
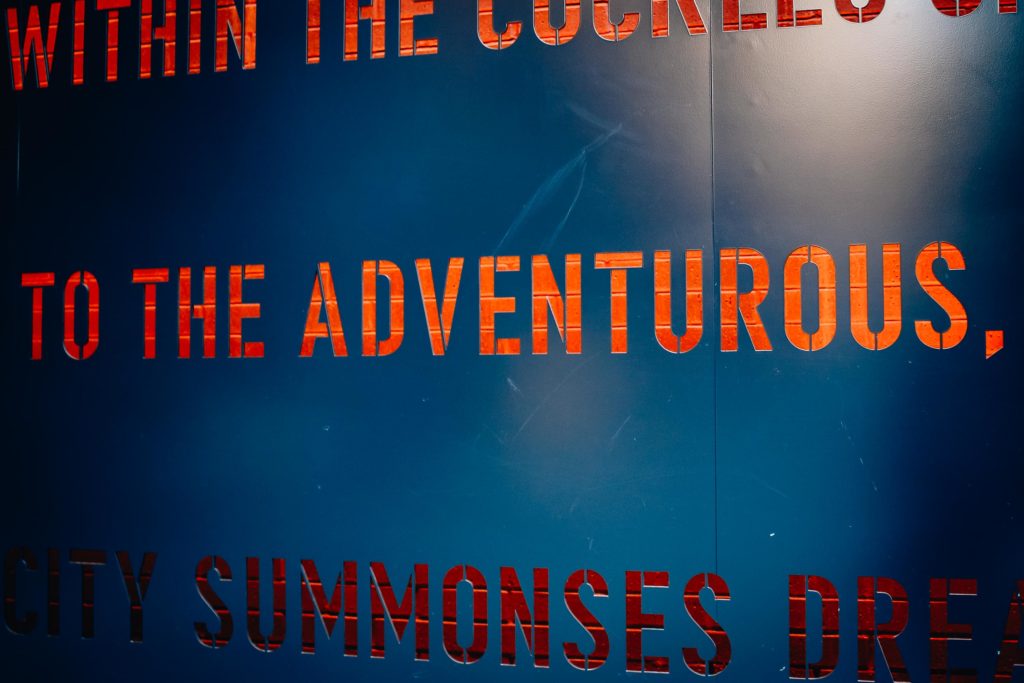
Dark alleys aren’t typically the kind of place most people want to spend their time, but Denver’s new Dairy Block isn’t just any alley. The original historic home of Windsor Dairy, the alley was recently redeveloped to be one of the most artistic and creative spaces in Lodo.
This block long walkable art installation is home to over 700 pieces of unique art along side half a dozen restaurants and the Maven Hotel. Just one block away from Union Station, the Dairy Block is located at 18th and Wazee.
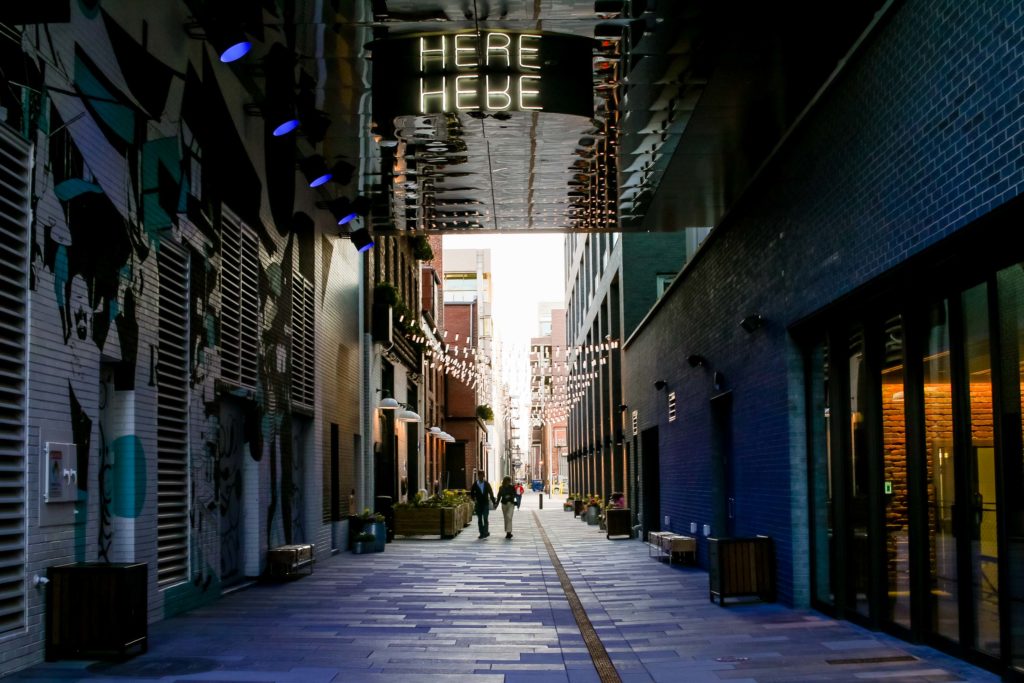

I literally stumbled across the Dairy Block a few weeks ago and I can’t wait to go back to try out the restaurants!
One of my favorite things to do on the weekends is to find a new restaurants and coffee shops where I can write and be inspired. With the move to the north side of Denver, its so much easier to get up to Boulder to explore what shops are that way. It used to take over an hour to get into Boulder but now I’m just a 20 minute drive down the road. Boulder is home to University of Colorado which means most of their coffee shops are used to a regular crowd of students working together.
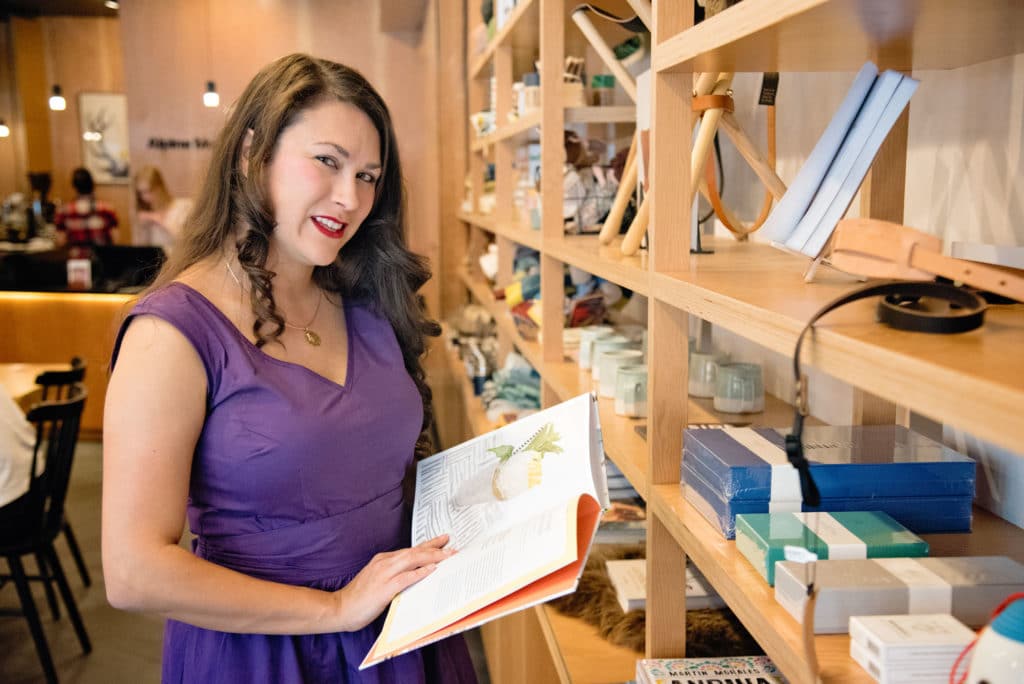
When I came across Alpine Modern, I knew it was going to be one my new favorite places to work. Their Pearl Street location has a beautiful wooden work table cut right out of the middle of a tree. The space is big enough that a large group could work together or enjoying a cup of coffee with a friend.
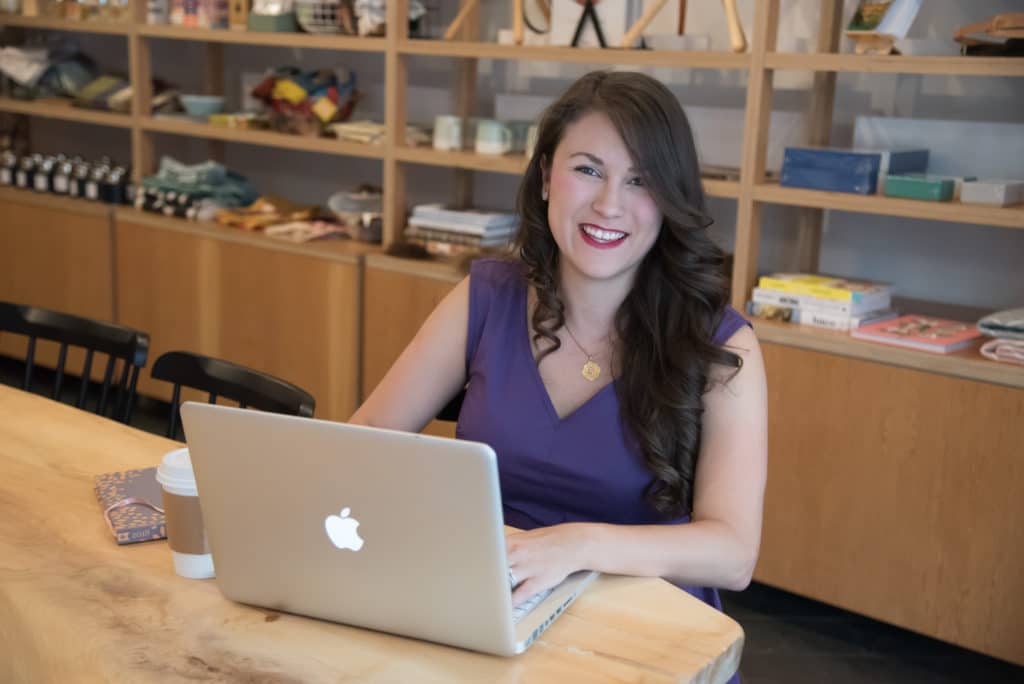
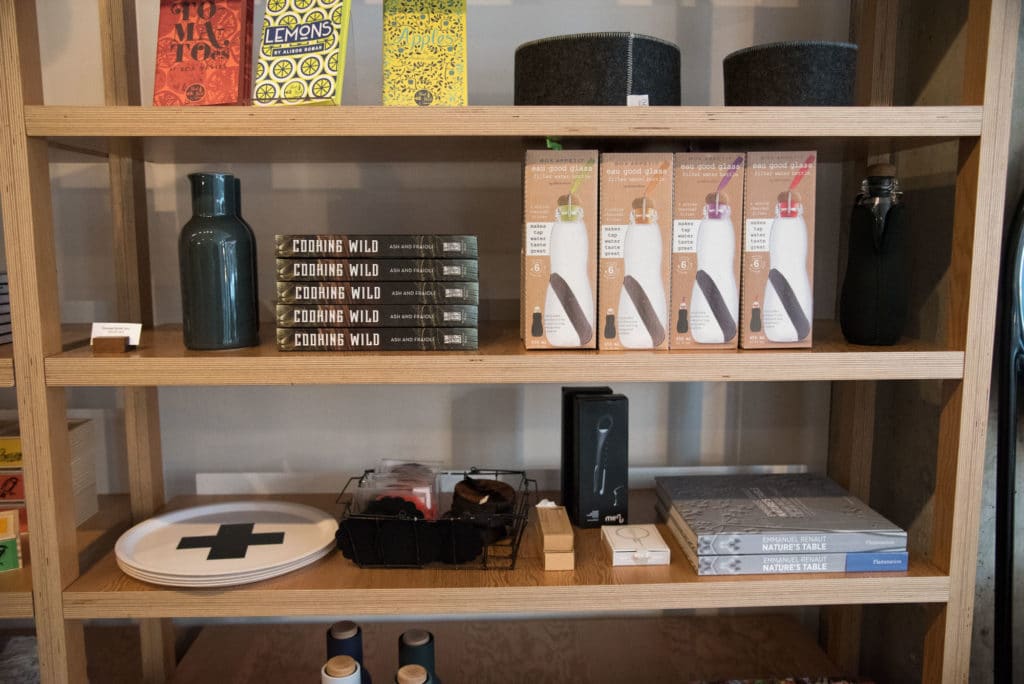
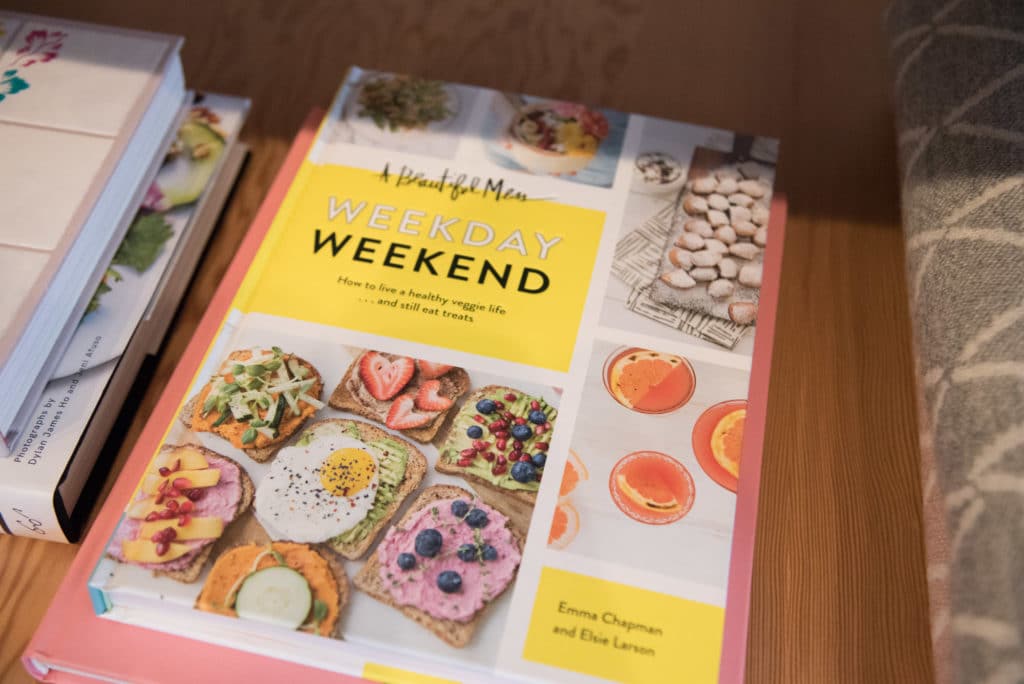
The shop is the perfect creative spot to be inspired to write, with a mid-century modern vibe and the coffee is both fresh and flavorful. Surrounded by cookbooks and fun gift ideas you could even pick up a little trinket to take home from the trip. You can’t beat writing about food with by bright and colorful cookbooks on hand to inspire.
I visited Alpine Modern on a busy Sunday afternoon in Boulder. Despite the crowd on Pearl Street there was plenty of room to work and the space had just enough ambient noise to help get the creative juices flowing. I’ll definitely be back to Alpine Modern for an afternoon work session again!
What are your favorite out of the box places work work? Bonus points if its in the Denver area and I can check it out!
Thank you so much to Rose Devore Photography for checking out Boulder with me and capturing these fun photos in Alpine Modern with me! Rose just recently moved to Denver and is an amazing Boulder photographer.
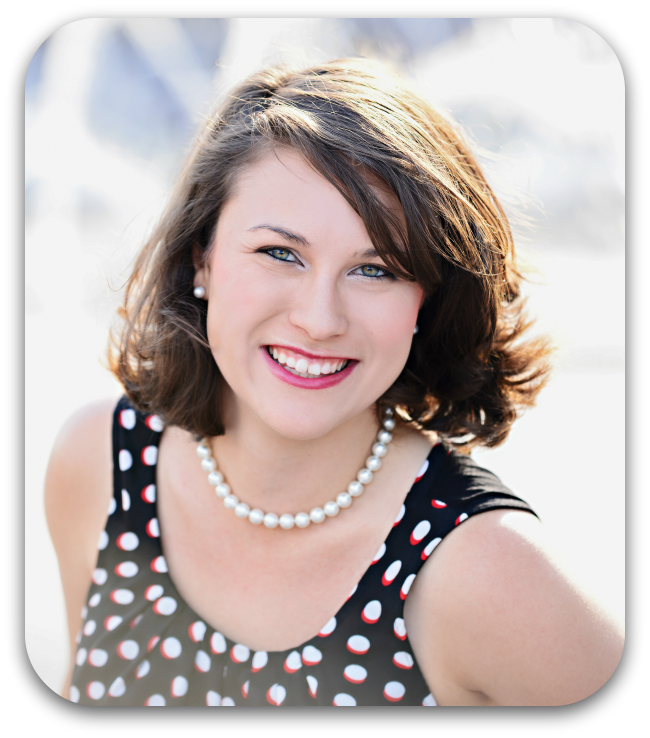
Welcome to My Bliss