
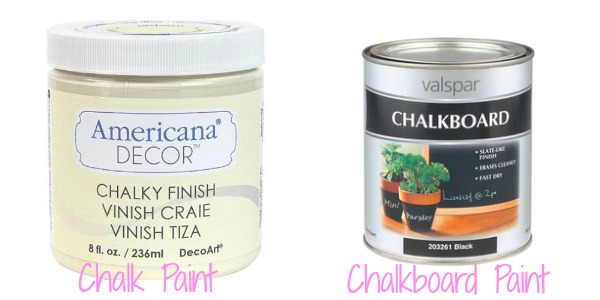
Chalk paint has become a much talked about trend for anyone loves the look of vintage or Pottery Barn furniture. Different from ‘Chalkboard Paint’ that creates a surface you can use actual chalk on, the type of paint I’m referencing is known for a finished ‘chalky’ surface.
Clear as mud right?
Chalk paint has found its popularity largely due to the fact that you don’t have to strip the original paint off the item you are painting before beginning your project.
The downside of chalk paint is that it is ultimately more expensive, typically costing around $10 for an 8 oz can. The prices vary across the board and the designer brands (Annie Sloan) can run upwards of $15 -$20 for a small canister. Some of the best prices on chalk paint can be found in antique stores where local vendors use non-toxic products to create their own or you can make your own using calcium carbonate for around $4 per quart.
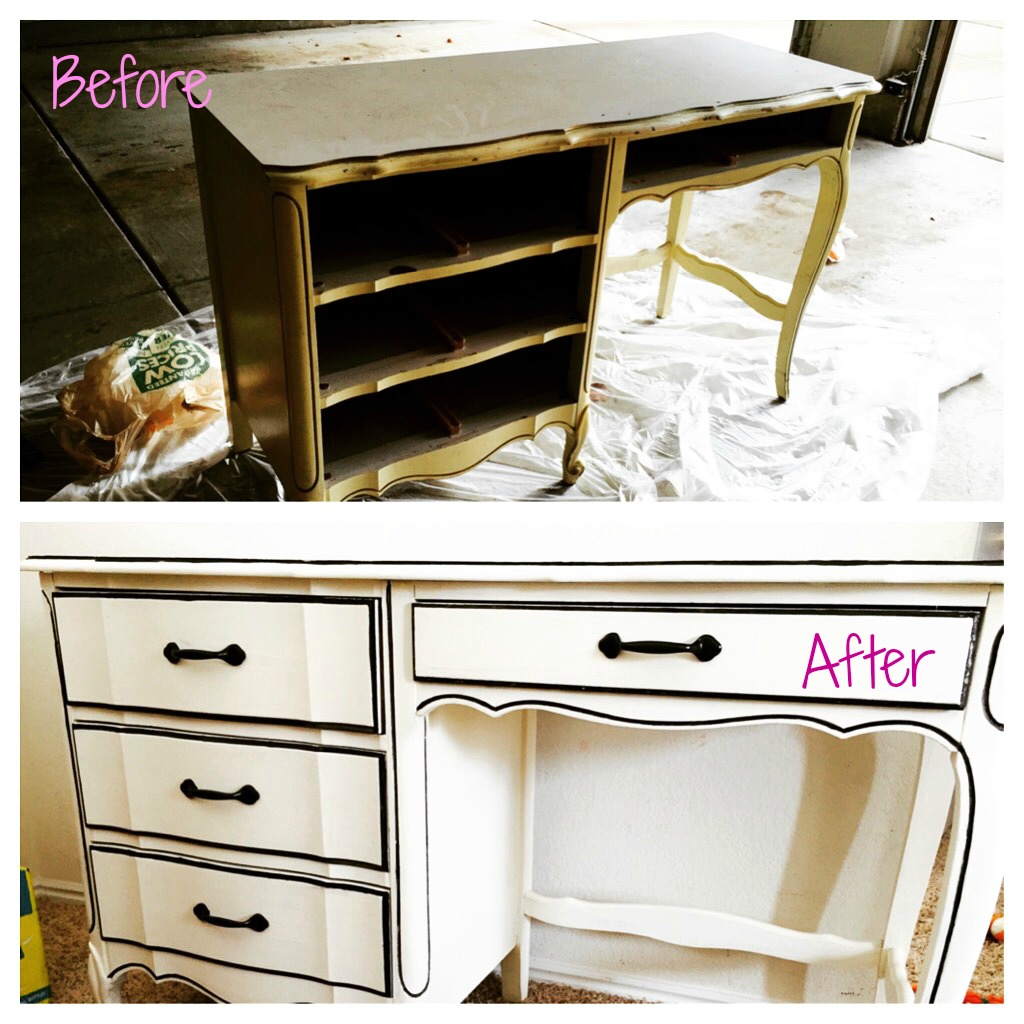
For this particular project I used Americana Chalk Paint that can be found at Home Depot. I started with a vintage desk that was originally given to a family member by a neighbor. Best guess it’s from the late 50’s early 60’s. I completely forgot to take a before photo prior to pulling apart the drawers, but the first image below gives a decent idea of what it looked like.
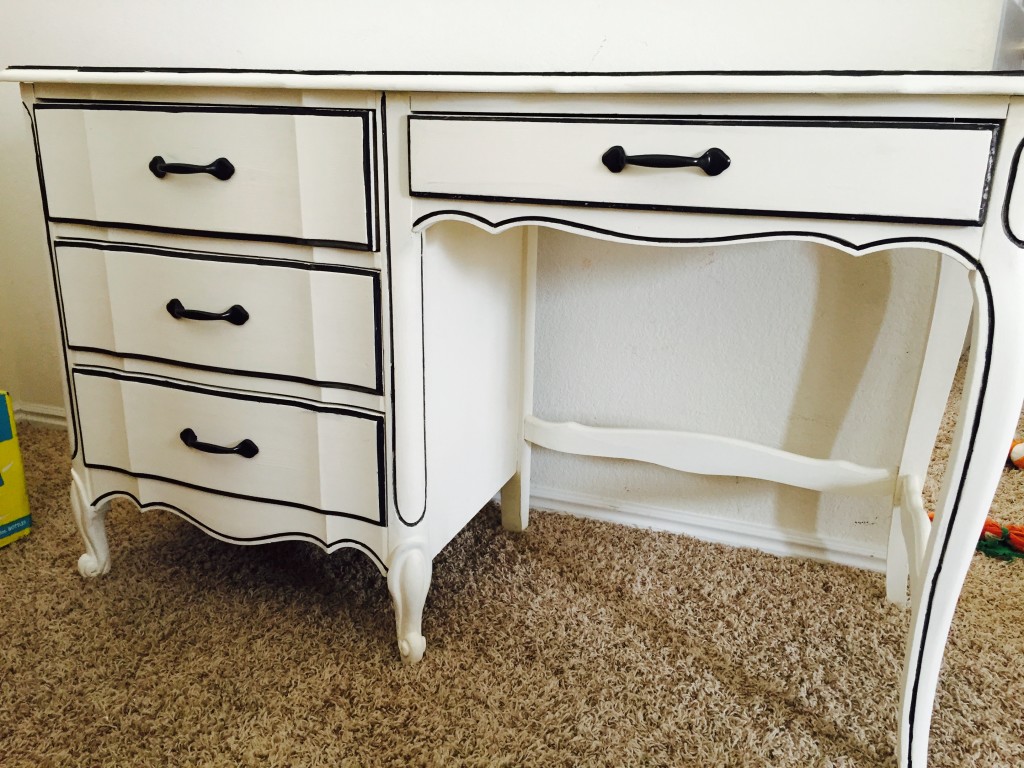
With a yellowing eggshell base and gold trim, this desk was in need of a major update to modernize the style.
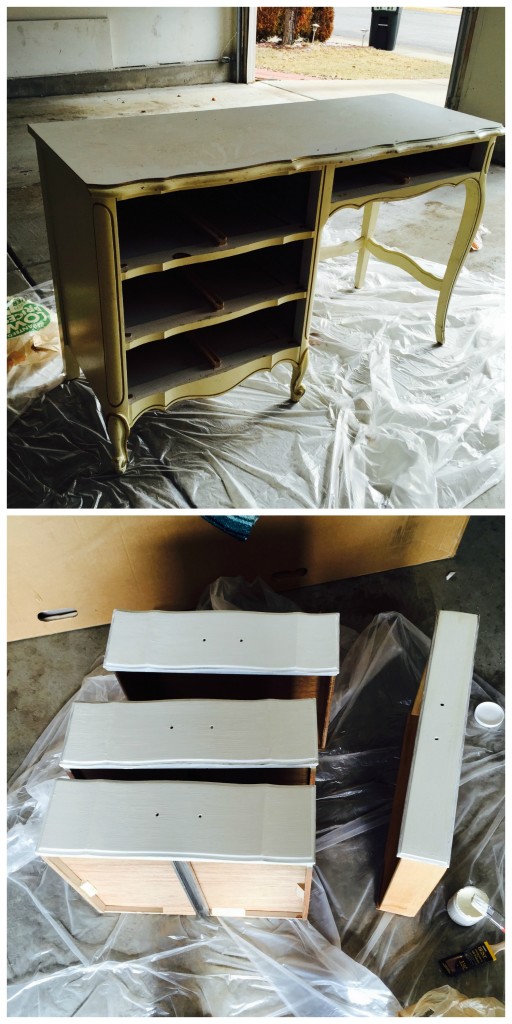
I took off the old gold handles and painted the face of the drawers. The drawers above are after 1 coat of paint. Chalk paint is heavy and thick and if you are painting something with a light base coat you may not need to do more than one layer.
This project used 3/4 of the 8 oz. jar.
Once the base coat is dry, you use a soft cloth to go back and add wax to give the entire project a smooth finish.
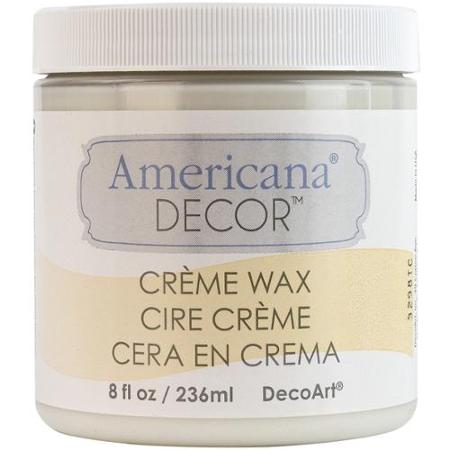
I wanted a matte finish to go with the the vintage look of the desk, so I used clear creme wax. The wax is sticky at first, but dries fairly quickly allowing you to ‘buff’ the finished piece with a second soft cloth until you like the overall look. I allowed the entire project to dry overnight before moving the desk into the house.
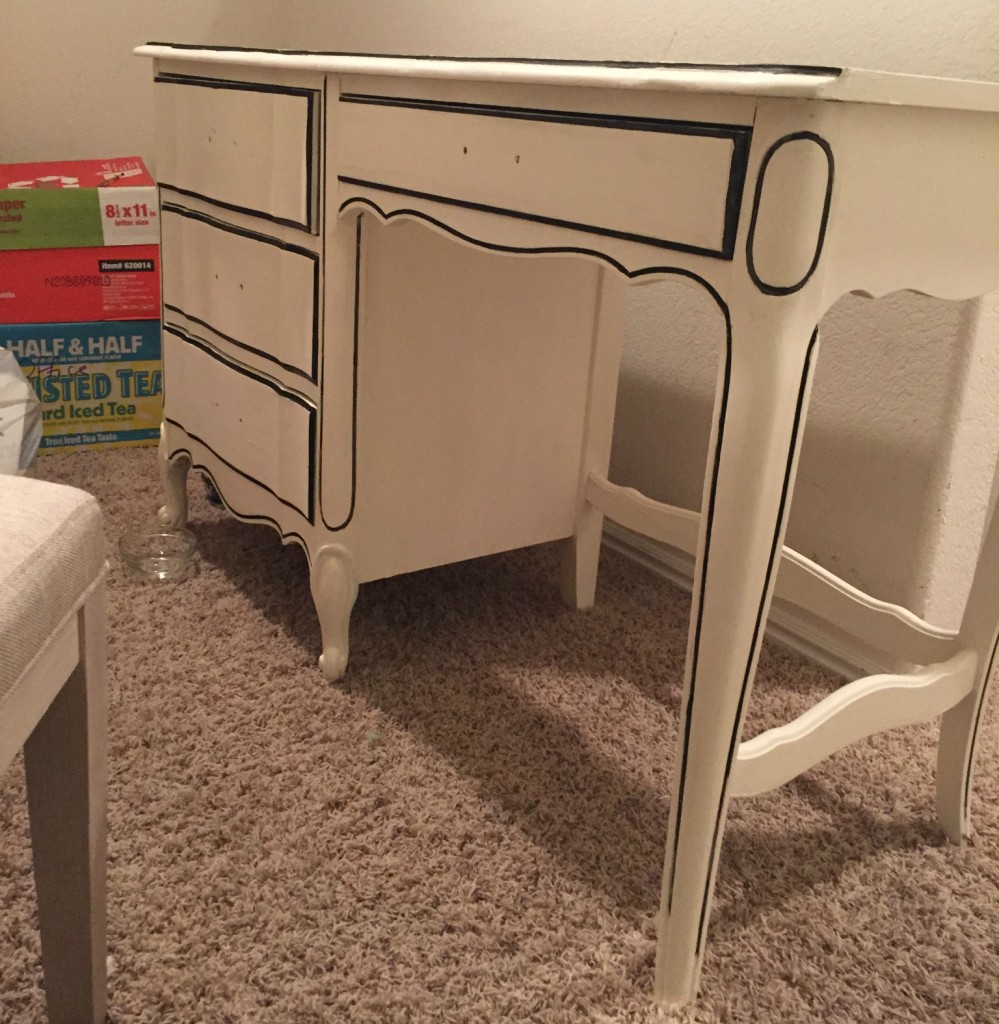
The paint white paint looked a bit plain against the white walls so I added a black acrylic trim before putting the handles back on.
The finishing step was replacing the old gold handles. I could have spray painted the old handles black, but I wanted an entirely different look so I found a replacement at Home Depot for just $2. per handle.
I’m not sure where this desk is going to end up. I originally wanted to use it as my office desk but its not quite big enough to fit in the nook it’s pictured in so we’ve moved it into the guest bedroom for now.
The desk itself was free, having been handed down a few times in my family over the last 20 years. Between the other supplies, including handles, this refinishing project clocks in around $30 and took about 6 hours to complete.
I have an identical desk to this one (it was part of my entire set of bedroom furniture when I was growing up) and I painted it numerous years ago but the top of the desk, dresser and night stand would not hold the paint. It just pealed right off. DId you paint the top of this desk? And if so, how did it work for you?
The top of mine is a finished white acrylic so I left the top with the original finish. I am guessing if I painted it, it might peel off as well.


2 Comments