
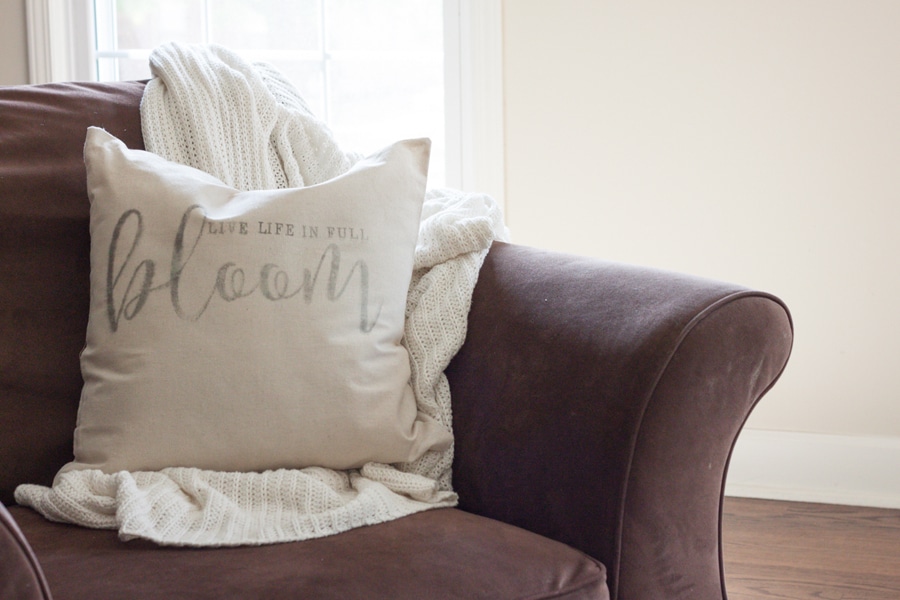
This week’s DIY projects kick off with an easy DIY technique that will let you create vintage looking throw pillows for every room of the house from Lauren at Gather & Flourish. [Don’t tell my husband I’ve already started a set for our living room.] I love how versatile freezer paper is for crafting and this transfer idea is one I had never heard of before! I love Lauren’s design style and I can’t wait to add a few of these pillows to my home.
See the full tutorial and then head to the contest entry form at the bottom of the post for the chance to win a prize from one of our fantastic Spring Blog Party sponsors.

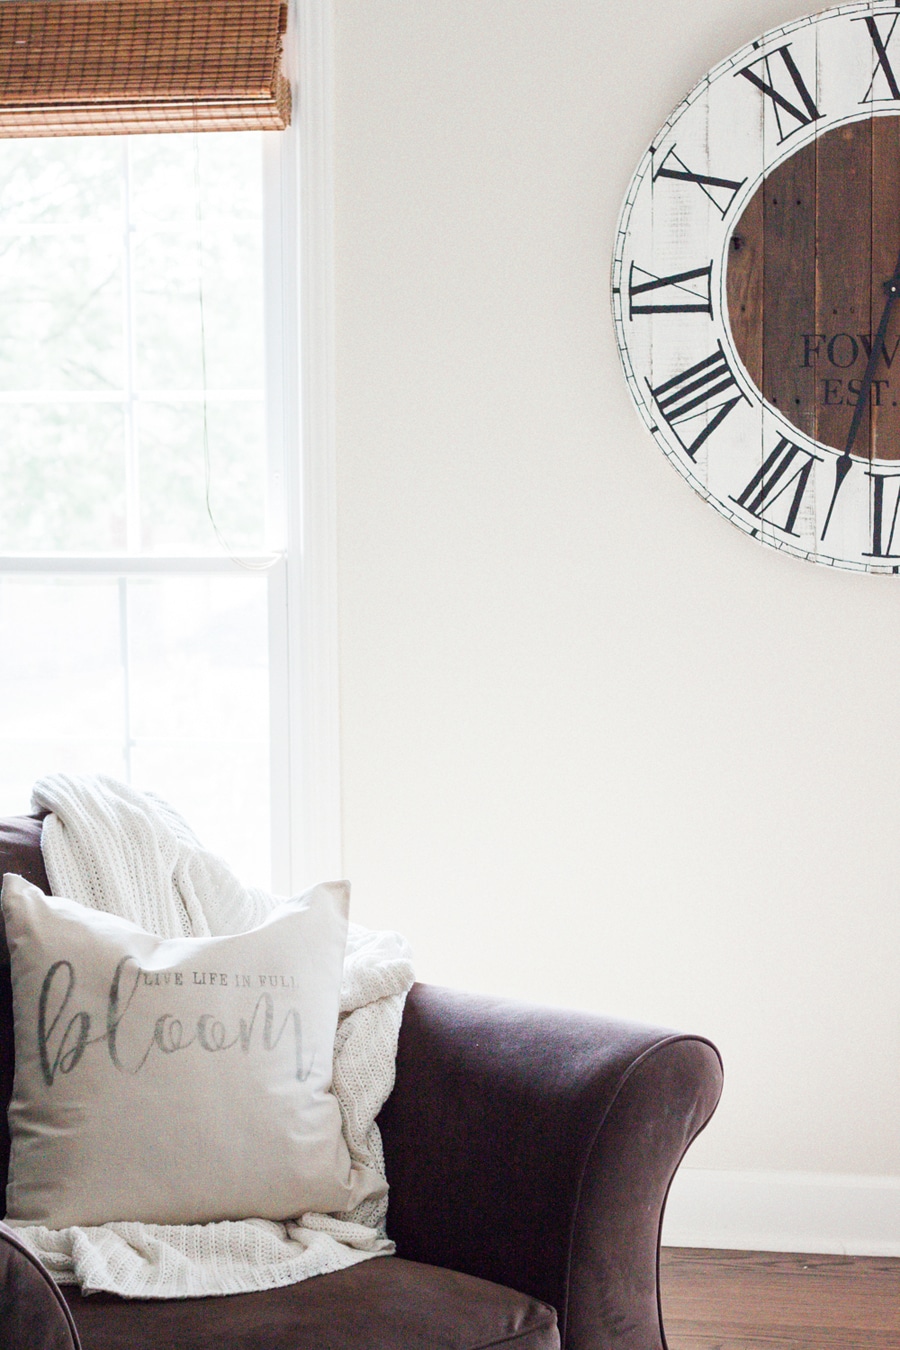
Hi, I’m Lauren from Gather & Flourish and I am so excited to be participating in the Spring Bliss Bash blog party! I am a home decor enthusiast, with a touch of farmhouse style! I love all things neutral and I’m a big time DIYer! Today I will be sharing with you how I made this spring pillow cover using the freezer paper transfer method! I just love the distressed, vintage-y look you get using this method!!
Here is what you will need:
-freezer paper
-inkjet printer
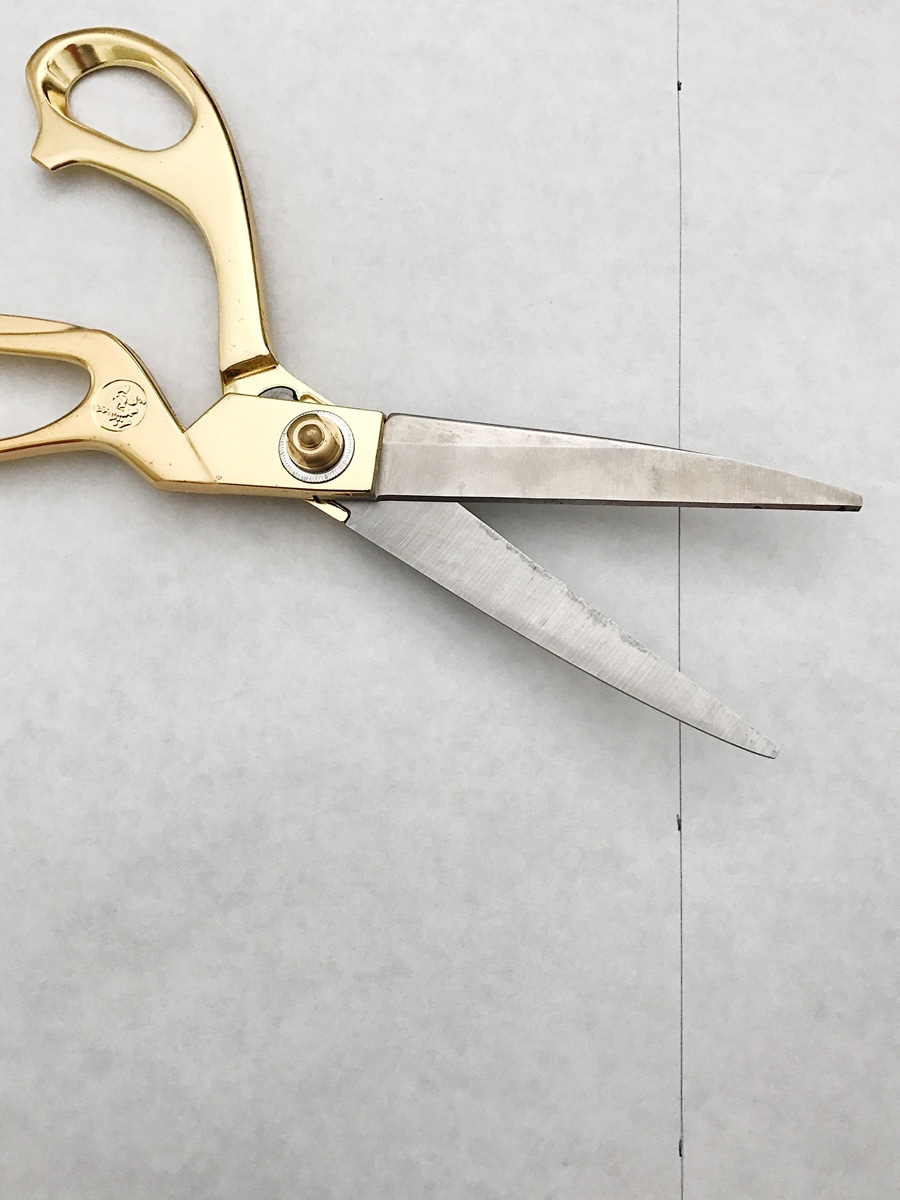
-scissors
-ruler
-iron
-metal spoon
-pillow cover (I used this one from Hobby Lobby that I got for $2.50 while they were 50% off!)
-spray bottle w/ water (optional)
-spray adhesive (optional)
-2 sheets of letter sized printer paper or card stock (optional)
Instructions:
The first step is creating your pillow design, if you would like to use the design I created you can download it here. Once you have your design you will want to go into your print settings and set the size to US legal.
Next you will need to cut your freezer paper to size, mine was 18″ wide so I was easily able to trim it to legal size (8.5″ x 14″).
*The following step is optional, I did not do this step but after struggling to get my design to print well due to the freezer paper slipping in the printer, I would highly recommend it! * Once you have cut your freezer paper to size you will want to take a legal size piece of paper (or two letter sized pieces trimmed to 8.5″ x 7″) and using spray adhesive attach them to the back side (non-waxy side) of the freezer paper.
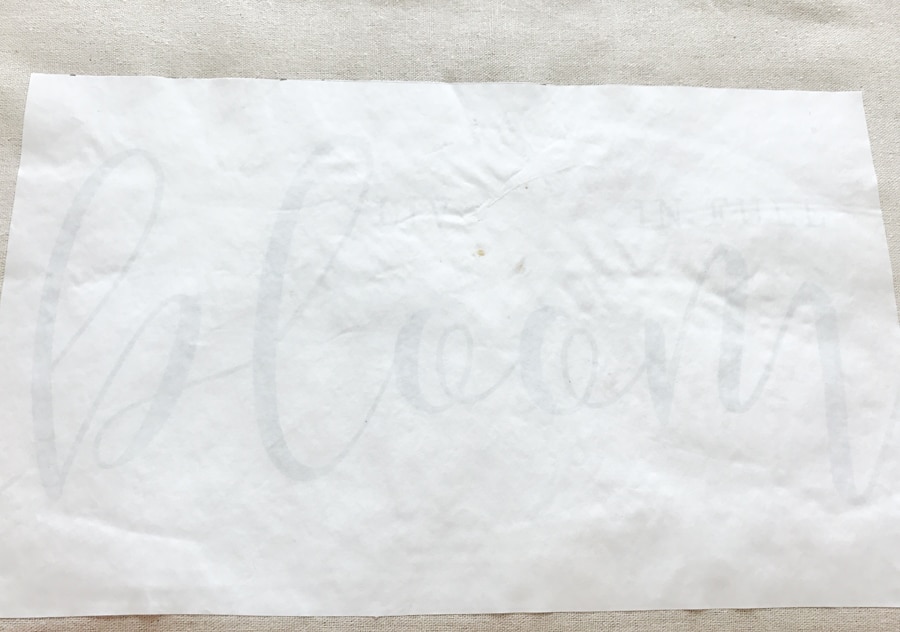
Next, load your freezer paper into the printer so that your design will be printed on the waxy side. Be careful when removing the design from the printer as the ink will be wet!!
Very gently, lay your design on the pillow cover wherever you would like it (do not lay it fully down until you are sure you have it exactly where you want it!).
Run your iron over your design, using NO steam on the hottest setting, for about 45-60 seconds.
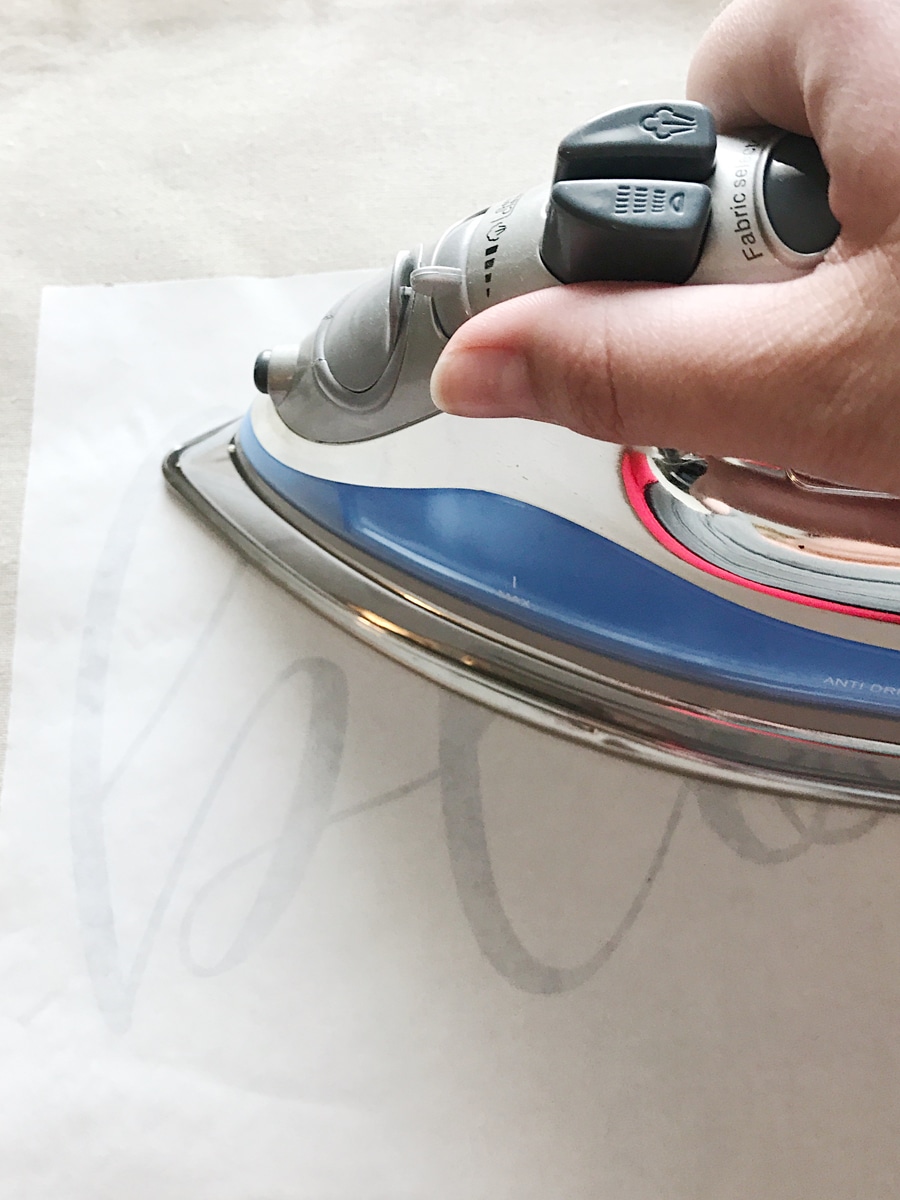
The freezer paper should adhere to the pillow cover. Using your spoon, on a hard surface such as a tabletop, begin rubbing over your design with the back of your spoon. This is an important step to make sure that your design transfers fully!

Once you have rubbed over your design thoroughly, you can begin to peel up the freezer paper to check how it is transferring. If your design is transferring too faintly you may want to peel off the freezer paper and VERY lightly spray the surface of the pillow cover (one or two sprays over the area of the design should do it) then carefully realign the design and lay it back down. Rub over the design once more with your spoon, to transfer the ink making sure that you do not shift the design as you are doing so. Peel back the freezer paper and that’s it! I decided to iron over the ink after I peeled off the paper, just for good measure!

I hope you have enjoyed learning this transfer method, the possibilities are truly endless!!
If you loved this DIY tutorial and free printable, please come check out Gather and Flourish for many more projects and gorgeous freebies!
Disclaimer: Prizes have been provided by the party sponsors. All writing and opinions belong to myself or this month’s blog party participants.